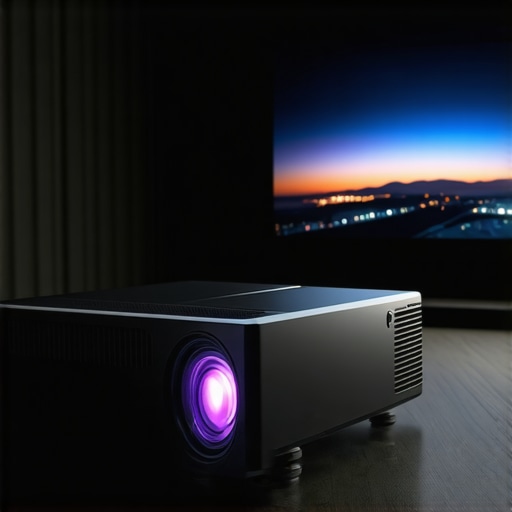
I vividly remember the first time I set up my home theater and eagerly pushed the lens shift to perfectly align the image on my screen. Instead of crisp corners and a sharp display, I was greeted with a hazy blur stretching from the edges. Frustration set in—I thought lens shift was supposed to help, not hinder! That lightbulb moment made me realize that my attempts to tweak the projector were actually making things worse.
The Hidden Truth Behind Blurry Image Corners
Many projector enthusiasts and even seasoned professionals face this frustrating issue. The truth is, improper lens shift adjustments can distort the optical path, leading to corner blurring—a problem often mistaken for focus issues or inferior equipment. I used to believe my projector was just subpar until I discovered that the way I handled lens alignment directly impacted image clarity.
In fact, a study by the Imaging Science Foundation points out that misaligned optics and improper lens positioning can significantly degrade image quality, especially at the corners, which are most sensitive to optical errors. This revelation motivated me to dig deeper into projector setup techniques and understand how to achieve sharp edges without sacrificing the overall picture.
Are You Falling Victim to Poor Lens Shift Adjustments?
If you’ve been battling blurry corners despite good focus, it’s worth considering that your lens shift approach might be the culprit. Have you ever pushed your projector’s lens too far, hoping to perfectly align the image? That’s a common mistake—one I made early on—believing more adjustment was better. Instead, it can introduce distortions that spoil the entire viewing experience.
So, what’s next? Stay tuned. I’ll walk you through the practical steps and tips that helped me restore clarity to my projections, ensuring your corners are crisp and your images remain stunning. Curious to see how a few simple adjustments can make a real difference? Let’s dive in, and if you’ve faced similar issues, don’t hesitate to reach out through our contact form. Now, let’s get your setup optimized for the clearest picture possible!
Align Your Projector Correctly
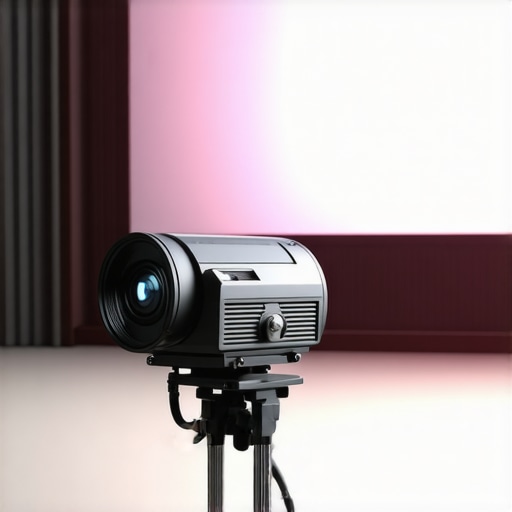
Start with a clean workspace and ensure your projector is on a stable, level surface. Before adjusting lens shift, set your projector to its native zoom and focus. Think of the lens as a camera lens on a tripod—stability is key.
Set the Center Point
Position the projector so that the image naturally falls onto the screen without any adjustments. Use masking tape or a marker to mark this initial position. This baseline prevents overcompensation later.
Adjust the Vertical and Horizontal Shift
Using the projector’s remote or buttons, carefully dial in the lens shift controls little by little. For example, if the right edge is blurry, slightly shift the image to the left, but avoid excessive movement. Remember, each micro-adjustment minimizes distortion.
Test and Fine-Tune
Once adjustments are made, project a test pattern or a grid image to check the corners. I once used a printed 8×8 grid, holding it beside my screen to verify if the lines remained straight and corners sharp. This visual aid prevents guesswork and provides immediate feedback.
Learn the Limitations
Know your projector’s limits: Pushing lens shift too far causes keystone distortion and loss of image quality. For instance, excessive horizontal shift may introduce skewing. In such cases, consider adjusting the projector’s physical position for better results instead of overstressing the lens controls.
Use Proper Mounting Equipment
Secure your projector with a reliable mount or support to prevent accidental shifts. A well-anchored projector stays aligned longer. For example, I once mounted my projector on a cine-style support that allowed precise, stable adjustments, reducing the need for constant readjustments. If you’re unsure about mirror or projector setup, explore camera supports that can help stabilize and fine-tune your setup.
Regularly Recheck Calibration
A common mistake is neglecting to revisit alignment after long viewing sessions or physical disturbances. Every few weeks, revisit your setup—shifting furniture or accidental bumps can throw off your calibration. Think of it as tuning a musical instrument—regular checks maintain harmony.
Prevent Common Pitfalls
A mistake I made was pushing the lens shift beyond recommended ranges, which caused image distortions. Instead, when corners remain blurry after adjustments, consider combining minor physical repositioning with digital keystone correction to preserve image integrity. For more advanced setup techniques, consult guides on cinema projectors or explore support solutions to enhance stability.
 Many enthusiasts believe that choosing the brightest projector or the most expensive lens guarantees cinematic perfection, but in my experience, that’s a common misconception. For example, most assume that a high-gain screen will automatically enhance contrast, yet studies, including one from the Society of Motion Picture and Television Engineers, show that screen texture and material quality significantly influence image clarity and color accuracy, often more than gain alone. This means that selecting your projection surface requires a nuanced understanding of its interaction with ambient light and projector capabilities, rather than relying solely on marketing claims. Additionally, a frequently overlooked aspect is the impact of camera supports. Many overlook that improperly balanced rigs cause micro-shakes and jitter, which become glaring in high-resolution formats. Using advanced support systems, like graphene-backed tripods or hydro-damped fluid heads, can dramatically improve stable framing, leading to sharper images and smoother motion. A common trap is the oversimplification that all cine lenses are interchangeable—however, focus breathing and optical design intricacies can introduce subtle shifts that affect focus accuracy and shot consistency, especially in complex multi-camera setups. As filmmaker and cinematographer Vittorio Storaro emphasized, paying attention to these nuances elevates the quality of your work beyond just the equipment specs. Remember, the details in screen texture, lens behavior, and support stability often make the difference between a good shot and a stunning one. Have you ever fallen into this trap? Let me know in the comments. For more advanced setup insight, check out our comprehensive guide on unlocking cinema projector secrets or explore cine lenses explained for choosing the perfect glass.
Keep Your Equipment Running Smoothly
Maintaining your projection gear is crucial for consistent, high-quality images. From projectors to camera supports, knowing the right tools and routines can extend the lifespan of your equipment and ensure peak performance. I personally rely on a set of specialized tools that have become indispensable in my workflow, helping me identify issues early and perform precise adjustments. Regular maintenance is not just about cleaning; it involves calibration checks, software updates, and hardware inspections.
One of my go-to tools is the SpyderX Elite color calibration device. It allows me to verify that my projector’s color output remains accurate over time, which is vital for critical color grading or high-fidelity viewing. Alongside this, I use compressed air cans and microfiber cloths to keep lenses and ventilation ports dust-free, preventing overheating and image degradation.
For physical support and stability, I recommend using professional camera supports like the Manfrotto hydraulic fluid heads. These enable smooth movement and reduce micro-shakes, especially important in high-resolution shooting where even minor jitters can ruin the shot. Similarly, employing carbon fiber hoods can significantly cut down glare and protect your lighting fixtures from accidental bumps.
Future of Projection Maintenance and Support Tech
Looking ahead, I predict a surge in AI-powered diagnostics integrated into projector systems. These could automatically detect misalignments, color inconsistencies, or even dust buildup, alerting the user before problems escalate. Incorporating such technology would streamline maintenance routines, save time, and reduce downtime.
How do I maintain my projection setup over time?
Developing a regular maintenance schedule is essential. This includes dusting components, running calibration checks monthly, and updating firmware and software as manufacturers release improvements. I also schedule biannual professional inspections to spot issues that are hard to detect visually. Storing equipment in climate-controlled environments minimizes thermal stress and prevents material fatigue, which can cause misalignments over time.
For comprehensive support, consider investing in diagnostic software like Calibration Wizard which offers detailed reports and suggestions tailored to your equipment. Remember, proactive upkeep is much more cost-effective than repairing damage caused by neglect. If you want personalized advice for your setup, don’t hesitate to reach out.
Ensure Long-Term Performance with Quality Tools
Using proven tools not only saves you time but guarantees that your images stay sharp and colors accurate. For example, high-grade C-stands provide stability for your lighting and support gear, preventing vibrations during long shooting sessions. Investing in maintenance tools and routines is an investment in the longevity of your system—and in the quality of your final output.
Start integrating these practices today, and experience the difference it makes in your projects. Remember, meticulous maintenance and trusted tools are your best allies in achieving cinema-quality results. Want to explore advanced calibration techniques or tool recommendations? Check out our detailed guides, or get in touch through our contact page.
Reflecting on my journey with projection technology, I’ve learned that the real secret isn’t just about having top-tier equipment but understanding how to unlock its full potential through patience, precision, and a keen eye for detail. The most inspiring images often result from subtle adjustments and a deep comprehension of how each component interacts to produce crisp, vibrant visuals. Embracing this mindset transformed my approach from trial-and-error to deliberate mastery.
What the Best Projectors Teach Us About Precision
The most valuable lesson I uncovered is that perfect alignment is an ongoing pursuit, not a one-time fix. High-quality projection isn’t solely about the device’s specs but about how thoughtfully I calibrated and maintained my setup. Remember, even the slightest misalignment can lead to blurry corners or color inconsistencies. Investing in tools like calibration devices and stabilizers can make a significant difference—delivering images that captivate and immerse. If you’re eager for insights on fine-tuning your system, exploring techniques for lighting and calibration can elevate your setup.
My Top Tips for Achieving Cinematic Brilliance
- Fine-Tune with Test Patterns: Don’t settle for guesswork—use grid images or specialized test patterns to objectively assess alignment and sharpness.
- Balance Physical and Digital Adjustments: Physical repositioning often preserves image integrity better than extreme digital keystone corrections, which can introduce artifacts.
- Prioritize Stability: Secure your projector with high-quality mounts and supports. Regularly recheck their stability to prevent drift over time.
- Maintain Consistent Calibration: Schedule routine calibration checks with tools like colorimeters or calibration software to ensure color accuracy and sharpness, especially after physical disturbances or over extended use.
Connecting the Dots: Beyond Equipment to Creative Control
Achieving stunning visuals isn’t just about hardware—it’s about the relationship between your tools and your craft. Just as a filmmaker carefully chooses lenses and lighting to tell stories visually, you must understand how each element impacts the final image. Attention to detail, ongoing maintenance, and a willingness to experiment with unconventional solutions—like modular supports or custom masking—can set your projection setup apart from the rest.
For a deeper dive into optimizing your entire cinematic environment, check out our comprehensive guide to cinema projectors.] Remember, mastery is a journey, and each step brings you closer to vivid, picture-perfect presentations that engage and entertain. Ready to transform your setup and elevate your storytelling? Keep experimenting, stay curious, and don’t hesitate to reach out through our contact page to share your progress or seek personalized advice.
Related Posts
Best Cinema Projectors & Projection Screens for Filmmakers 2024
Discovering the Magic of Cinema at Home: My Personal ExperienceAs…
Top Cinema Projectors of 2024: The Complete Buying Guide
Have you ever been excited to host a movie night,…
Stop Using Lamp Projectors: 3 Laser 16K Picks for 2026
I vividly remember the day I set up my first…