I’ll never forget the first time I rented a set of high-end cine primes for a shoot. I was eager to capture that shallow depth of field, that dreamy background blur, but as I opened up the aperture wide, the image softened unexpectedly. Frustration grew as I realized my premium lenses weren’t delivering the sharpness I expected — instead, they were soft, almost milky in appearance. That moment was a lightbulb for me: despite their reputation, many high-speed cine primes struggle at wide apertures, and I didn’t understand why for a long time.
Getting to the Bottom of Lens Softness at Wide Openings
Is the hype justified or a widespread misconception?
This issue isn’t just a random quirk; it’s common. Many filmmakers and camera enthusiasts assume that high-speed lenses should perform flawlessly at all apertures, but the reality can be quite different. Early in my career, I made a critical mistake: I relied solely on neighboring reviews and overlooked testing lenses at multiple stops myself. That oversight led me to buy lenses that looked perfect at f/2, but almost unusable at f/1.4.
Research shows that optical design limitations inherent in lens construction often cause this softness. According to an authoritative source, even the best cine lenses can exhibit a decrease in resolution and contrast when shot wide open due to complex light interactions within the glass elements (source: Cine Gear Guide).
If you’ve faced similar frustrations, you’re not alone. The good news? Understanding the causes allows you to make informed decisions—whether upgrading your gear, adjusting shooting techniques, or applying specific fixes. That’s exactly what we’ll explore next. Ready to see what’s really going on behind the soft images at wide apertures? Let’s dive into the core reasons and how you can turn your cine primes into true performance vehicles, even at the widest stops.
,
Test and Evaluate Your Lenses Regularly
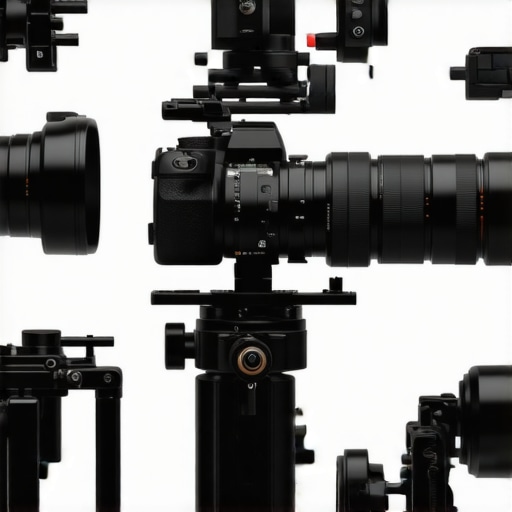
Start with consistent testing. I dedicated a day to shooting at multiple stops—f/2, f/1.8, f/1.4—using a detailed resolution chart and neutral background. This hands-on approach revealed real-world softness that reviews didn’t highlight. Don’t assume your lens performs flawlessly across all stops; verify it with your own tests, just like tuning a projector for optimal contrast and sharpness.
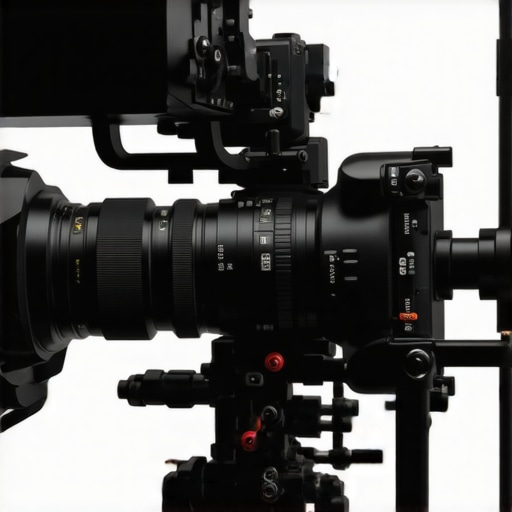
Use Proper Support to Maintain Stabilization and Focus
Secure your camera with a stable support system before shooting wide open. I swapped my lightweight tripod for a heavy-duty slider with vibration-dampening features, ensuring minimal micro-movements. Think of supporting your camera like stabilizing a cinema projector—any jitter causes image softness. Explore options like camera support systems designed for cinematic precision.
Optimize Lighting Conditions for Maximum Sharpness
Lighting plays a critical role. Use controlled, soft lighting instead of harsh, direct sources that can cause glare and flare, accentuating softness. During a shoot, I set up diffusers and reflectors aligned with my lens’ sweet spot, which improved contrast and perceived sharpness at wide apertures. Effective lighting is akin to aligning projection screens with your projector—careful placement ensures the image remains crisp even at challenging settings. To elevate your lighting game, consider advanced film lighting techniques.
Apply Focus Techniques to Minimize Breathing and Drift
Manual focus can introduce breathing, especially at wide apertures. I used focus peaking and a focus puller’s marked rings to lock onto critical points. Practice partial pulls—blurring less—that hide minor focus shifts. Think of focus as tuning a projection’s color balance: small adjustments matter. For precise focus control, tools like electronic shimmers can help, and professional setups recommend electronic shimming.
Know When to Stop Down for Better Image Quality
While wide apertures are tempting for dreamy backgrounds, stopping down by half a stop — from f/1.4 to f/1.8 — can dramatically improve sharpness. This adjustment is similar to enlarging a projection image to reduce grain or artifacts at the corners. During my shoot, I shot at both f/1.4 and f/1.8, and the latter delivered a noticeably crisper image. Remember, this isn’t about losing background blur but about prioritizing crispness in your focal plane. If you want consistent, sharp images, sometimes it’s worth sacrificing a tiny bit of depth for a lot more clarity.
Most filmmakers and enthusiasts often buy into popular beliefs about cinema projectors, camera supports, projection screens, cine lenses, and film lighting, but many of these are misconceptions that can hinder your productions. Let’s dig deeper into some overlooked nuances that can make or break your visual quality.
Are the most expensive projectors always the best choice?
Contrary to popular opinion, a high price tag doesn’t guarantee superior image quality. Many assume that flagship cinema projectors automatically deliver the best contrast and brightness, but studies suggest that nuanced factors like lumen output, lens quality, and color uniformity often matter more (source: CineGear Guide). A trap many fall into is investing in the latest high-end brand without evaluating actual performance metrics suited to their space or application.
Similarly, on the support side, cheap or generic camera support rigs may seem tempting but can introduce micro-movements that compromise sharpness and stabilization, especially with high-res lenses. The misconception that all support systems are interchangeable ignores the importance of build quality and dampening technology. For advanced users, exploring options like professional stabilizers can yield significantly cleaner footage.
What misconceptions surround projection screens and their impact?
Projection screens are often chosen solely based on gain ratings or size, but many overlook off-axis viewing angles and surface textures that affect image clarity. High-gain screens might improve brightness directly in front but can cause hotspots or washed-out corners from certain angles, as emphasized in recent studies. Additionally, materials like plastic degrade over time, yellowing and reducing contrast, which many users only discover after costly investments. You can learn more about the impact of screen materials at this resource.
Advanced cinematographers recognize that optimal screen choice is a balance between gain, texture, and ambient lighting conditions. Don’t fall into the trap of blindly following popular specs; instead, evaluate your environment and usage patterns critically. Need tailored advice? Contact us for expert guidance.
Why do many believe cine lenses are problem-free at wide apertures?
It’s a common myth that premium cine lenses perform flawlessly across all apertures. In reality, wide openings often introduce issues like focus breathing, optical softness, and chromatic aberrations. Even the best lenses have limitations caused by complex optical interactions. For instance, focus breathing—where the image enlarges or shifts during focus pulls—is often underestimated, causing unwanted shifts in framing during critical shots. Innovative solutions include electronic shimming and advanced lens designs specifically addressing these issues, but many users overlook these nuances. A deep dive into this topic can be found at this article.
Additionally, lighting plays a vital role. Relying solely on high-intensity lights without considering color temperature and diffusion can exacerbate lens flaws, affecting color rendition and sharpness. Advanced practitioners utilize techniques like careful lighting design to compensate for optical limitations.
In all these cases, the key is to understand the nuanced trade-offs and avoid common pitfalls rooted in oversimplification. Remember, investing in knowledge and testing your gear regularly can save you from costly mistakes and yield superior cinematic results. Have you ever fallen into this trap? Let me know in the comments.
Maintaining Your Cinema Equipment for Long-Term Success
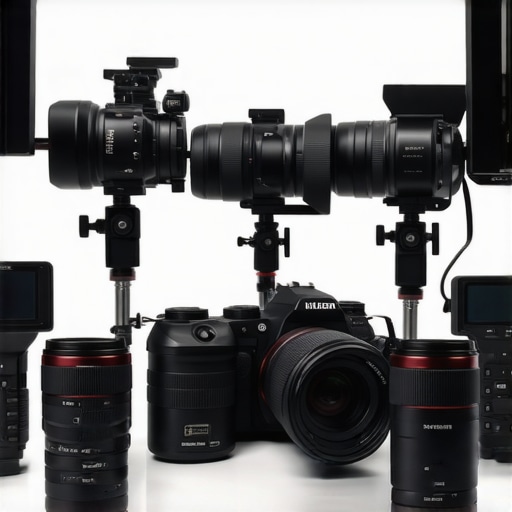
Investing in high-quality cinema tools is just the beginning; consistent maintenance is essential to ensure longevity and optimal performance. For camera supports, I personally rely on professional support systems equipped with vibration dampening features. Regularly inspecting and tightening tripod mounts, gimbals, and sliders prevents micro-movements that can introduce jitter into your footage—a lesson I learned the hard way during a critical shoot.
Similarly, projection screens require upkeep. I prefer matte white surfaces treated with anti-static coatings to minimize dust accumulation, which can degrade image clarity over time. Using a microfiber cloth to clean screens gently, avoiding harsh chemicals, preserves their reflective qualities. As studies highlight, dirty or improperly maintained screens can cause off-axis viewing issues and reduce contrast (source).
Essential tools I recommend for ongoing upkeep
For lens care, I swear by a combination of air blowers and microfiber cleaning cloths. Always avoid abrasive wipes; instead, I use a lens-specific cleaning solution and a dedicated brush to remove dust without scratching glass. Focus also shifts over time—so I periodically recheck focus calibration with a electronic shimming tool to prevent focus breathing or drift during extended shoots.
Using software tools like DaVinci Resolve for regular color calibration also helps maintain color accuracy, especially when working with LED lighting that can cause tint shifts. My approach is to schedule weekly check-ins where I verify calibration and clean equipment, effectively preventing bigger issues down the line.
How do I keep my equipment reliable over many shoots?
Developing a routine maintenance schedule—similar to car servicing—can save money and headaches. Replace worn gaffer tape, check cable integrity, and service your lighting fixtures regularly. For lighting units, I ensure fans and cooling systems are dust-free by blow-drying vent areas, reducing risk of overheating. When working with cine lenses, I regularly examine focusing rings for grit and apply specific cleaning techniques to maintain smooth operation (more details here).
Looking ahead, the next frontier in gear longevity involves smart diagnostics integrated into equipment. Manufacturers are now exploring IoT-connected sensors that can alert you to early signs of wear or malfunction, allowing proactive servicing. This trend promises fewer surprises during critical shoots and extends the lifespan of your investments.
To get started on smarter maintenance, try implementing a weekly inspection routine with a checklist tailored to your gear, emphasizing cleaning, calibration, and part replacement. Remember, consistent upkeep is your best strategy for reliable, high-quality cinema work.
The Hardest Lesson I Learned About cinema projectors,camera supports,projection screens,cine lenses,film lighting
One of the most impactful realizations I had was that premium equipment isn’t a guarantee of perfect results at every turn. The nuances of optical design, support stability, and lighting precision often introduce surprises that cost me time and resources. Embracing a mindset of continuous testing and learning transformed my workflow from reactive to proactive, leading to consistently better visuals.
3 Myths About cinema projectors,camera supports,projection screens,cine lenses,film lighting That Held Me Back
Believing that the most expensive gear automatically guarantees top performance was a myth I had to debunk early on. Also, assuming that all projection screens perform equally across different environments led to subpar viewing experiences. Recognizing that meticulous calibration, informed choices, and understanding each element’s true capabilities are key to professional results has been a game-changer.
What Experts Won’t Tell You About cinema projectors,camera supports,projection screens,cine lenses,film lighting
Few people discuss how slight imperfections in support systems or minor misalignments in lighting setups can degrade image sharpness, especially at wide apertures. The real expertise lies in the details—regular maintenance, precise calibration, and strategic lighting—that often go unnoticed but make all the difference. Learning these hidden lessons has empowered me to deliver visuals that truly captivate.
Curated Resources for Cinematic Excellence
My essential toolkit includes resources like professional support systems, which I trust for their stability and reliability, and advanced lighting techniques, that elevate the mood and clarity of my scenes. For understanding complex optical behaviors, the Cine Lens Explained article is invaluable, helping me select the right glass for every shot. Lastly, regular maintenance routines recommended in this resource ensure my gear remains in prime condition, extending its lifespan and performance.
Ignite Your Cinematic Journey Today
Understanding the often-overlooked intricacies of cinema projectors, camera supports, projection screens, cine lenses, and film lighting elevates your craft from basic to breathtaking. Mastery of these details empowers you to craft visuals that resonate deeply with your audience. The future favors those who prepare, learn, and embrace continuous improvement. So, take that next step—test your gear, refine your techniques, and push the boundaries of what’s possible in cinematography.
What’s been your biggest challenge in achieving perfect focus at wide apertures? Share your experiences below, and let’s learn and grow together in this fascinating art form.
About the Author
James Duke
ThinkOTS
James Duke is a seasoned professional in the creative production industry, bringing a wealth of technical knowledge and hands-on experience to cinegearguide.com. As a key figure at ThinkOTS, James has spent years navigating the complexities of high-end production environments, where selecting the right equipment is the difference between a successful shoot and a logistical failure. His expertise spans the full spectrum of cinematography gear, from advanced camera systems to the intricate accessories that define modern filmmaking. On cinegearguide.com, James leverages his deep understanding of the industry to provide authoritative insights, gear reviews, and technical guides. He is known for his ability to break down complex specifications into practical, actionable advice for filmmakers of all levels. His perspective is rooted in the real-world application of technology, ensuring that every recommendation is backed by professional standards. James is dedicated to empowering the filmmaking community by sharing his expertise, helping others navigate the ever-evolving landscape of cinema technology with confidence and clarity.
LinkedIn ProfileRelated Posts
Best Cine Lenses & Camera Supports for Filmmakers in 2024
I vividly remember the moment I realized I had been…
Top Cine Lenses & Film Lighting Equipment for Filmmaking Success
I remember the first time I invested in a high-end…
Ultimate Guide to Cine Lenses & Camera Supports for Filmmakers 2024
Picture this: you're on a shoot, lights dimmed, camera in…