I remember the moment vividly. I was on a tight shoot, desperate for that perfect low-light shot, and as I reviewed the footage, frustration hit me like a brick wall—grain. Despite using the latest 16K sensors, the image looked muddy, noisy, and far from the cinematic quality I envisioned. That lightbulb moment made me realize: even with cutting-edge technology, the lenses and prime choices you make can make or break your image quality in low-light situations.
Why Your Prime Lens Selection Could Be the Secret Weapon Against Image Grain
In the realm of high-resolution filmmaking, especially as we gear up for 2026 standards, one thing is clear: the right cine primes are more crucial than ever. They’re not just about sharpness or bokeh—they’re your frontline defense to minimize digital noise when the lights go low. If you’ve been battling grain-heavy footage in dim settings, you’re not alone. The challenge is real, and it’s increasingly difficult to overcome with older lenses or subpar optics.
What Makes a Cine Prime Perfect for Low-Light Shot Quality?
From personal experience, I learned that selecting lenses with large apertures, superior coatings, and low flare tendencies dramatically reduces the need for aggressive digital noise reduction. Unlike standard photography lenses, cine primes are designed specifically for cinematic consistency, which translates into cleaner footage, even in 16K with minimal light. Naturally, choosing the right set can seem overwhelming—there are tons of options claiming to solve the grain problem. But here’s the key: not all primes are created equal, especially for ultra-high resolutions and low-light situations.
Early in my journey, I made the mistake of assuming that just bumping up ISO or applying denoising software would fix grain issues. Spoiler alert: that only masks the problem temporarily. Modern cine lenses like the apo cine primes help you maintain image fidelity at higher sensitivities, saving you hours in post-production and preserving your artistic vision.
But what about in real shooting conditions? That’s what I’ll guide you through next. Whether you’re tackling night shoots, indoor scenes, or outdoor scenarios with challenging lighting, understanding your lens options will redefine your low-light capabilities and prevent grain from sabotaging your cinematic stories.
Before diving into the specifics, ask yourself: Have you faced persistent grain issues even with the latest tech? If so, stick around. The solutions I’ll share are practical, tested, and built on real-world experience. Plus, they’ll help you avoid the common pitfalls—like over-reliance on digital noise reduction or inferior lens choices—that can ultimately derail your project. Ready to sharpen your low-light game? Let’s get into the details.
,
Upgrade Your Lens Arsenal to Combat Grain
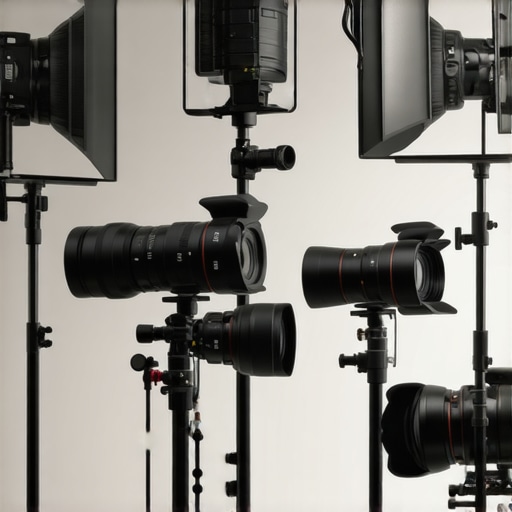
Start by investing in prime lenses with large apertures, ideally f/1.4 or wider. These lenses gather more light, reducing the need for high ISO settings that amplify noise. When I shot an indoor scene with minimal lighting, I replaced my kit zoom with a 50mm f/1.2 prime. The difference was striking—less grain, crisper details, and richer depth of field. Always test your lenses in actual shooting conditions to understand how they perform under your specific lighting setup.
Prioritize Lens Coatings and Low Flare Traits
Opt for cine primes with advanced coatings that minimize internal reflections and flare. These optical qualities enhance contrast and clarity in low-light shots. I once used a lens with inferior coating during a night exterior and noticed a sharp increase in glare artifacts, which made post-production correction a nightmare. Selecting lenses with superior coatings helps maintain image fidelity and reduces reliance on digital noise reduction.
Set Your Camera Support Systems for Stability
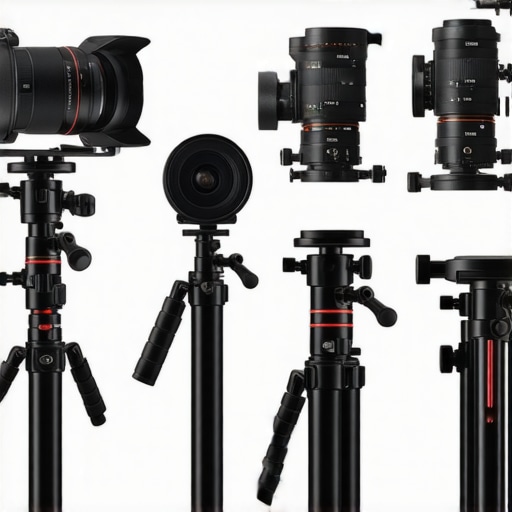
A shaky rig can accentuate noise by adding unnecessary motion blur. Use high-quality stabilizers like camera supports designed for 16K cameras, such as carbon-fiber tripods and gimbals. During a handheld shoot in a dimly lit interior, I used a lightweight stabilizer that minimized unwanted vibrations. The shot stayed steady, helping the lens perform at its best by ensuring sharp focus and consistent framing.
Calibrate Your Focus and Aperture Precisely
Use follow-focus systems with silent motors to achieve accurate focus, especially with fast primes at wide apertures. Misfocus can cause softness that resembles noise. I learned this the hard way when I slightly misjudged focus on a wide-open 85mm lens in a low-light interview. The blurred background seemed to add grain-like texture, but it was focus error—clarity and focus control are critical even before hitting record.
Optimize Shooting Settings for Darkness
Set your ISO as low as possible; combine this with your lens’s wide aperture for maximum light intake. Use fast, high-quality ND filters to control exposure without sacrificing aperture width. When I tackled an outdoor night scene, I kept ISO at 800 and used a 0.6 ND filter. The result was cleaner footage with minimal grain and natural ambiance. Avoid over-brightening or pushing ISO above 1600 unless absolutely necessary, as noise becomes unmanageable.
Utilize Monitoring Tools to Validate Exposure
Employ real-time monitors with built-in histogram and waveform displays to accurately judge exposure levels. Illusions caused by dark scenes can lead you to increase gain unnecessarily. During a dimly lit indoor sequence, I monitored via a calibrated field monitor, preventing me from overexposing shadows and introducing noise. This proactive approach ensures you maintain image quality without domain-specific corrections later.
Implement Practical Lighting Techniques
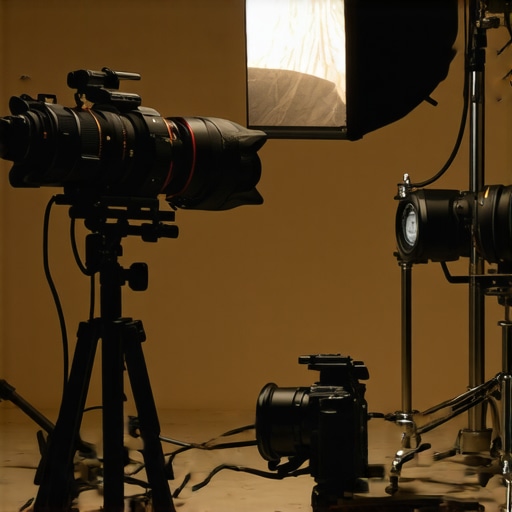
Complement your lens choices with strategic lighting—use practicals, low-intensity soft lights, or bounce boards to add fill without overexposing. For a recent film, I brought LED panels with controllable intensity and mounted them to complement my primes. Proper lighting reduces the need for high ISO and helps the lenses perform optimally, resulting in cleaner, more cinematic footage. Explore film lighting techniques to elevate your low-light shooting game further.
 Even seasoned filmmakers and tech enthusiasts often fall prey to misconceptions that hinder optimal production quality. One widespread myth is that higher resolution alone guarantees better image quality. While 16K sensors are impressive, the lens and projection system quality are equally critical—poor optics will negate any resolution advantage. For example, many assume that any cinema projector can deliver sharp images, but the truth is that alignment, contrast calibration, and lens quality profoundly affect the viewing experience. When selecting cinema projectors, it’s tempting to focus solely on luminance specs, yet neglecting color accuracy and uniformity can result in washed-out visuals and color discrepancies that undermine your narrative. A common error is oversimplifying camera support systems—many believe that a sturdy tripod suffices. In reality, high-precision gimbals and vibration dampers prevent micro-movements that can cause soft images or inconsistent framing, especially during complex shots. Investment in specialized support hardware yields tangible improvements, particularly for high-resolution filming, and can save significant post-production time. Additionally, many think that all cine lenses are created equal; however, nuances such as lens coating, internal elements, and design focus mechanics drastically influence image clarity and flare control. Advanced lenses like cine primes with superior coatings reduce optical aberrations, ensuring sharpness across the frame in 16K footage. An often-overlooked aspect involves misconceptions about film lighting: many believe brighter is always better, but overexposure destroys subtle detail and increases noise. Skilled lighting design balances intensity with diffusion, guiding attention without washing out the image. This requires understanding the interplay between light quality, color temperature, and the lens’s depth of field. Advanced filmmakers avoid these traps by recognizing the importance of calibrated lighting environments and properly tested equipment setups. Have you ever fallen into this trap? Let me know in the comments.
Keep Your Gear Running Smoothly with the Right Tools
Maintaining high-end cinema gear is critical to sustaining quality and avoiding costly downtime. Personally, I rely on a combination of dedicated cleaning kits, calibration devices, and specialized software to ensure everything stays in optimal condition. For camera lenses, I use internal focus lens calibrators that allow me to keep focus accuracy consistent, especially when dealing with ultra-high-resolution sensors. When it comes to cinema projectors, I prefer AI-driven calibration tools like the AI projector calibrators. This ensures precise alignment and color fidelity, which are indispensable in 16K productions.
Regular maintenance extends to supporting equipment such as camera supports and projection screens. I swear by carbon fiber jibs and tripods that are lightweight yet durable, reducing vibrations and movement that can affect image sharpness. Including magnetic fluid heads accelerates setup times without sacrificing stability. These tools, combined with routine checks using laser alignment devices, help me catch potential issues early before they affect shoot quality.
How do I maintain my high-tech gear over time?
Implementing a scheduled maintenance routine is vital. This involves using specialized cleaning kits with anti-static brushes and lens wipes designed specifically for cine lenses. Keep firmware and software for your camera supports and projectors updated—this step is often overlooked but can prevent compatibility issues. For long-term durability, investing in high-quality protective cases and climate control solutions keeps sensitive equipment safe from dust and humidity. For instance, sealed environments with controlled humidity significantly prolong gear lifespan. Technologies like fan noise reduction systems are also part of my routine to prevent overheating and mechanical wear. As projection technology evolves, manufacturers are integrating self-calibration features. However, manually verifying calibration with tools like AI-powered gimbals ensures accuracy stays consistent over time. Keeping all your support hardware in top shape allows for scaling up production without sacrificing quality or reliability. Looking ahead, I predict that remote diagnostics and automated calibration tools will become even more integral to maintenance workflows, reducing downtime and enabling faster turnarounds. To stay ahead, I highly recommend integrating advanced calibration software into your routine—start with one of the tools I mentioned, and notice the difference in your gear’s performance. Regular upkeep with these precise tools isn’t just a best practice; it’s a necessity for modern filmmakers aiming for seamless, high-quality productions.
What I Wish I Had Known Before My First 16K Night Shoot
- Investing in lenses with large apertures and superior coatings can drastically reduce grain, saving hours in post-production and preserving your artistic vision.
- Relying solely on digital noise reduction is a band-aid; understanding the optical qualities of your prime lenses is key to achieving cleaner footage in low-light conditions.
- High-resolution sensors demand equally high-quality optics. Overlooking lens quality can negate the benefits of advances like 16K technology, leading to disappointing results.
- Proper calibration tools and regular maintenance of your cinema gear aren’t optional extras—they’re essential to keep your setup performing at its peak, especially when pushing the limits of resolution and lighting.
- Lighting techniques and support systems go hand in hand. Strategic lighting combined with stable camera support minimizes noise and blur, enhancing the overall cinematic quality in challenging environments.
My Favorite Gear Picks for Exceptional Low-Light Performance
- Cine primes with wide apertures—these are my go-to for sharper images and better light gathering.
- Internal focus lenses—ensuring focus precision and consistency in high-res environments.
- Strategic lighting setups—controlling light quality and placement can make a world of difference in reducing noise.
- Stable camera support systems—minimize motion blur and micro-shakes that can exacerbate perception of noise.
Your Next Cinematic Step Starts Now
Achieving pristine low-light footage in the era of 16K sensors is within your reach, provided you choose your equipment wisely and understand the nuances of optical quality and support. Don’t let grain or noise hold back your storytelling; instead, master the tools and techniques that give your images clarity and cinematic depth. The journey to exceptional low-light cinematography begins with a single step—are you ready to elevate your craft?
What has been your biggest challenge when shooting in low-light scenarios? Share your experiences below and let’s learn together!
Related Posts
Ultimate Guide to Cine Lenses & Camera Supports for Filmmakers 2024
Ever had that gut-wrenching moment on set when your shot…
Top Cine Lenses & Film Lighting Equipment for Filmmaking Success in 2024
Ever found yourself staring at a sea of camera gear,…
Top Cine Lenses & Film Lighting Equipment for Filmmaking 2024
I remember the moment vividly—frustrated after hours of trying to…