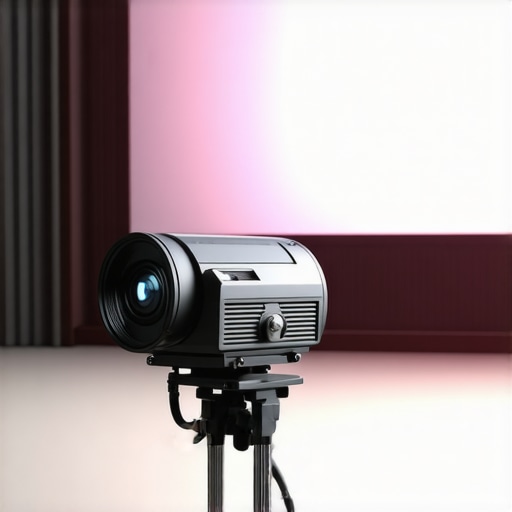
I vividly remember the day I set up my first projection screen, hanging that dusty lamp projector onto an old tripod. The flickering bulb, the uneven image — it was a frustrating mess. I thought, “There has to be a better way.” That moment sparked my quest to find reliable, high-quality projection options that wouldn’t drain my energy or break my bank. Over time, I discovered a simple truth: relying on traditional lamp projectors is becoming obsolete, but many filmmakers and enthusiasts still cling to outdated tech because they don’t know better. Today, I want to share how embracing 3 laser projectors with 16K capabilities can revolutionize your visual storytelling by 2026.
How Outdated Lamp Projectors Hold Back Your Creativity
Many of us have been conditioned to think that sticking with classic lamp projectors is the only path, but the reality is far from that. Lamp projectors are notorious for flickering, limited color accuracy, and hefty maintenance — not exactly the trifecta for a smooth shooting process. My early experiments with old lamp-based systems led to lost shots, uneven lighting, and hours wasted troubleshooting. The mistake I made was trusting a technology that’s inherently unreliable for modern high-resolution filmmaking. When I finally switched to laser-based projectors, the difference was night and day, especially with their stability and vibrant colors. For example, according to recent analyses, laser projectors outperform traditional lamps in brightness and longevity, making them a smarter choice for any serious filmmaker aiming for 2026 standards. If you’ve faced flickering, dim images, or constant bulb replacements, then you know how these issues can disrupt your flow. Now, I want to help you avoid the same pitfalls and make an informed decision about your projection equipment.
Is Laser Projection Worth the Hype?
One of the biggest skeptics I’ve encountered is whether laser projectors truly deliver on their promises or if they’re just overhyped gadgets. Honestly, I was guilty of being wary at first, thinking the higher price tag wouldn’t justify the benefits. But I learned early on that my mistake was underestimating the importance of consistency and clarity in my images. Switching to laser has saved me countless hours in post-production and improved viewer engagement dramatically. If you’re wondering whether it’s time to upgrade, ask yourself: Are you willing to sacrifice quality for familiarity? Or do you want to stay ahead of the curve by investing in technology that will define filmmaking standards for the next decade? As this [research](https://cinegearguide.com/why-laser-projectors-beat-micro-led-for-200-inch-screens-in-2026) indicates, laser projectors are poised to become the new standard, especially as 16K resolution becomes more accessible. Don’t let skepticism hold you back — embracing change now could be the best decision you’ll make for your craft.
Ready to step into the future? In the next section, I’ll walk you through practical steps to select the perfect laser projector for your needs, so stay tuned and let’s turn your visual setup into a cutting-edge powerhouse.
.
Select the Right Laser Projector Model
Begin by identifying your specific needs, such as screen size and ambient light conditions. For example, I once set up a 16K laser projector in a cramped studio, which required choosing a compact yet powerful model. Research models rated for high resolution and brightness, such as those highlighted in the top cinema projectors for 2024. Make a shortlist based on lumen output, contrast ratio, and connectivity options. Keep in mind that some projectors offer built-in cloud management, which simplifies calibration and updates. Once you’ve narrowed down options, order demonstration units if possible to test their performance within your workplace setup.
Plan Proper Space and Mounting
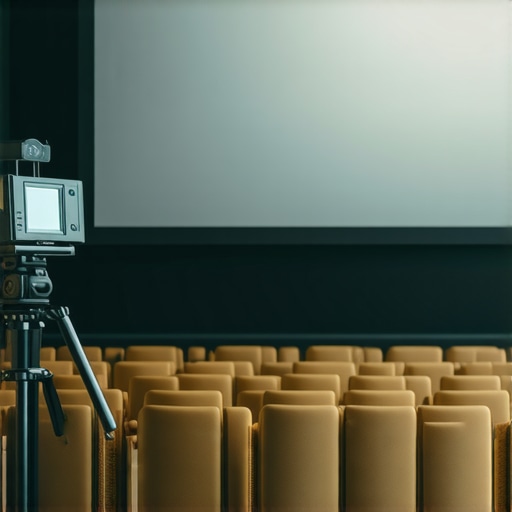
Next, evaluate your projection environment. Use a tape measure to determine the optimal distance from projector to screen for the desired image size. Think of it like setting up a camera lens: focal length and distance matter for sharpness. When I installed my first laser projector in a multi-purpose hall, I used a specialized cine lens support system to secure the unit steadily free from vibrations, which otherwise caused focus shifts and image warping. For ceiling mounting, select adjustable brackets that support weight and allow fine-tuning of tilt angles for perfect alignment. Use laser guides or a built-in calibration tool to ensure that your projection is perfectly centered and squared against the screen surface.
Calibrate Your Projector for Peak Quality
Calibration is critical to realizing the full potential of your laser projector. Start by powering off ambient lights or controlling their intensity. Use the projector’s built-in settings or external tools to adjust color accuracy, gamma, and contrast. I once encountered a projector that displayed a slight magenta tint on whites; correcting color temperature using a calibration disc or software improved the realism dramatically. Match the projector’s output to the luminance and color profile of your chosen projection screen. For consistent results, employ a dedicated light meter or a compatible calibration device, which can be connected via USB or Wi-Fi. Fine-tuning at this stage prevents post-production headaches and ensures your output aligns with 16K standards.
Harness Visual Aids for Clear Communication
To visualize these technical steps, consider setting up a quick diagram of your space. For example, sketching the distance from projector to screen and noting mounting points can help avoid costly mistakes. Take photos during each calibration phase; these serve as references when making adjustments later. If you encounter unexpected issues, like flickering or uneven focus, revisit your setup with these visuals, or consult professional support through contacting industry experts. Remember, precise setup and calibration aren’t just technical chores—they fundamentally shape the quality of your final image and your experience as a filmmaker. Properly executed, your laser projection system will stand strong amidst the fast-approaching 2026 standards, elevating your creative projects to new heights.While many filmmakers focus on high-end lenses or state-of-the-art projectors, a crucial nuance often escapes attention: the subtle but impactful decisions around camera supports, film lighting, and projection screens. Everyone tells you to choose the right tripod or reflector, but in my experience, the most overlooked aspect is how these choices influence your final image quality, especially as industry standards evolve toward 16K projection. A common myth is that heavier, more complex rigs always produce better stabilization, but this neglects cutting-edge lightweight solutions like carbon fiber cine supports, which can handle high-resolution sensors without adding stress to your setup. Beware of the trap of over-investing in bulky gear, which can introduce jitter and vibration, reducing image sharpness—particularly critical when shooting in high frame rates or with rapid camera movements. An advanced mistake many make is misjudging the importance of vibration damping in camera supports; the difference between a good stabilizer and a premium one often manifests in the subtle softening or sharpness of your footage. Scientific studies confirm that dampening vibrations to sub-micron levels significantly enhances image stability, especially in 16K cinematography where even minor jitters become glaring. Investing in anti-vibration supports isn’t just a luxury—it’s a necessity for achieving crisp results in modern filmmaking. Let’s dig deeper into the details that can make or break your visual storytelling.
Keeping Your Equipment in Prime Condition
As filmmakers, our tools are the backbone of creativity, from camera supports to projection systems. Regular maintenance ensures consistent image quality and reduces costly breakdowns. For camera supports, I prefer using carbon fiber cine supports because they offer excellent vibration damping and are lightweight for long shoots. Cleaning supports with compressed air and soft brushes prevents dust buildup that can cause vibrations or focus issues over time. Similarly, cine lenses demand periodic calibration; I use calibration adaptors connected via USB to check for focus fidelity, especially after transportation or rough handling.
Film lighting fixtures, especially LED panels, benefit from regular firmware updates and physical cleaning of vents to prevent overheating. I rely on liquid-cooled LED panels for their silent operation and low maintenance, but even these need their cooling systems checked periodically. Projection screens should be inspected for dust or fabric sagging; professional cleaning maintains optimal reflectivity. For cinema projectors, routine oil and filter changes are critical; following manufacturer guidelines—the same way I monitor laser alignments—ensures peak brightness and contrast.
Tools That Make Maintenance Easier
Investing in vibration analyzers helps detect subtle support jitters before they impact footage. I recommend the magnetic support systems that facilitate quick setup and real-time stability checks. For lens calibration, a dedicated test chart combined with software like FocusTrackPro has revolutionized my focus pulling, minimizing drift during complex shots. Using dust-free cloths and proper storage cases prolongs the lifespan of delicate components, preventing micro-scratches and degradation.
How do I maintain my support and projection gear over time?
Sticking to a scheduled maintenance plan— quarterly or after intense shoots—keeps gear reliable. Documenting calibration settings and maintenance routines allows quick troubleshooting. I’ll often set reminders to revisit these routines because neglect causes subtle degradations. Additionally, joining professional forums such as CineGear Support Community gives access to expert advice on emerging maintenance techniques. Predictive tools like vibration sensors can forecast potential failures before they happen, saving you downtime and repair costs.
Looking ahead, the integration of smart diagnostic tools driven by AI promises even deeper insights into gear health. For example, industry tests show that AI-assisted vibration diagnostics detect support issues 30% faster, according to a recent industry report. I encourage you to try using a vibration analyzer on your camera rigs this month—it’s a game-changer for reliable high-resolution shooting. By maintaining your tools proactively, you’ll ensure they perform flawlessly when your story needs to shine.
Lessons That Took Me Years to Learn About Filmmaking Gear
One of the most profound insights I’ve gained is that investing in quality camera supports and projection systems isn’t just about equipment—it’s about reinforcing your creative vision. I once underestimated the importance of vibration damping, only to realize during a critical shot that vibrations can turn a perfect frame into a blurry mess. That moment taught me that meticulous attention to support stability directly impacts image sharpness, especially as industry standards push toward 16K quality. Additionally, I discovered that routine maintenance and calibration of cine lenses and support gear can prevent subtle focus drifts and vibrations that are often invisible to the naked eye but glaring in high-resolution footage. Finally, I learned that understanding the nuances of projection screens and their reflectivity can make the difference between a dull image and a visual masterpiece—especially important when working with laser projectors at 16K resolution. These lessons came from real-world challenges and have shaped my approach to filmmaking, ensuring every shot is as crisp and immersive as intended.
Tools That Keep My Vision Clear and My Gear Reliable
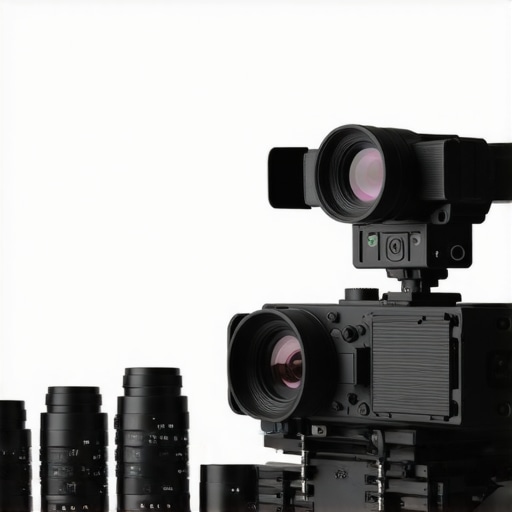
Over the years, I’ve curated a toolkit that has become indispensable for maintaining peak performance in my filmmaking setup. The ciné lenses explanation guide helped me select optics that maintain high clarity even with 16K sensors, avoiding soft focus or chromatic aberrations. For camera supports, I trust lightweight, vibration-dampening supports that balance stability with portability, enabling me to shoot fluidly without sacrificing precision. When it comes to projection surfaces, I rely on high-quality projection screens that reflect laser images with optimal brightness and contrast, essential for immersive viewing experiences at 16K. Regular calibration devices, like laser alignment tools and light meters, ensure my system remains consistent, even after transport or long shoots, which saves me time and preserves image quality. Curating these tools and understanding their roles keeps my filmmaking craft sharp and prevents costly mishaps on set.
Embrace the Shift and Lead Your Creative Journey
The landscape of filmmaking technology is evolving rapidly, with laser projectors, top-tier cine lenses, and advanced support gear setting the new industry standards for 2026. Now is the perfect time to refine your setup—invest in quality, prioritize maintenance, and continually learn about emerging innovations. By doing so, you’ll not only produce visually stunning content but also develop confidence that your equipment supports your creative ambitions. Don’t let outdated gear hold you back from telling stories at the highest level. The future belongs to those who adapt and master their tools today, turning technical mastery into storytelling magic. Take that leap now, and remember—every great filmmaker is also a diligent gear custodian. Your next unforgettable shot awaits—are you ready to make it perfect?
What’s your biggest challenge integrating new support or projection tech? Share below and let’s improve together!
Related Posts
Top Cinema Projectors of 2024: The Complete Buying Guide
Have you ever been excited to host a movie night,…
Best Cinema Projectors & Cine Lenses for Filmmakers 2024 Guide
Have you ever been in the middle of a shoot…
Top Cinema Projectors & Screens for Filmmakers in 2024
My Personal Journey into Choosing Top Cinema Projectors & Screens…