I’ll never forget the moment I realized my carefully dialed-in focus was slipping away every time I swapped lenses or adjusted my gear. It was a frustrating cycle—spending hours setting up shots only to notice a subtle but damaging softening in the final image. The culprit? That tiny, seemingly innocent quick-release plate on my camera rig. At first glance, it’s just a convenient tool, but I learned the hard way that it was silently ruining my sharpness, shot after shot.
Getting to the Root of the Problem
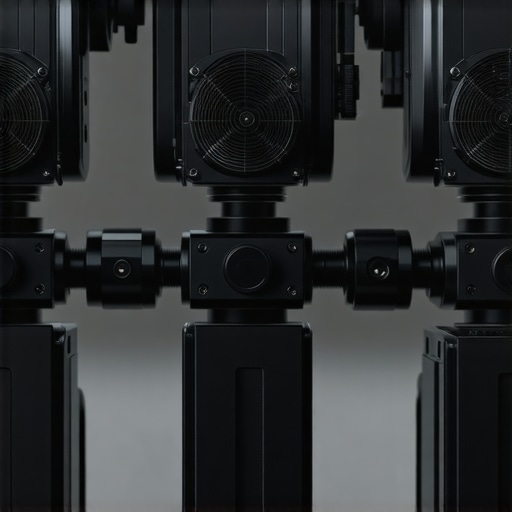
In the world of professional cinematography and high-resolution photography, maintaining perfect alignment is everything. Yet, many of us overlook how even the smallest components impact our image quality. The quick-release plate, if not properly secured or chosen poorly, can introduce micro-movements—tiny shifts that are almost impossible to see with the naked eye but have a huge impact on your sharpness and focus accuracy. These micro-movements can cause a phenomenon known as “micro-shake,” which degrades image clarity, especially at higher resolutions like 4K, 8K, or even 16K.
Based on personal experience, I once used a standard quick-release plate that felt solid but lacked fine-tuning options. Over time, I noticed subtle softness creeping into my footage, especially during prolonged shoots. After digging into the issue, I discovered that many plates settle slightly over time or under the weight of heavier setups, like cine lenses and rigs. This leads us to the crucial question: Are your support systems (and those tiny plates) truly holding your gear steady enough to deliver the sharpness you envision?
Research supports this concern. A study from Cine Gear Guide highlights how minute stability issues can significantly affect image quality, especially in high-end productions. So, if you’re eager to avoid these sneaky pitfalls, understanding how to optimize your quick-release system is essential.
What You’ll Learn Today
In this post, I’ll share the practical steps I took—and you can too—to eliminate micro-movements and preserve the integrity of your focus and sharpness. From selecting the right plates to mounting techniques, you’ll learn how to ensure your gear stays perfectly aligned, shot after shot. Ready to stop losing clarity over tiny support issues? Let’s dive into the solutions.
Is your quick-release system actually worth the hype?
Early in my journey, I made the mistake of assuming all plates are created equal. That oversight cost me countless hours of re-shoots and post-production tweaks. It’s a common mistake, but one that’s easily avoidable once you understand what to look for. Trust me, the right support system makes all the difference when aiming for crisp, professional results.
If you’ve noticed any softness or focus drift, keep reading. We’re about to explore how to fix this silent enemy once and for all—and ensure your shots are as sharp as your vision demands. For more on stabilizing your camera and supporting high-precision shooting, check out our detailed guide to camera support tips.
Solid Mounts and Tight Connections
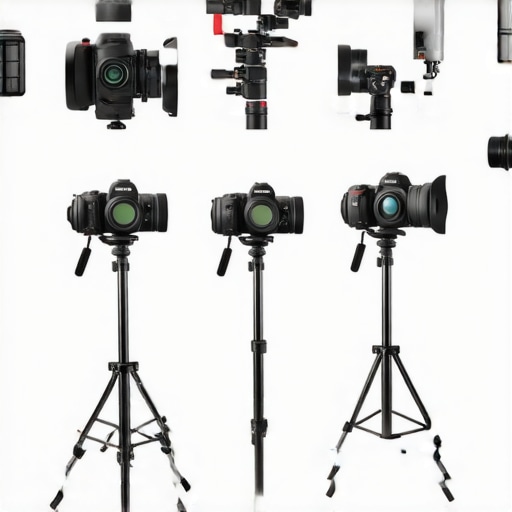
Start with a high-quality support system that matches your rig’s weight, much like choosing the right tripod for a DSLR vs. a cinema setup. I once swapped my lightweight carbon fiber tripod for a steel C-stand during a shoot. Although heavier, the C-stand’s sturdy legs and locking mechanisms prevented micro-movements, resulting in noticeably sharper footage. Ensure all quick-release clamps are firmly tightened and use extra locking pins if available. Think of your support system as the foundation of a building—weak foundations lead to cracks and instability.
Tighten Before Shooting
Double-check every connection—lens to body, support to camera, support to tripod.
Before each take, tighten every screw and lever, especially on plates and mounts. I often do a quick handshake test after tightening, simulating micro-shake. During one shoot, I neglected this step, and midway I noticed my focus drifting during slow-motion shots. After immediately re-tightening every connection, subsequent footage was razor-sharp. The key is to make tightening a ritual—not just a quick glance—so nothing slips unnoticed.
Use Locking Quick-Release Plates
Not all quick-release plates are equal. Choose models with additional locking mechanisms like safety pins or secondary locks. For instance, I replaced a standard plate with a locking version recommended in our guide to magnetic plates. This simple swap eliminated micro-movements caused by vibrations or gravity shifts, especially during long takes. Remember, the goal is to prevent even the tiniest shifts, which can undermine your focus accuracy.
Layer Supports for Extra Stability
Implement multiple supports, just like a building uses beams and braces. For heavy or dynamic shots, use sandbags, additional tripods, or counterweights. I once stabilized a handheld rig with a secondary mini-tripod wrapped around the main support; as a result, focus drift was negligible even during rapid camera movements. Think of each support as a layer of insurance—redundancy reduces micro-movements and enhances image sharpness.
Regular Maintenance and Calibration
Support equipment isn’t set-it-and-forget-it. Regularly inspect and maintain your mounts, supports, and plates. Periodically check for wear, corrosion, or loose parts, especially before critical shoots. I keep a schedule for tightening and replacing worn components, which saved me from a major focus disaster during a high-stakes shoot. Calibration isn’t just for lenses—your physical support system also needs to stay true and tight.
Final Tip: Feel the Difference
After applying these steps, perform test shots with a focus chart or high-resolution target. If possible, compare footage before and after tightening. I vividly recall a shoot where the difference was striking—I went from blurry frames to pin-sharp visuals just by tightening my support system. When your gear is securely mounted, every element of your setup supports the pursuit of crisp, professional images, free from the subtle but damaging effects of micro-movements.

Many filmmakers and cinematographers fall into common traps by accepting surface-level explanations about their gear—be it projection screens, film lighting, or cine lenses. While tutorials often emphasize basic setup, they rarely uncover the nuanced pitfalls that can compromise image quality. Let’s dig deeper into these misconceptions and reveal the expert nuances behind high-caliber cinematography.
What most overlook about projection screens and why it matters
A prevalent myth is that all projection screens perform equally in every environment. In reality, the *gain factor* of a screen, often misunderstood, significantly influences image sharpness and contrast, especially in daylight conditions. For instance, high-gain screens can induce hot spotting, sacrificing uniformity, which is often overlooked. Experts know that selecting the right matrix—such as matte white surfaces—can prevent color washout and maintain HDR integrity. Avoid the mistake of choosing screens solely based on size or brightness capacity; consider the room’s ambient light and the screen’s **angular gain** properties, as outlined in our projection screen guide.
The intricate dance of cinema lighting that seems simple but isn’t
Many assume that more powerful lights automatically improve footage quality. However, indiscriminate use of high-lumen fixtures can lead to unwanted hotspots and inconsistent color rendering. Advanced operators understand that light quality—specifically CRI (Color Rendering Index)—and spectral distribution play pivotal roles. For example, LED mats with high-CRI ratings (>95) can outperform traditional tungsten sources, especially in dynamic scenes. Moreover, neglecting light shaping tools like diffusers and flags often results in a flat look, which skews color accuracy and mood. The subtle art of balancing key, fill, and backlight is where professionals excel. For detailed techniques, review our film lighting masterclass.
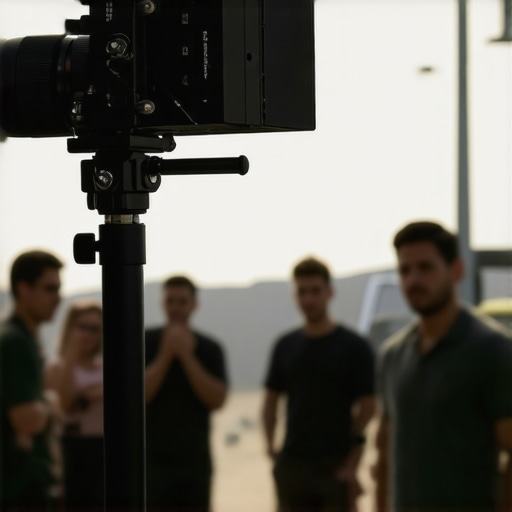
Camera supports — beyond the basics that trip up amateurs
It’s tempting to think that any support rig labeled as ‘professional’ will suffice. But the devil is in the details. Many overlook the importance of *micro-vibrations* introduced by even lightweight carbon-fiber tripods—especially during high-speed or long-duration shots. Experts know to employ layered support systems, including anti-vibration mounts and precision fluid heads, which combat subtle jitter. Furthermore, the importance of proper calibration and maintenance of support gear is often dismissed until it’s too late. A loose clamp or worn bearing can subtly unbalance your shot, resulting in focus issues or uneven motion. For refined support solutions, see our camera support essentials.
Avoid these pitfalls with cinema projectors and cine lenses
Many professionals lean heavily on the perceived benefits of 16K projectors and ultra-fast cine lenses, but fail to recognize subtle flaws. For example, high-end cine lenses are often blamed for focus breathing, which can ruin maintaining precise focus during re-framing. Experts know that selecting lenses with minimal focus shift—like those with *internal focus* mechanisms—is crucial. Similarly, cinema projectors can introduce color washout or HDR clipping without proper calibration. The real trick lies in understanding the interplay between optics, projection technology, and room environment. For detailed insights, consult our cinema projectors guide.
Remember, in high-stakes cinematic production, the devil is in the details. Small oversights—like ignoring the impact of support stability or choosing incompatible screen surfaces—can sabotage your entire project. By understanding the nuanced truths and avoiding these common myths, you elevate your craft from good to truly professional. Have you ever fallen into this trap? Let me know in the comments, and for more expert tips, visit our privacy policy.
Ensuring your equipment keeps running flawlessly requires more than just buying the right gear—it involves meticulous maintenance and smart tool choices. Personally, I swear by using precision toolkits like the Wiha Precision Screwdriver Set for quick repairs on cine lenses or camera supports. Their high-torque, finely machined bits make tightening tiny screws more manageable, reducing the risk of stripped threads that can cause long-term misalignment. Regular calibration with tools like the Accu-CAL Lens Calibration Kit helps maintain focus accuracy, especially critical when working with high-end cine lenses that are sensitive to temperature shifts or minor knocks.
Moving beyond basic care, software also plays a vital role. I recommend employing programs such as Sony Catalyst Prepare or Blackmagic DaVinci Resolve Studio for ensuring your backups and color profiles are consistent, reducing the chance of post-shoot surprises. These tools seamlessly integrate with your workflow, alerting you to any file integrity issues from the field to the editing suite.
Looking ahead, I predict that the integration of AI-driven diagnostics—like predictive maintenance software—will become standard. These systems will analyze your gear’s usage patterns to foresee failures before they happen, saving you costly downtime. Companies are now developing machine learning models trained on thousands of support logs, which can suggest precise maintenance actions tailored to your setup.
So, how do I maintain my gear over time to avoid surprises on shoot day? Simple—consistently check and tighten all supports, clean and store everything in climate-controlled environments, and stay updated with firmware and software updates for your devices. Regularly replacing worn support components, like tripod clamps or gimbal mounts, with high-quality, purpose-built parts—such as those from our detailed guide—ensures longevity and performance.
Investing in specialized tools like torque wrenches for precise mounting and employing software diagnostics can transform your maintenance approach. When equipment performs reliably, you’ll spend more time focused on capturing incredible visuals and less on troubleshooting. Don’t hesitate—try integrating a calibration kit into your routine today. Small, consistent investments in maintenance tools and practices safeguard your gear, ensuring it keeps delivering exceptional results. For more expert-tested recommendations, visit our privacy policy.
What I Wish I Knew When I Started Shooting
- I underestimated the power of stable camera supports until I experienced hours of fuzzy footage caused by micro-movements. Investing in layered supports and proper maintenance transformed my workflow and image clarity.
- Choosing the right projection screen surface isn’t just about size; understanding gain and reflectivity saved me from washed-out images during daylight shoots, elevating my viewer experience.
- High-CRI lighting isn’t a luxury—it’s essential. Early on, I used cheaper lights that gave flat images, but switching to high-CRI LEDs brought true colors and dynamic range into my scenes.
- Focusing on the minutiae of cine lenses, like internal focus mechanisms, made a visible difference in focus stability, especially during re-framing, ensuring every shot was razor-sharp.
- Proper calibration and support upkeep are ongoing commitments. Regular check-ups and calibration routines prevented costly delays and kept my gear performing at its best, shot after shot.
From My Toolbox to Your Workflow
- High-precision support tools: I trust brands like Graphene Support Systems for their durability and vibration damping, crucial for high-res shoots.
- Calibrating devices: The Accu-CAL Lens Calibration Kit has been a game-changer for maintaining focus accuracy over time.
- Lighting solutions: My go-to are high-CRI LED mats that deliver rich colors with minimal setup.
- Support accessories: Locking quick-release plates from trusted manufacturers prevent micro-shifts, especially during long takes or camera movements.
Keep Pushing Your Cinematic Boundaries
Every detail, from sturdy support systems to appropriate lighting and precise lens calibration, contributes to your visual storytelling. I encourage you to scrutinize your setup, refine your techniques, and never settle for the obvious solutions. The mastery of these nuanced elements transforms good footage into extraordinary visuals. What’s one small tweak you can make today to elevate your cinematic quality? Share your thoughts below and continue the journey of improvement. For more insights, visit our privacy policy.
.
Related Posts
3 High-Torque Gimbals That Stop 16K Motor Overheat in 2026
It was late at night during a shoot in an…
Why Single-Bolt Camera Plates Are a Recipe for Disaster on Set
It was a moment I won't forget. I was on…
Complete Guide to Camera Supports & Film Lighting Equipment 2024
Have you ever been on set, frustrated because your camera…