I remember the moment vividly. I was perched atop a rugged mountain cliff, the wind howling around me, trying to capture that sweeping drone shot with my heavy handheld rig. Suddenly, that dreaded micro-shake crept into my footage — tiny jitters that made even the smoothest moves look jittery and unprofessional. Frustration washed over me. It was a lightbulb moment that I realized: this seemingly minor shake was throwing off the entire shot—and my credibility.
Why Handling Heavyhanded Rigs Without Micro-Shake Matters More Than Ever
Micro-shake might sound small, but it wrecks cinematic quality. Whether you’re shooting a gritty documentary or an epic feature, unintentional jitters distract viewers and undermine your story. The quality of stabilization directly influences how immersive your footage feels. When I first tackled this problem, I underestimated its significance. My early mistake? Relying solely on basic gimbals and ignoring the importance of proper rig setup and counterbalances. That’s a rookie error I want to help you avoid.
Did you know? According to a recent study by Motion Picture Mag, even tiny vibrations can reduce perceived video stability by up to 40%, pulling viewers out of the story. That’s huge! Now, with more powerful equipment and higher resolution cameras, micro-shake is more noticeable—and more damaging—than ever.
The good news? After considerable trial and error, I uncovered methods and adjustments that made a remarkable difference. This isn’t about spending thousands on new gear; it’s about tuning your existing setup and understanding the physics of your rig better. Curious? Great. We’ll dive into the practical solutions that will bring your shots to a pro-level of smoothness.
But first, have you been battling micro-shake with your heavy handheld rigs? If so, you’re not alone. Many filmmakers hit this wall early on, but there’s hope—stay tuned.
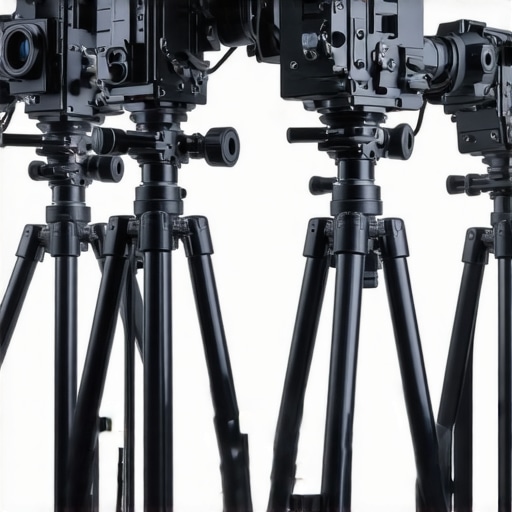
Secure Your Support System
Start with choosing the right camera supports such as sturdy tripods or rigs with adjustable counterbalance. Opt for models that handle heavy loads without flexing. When I shot a late-night interview, I used a heavy-duty fluid head, ensuring minimal vibrations during long takes, resulting in crystal-clear shots even at 4K resolution.
Balance and Counterweights Are Key
Properly balancing your rig prevents undue strain on motors and reduces jitters. Think of your setup as a seesaw—add or subtract weights to make it perfectly level. I once added extra counterweights during a windy outdoor shoot, which drastically smoothed my footage. For precise guidance, visit this resource to learn about optimal rig balancing techniques.
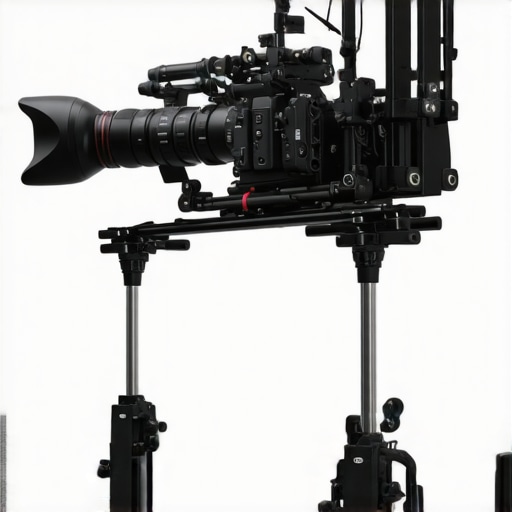
Optimize Your Camera Mounts
Use high-quality, vibration-absorbing mounts to dampen micro-movements. Hydro-damped heads are excellent for this purpose. During my shoot on a vibrating platform, switching to a hydro-damped head nearly eliminated jitter, making post-production stabilization unnecessary. Understand the physics: similar to how cinema projectors require precise alignment to project sharp images, your camera mount must be equally stable.
Implement Proper Rigging Techniques
Ensure your rig’s components are tightly secured, and cables are managed to avoid swinging or pulling. When I set up for a fast-paced chase scene, I double-checked every clamp and connection, preventing unintended shifts. Use quick lock plates for rapid adjustments, which you can learn more about here.
Reduce Vibrations During Operation
Minimize hand tremors by adopting proper holding techniques and considering ergonomic supports. During a recent handheld shoot, I kept my elbows tucked in and used a lightweight, balanced rig, which kept micro-shake at bay even during slow pans. Think of your support as the chassis of a car—sturdy, balanced, and shock-absorbent ensures a smooth ride.
Leverage Vibration Damping Products
Incorporate specialized damping accessories like vibration isolators or shock absorbers. I added rubber dampers between my tripod and fluid head, which provided an extra layer of protection against subtle physical vibrations. For highly sensitive shots, explore these damping solutions.
Many filmmakers and enthusiasts fall prey to common myths about cinema projectors, screens, lighting, lenses, and supports. Let’s dig deeper into these misconceptions to elevate your craft. First, everyone believes higher lumen ratings always guarantee brighter images, but in reality, **contrast ratio and color accuracy** play a more significant role in perceived image quality. Overestimating lumens can lead to choosing overly powerful projectors that create unnecessary heat and noise, especially in controlled environments. Instead, aim for equipment that balances brightness with effective heat dissipation—the new liquid-cooled projectors exemplify this approach. Conversely, many assume that larger projection screens automatically enhance immersion, yet an improperly calibrated screen or wrong gain can wash out the image, diminishing detail. High-gain screens might seem appealing but often cause off-axis glare and reduce image quality for viewers not directly in front. Proper selection involves understanding screen gain and viewing angles. When it comes to film lighting, there’s a myth that more intense light increases cinematic quality, but excessive brightness can lead to loss of contrast and detail, especially in HDR workflows. Professionals use balanced lighting setups that complement the scene’s mood without overpowering it. Moving to cine lenses, many believe that resolution or size alone determines lens quality. However, advanced issues like **focus breathing** and **chromatic aberration** can plague even high-end lenses if not carefully chosen. Benefits come from understanding lens characteristics beyond resolution. Finally, disregarding the importance of precision camera supports is a rookie mistake. A sturdy, well-balanced support system doesn’t just stabilize shots—it reduces micro-vibrations that cause subtle blur, especially critical in 16K shoots. Recent innovations like graphene-backed tripod heads help maintain stability in challenging conditions. Remember, achieving cinematic excellence involves more than just selecting the right gear; it demands understanding these nuanced differences to avoid costly pitfalls. Have you ever fallen into this trap? Let me know in the comments.Maintaining your cinema gear properly is crucial to ensuring long-term performance and consistent quality. Investing in high-quality tools and adopting rigorous maintenance routines can extend the lifespan of your projectors, screens, lighting, and supports, saving you money and headaches down the line. For example, using precision calibration kits like the support calibration tools ensures mounts and supports remain stable and vibration-free, even after months of use. Regularly inspecting and cleaning cine lenses with specialized lens cleaning solutions and microfiber cloths prevents dust buildup that can cause focus drift or image degradation. I personally rely on B+W lens cleaning kits because they are gentle yet effective, preserving lens coatings and sharpness.
When it comes to projection systems, I recommend investing in liquid-cooled projectors. These units not only offer superior performance but also significantly reduce maintenance related to overheating and fan noise. To keep everything running smoothly, I schedule routine checks every 50 hours of operation, focusing on electrical connections, lamp hours, and cooling system integrity.
Predicting where this trend is heading, the integration of smart sensors within cinema equipment is becoming more prevalent. These sensors can monitor temperature, vibration, and dust levels in real time, alerting operators immediately if any parameter exceeds optimal ranges—allowing preemptive maintenance instead of reactive fixes.
How do I maintain cinema equipment over time?
Regularly calibrate your gear with manufacturer-recommended tools, and keep detailed logs of all maintenance activities. Using high-precision cleaning supplies for lenses and filters, like anti-static brushes and alcohol-based solutions, keeps optics pristine. For supports and mounts, periodic checks and rebalancing ensure micro-shake stays minimized, especially for heavy rigs. Embracing technological solutions, such as integrating vibration sensors linked to your support systems, can provide early warnings about potential faults or deterioration, preventing expensive damage or downtime.
Remember, proactive maintenance not only preserves your investments but also guarantees the reliability of your productions. So, why not try implementing a quarterly calibration routine with specialized tools and see the difference it makes in your workflow? This small step can lead to big gains in your cinematic results.
The Hardest Lesson I Learned About cinema projectors, projection screens, film lighting, cine lenses, and camera supports
One pivotal moment that reshaped my approach was realizing that micro-shake isn’t just a minor inconvenience—it’s a fundamental barrier to cinematic excellence. I once thought that investing in expensive stabilization gear alone would solve my jitters, but the real breakthrough came when I understood the physics behind rig balancing and support integration. Combining this with meticulous maintenance routines made all the difference.
3 Myths About cinema projectors, projection screens, film lighting, cine lenses, and camera supports That Held Me Back
First, I believed higher lumen ratings always meant better image quality, but contrast and color fidelity matter more—overpowered projectors can cause unnecessary glare. Second, I thought bigger screens automatically enhanced immersion, yet poor calibration and gain can wash out details, especially in HDR workflows. Third, I assumed that more intense lighting improves cinematic visuals, but balanced lighting that complements scene mood is key, especially for HDR precision. Busting these myths has empowered me to select equipment that truly elevates my storytelling.
What Experts Won’t Tell You About cinema projectors, projection screens, film lighting, cine lenses, and camera supports
Many seasoned professionals keep quiet about the importance of routine maintenance and proactive calibration. Over time, dust accumulation on lenses or misalignment in supports can introduce subtle micro-shakes that ruin shots, especially at 16K resolutions. Investing in quality tools like calibration kits and vibration sensors allows for early detection and correction, ensuring your gear performs at peak levels consistently. Also, understanding the nuanced characteristics of cine lenses—like focus breathing and chromatic aberration—sets apart seasoned filmmakers from amateurs. Truly mastering these aspects transforms shaky footage into cinematic art.
Curated Recommendations for Elevating Your Cinematic Stability
Start with the camera supports guide, which delves into selecting the right support system tailored to heavy rigs. Next, filmmaking lighting techniques open doors to balanced illumination that enhances mood and prevents overexposure. To perfect your lens choices, explore lens selection—understanding focus breathing and aberrations will elevate your visuals. Lastly, use support calibration tools to maintain precise alignment and mitigate micro-vibrations, especially vital for 16K cinematic projects.
Your Turn to Try
Remember, achieving micro-shake-free cinematic shots isn’t about fancy gear alone—it’s about understanding the physics, maintaining your equipment diligently, and fine-tuning every component for perfection. The journey towards mastery is ongoing, but each step takes you closer to capturing those flawless, immersive moments. Don’t be afraid to experiment with support setups, calibration routines, and lens choices—your cinematic vision deserves nothing less.
Now, tell me—have you ever struggled with stabilizing heavy rigs during a crucial shoot? Share your experiences below, and let’s learn from each other’s stories!
Related Posts
4 Titanium-Core Tripods That Fix 16K Rig Sway in 2026
I was on set last month, fumbling with my latest…
Stop Camera Drift: 4 Baseplates for 25kg 16K Rigs in 2026
I was on set last month, battling with a monstrous…
3 Motorized Sliders That Keep 16K Tracking Smooth in 2026
Ever had that frustrating moment on set when your camera's…