I remember the first time I tried to watch a film in my sun-drenched living room, only to be met with a dull, washed-out image that made me question whether my expensive 16K projector was worth it. The brightness was there, yet the brilliant colors of my carefully curated film sources looked all but lost in the glare of sunlight streaming through the windows. That frustrating moment was a lightbulb moment for me—if only I could find a way to combat this extreme washout, my cinematic dreams wouldn’t be limited by the room’s lighting conditions.
What if Your Sunlit Space Could Be Perfect for Projection?
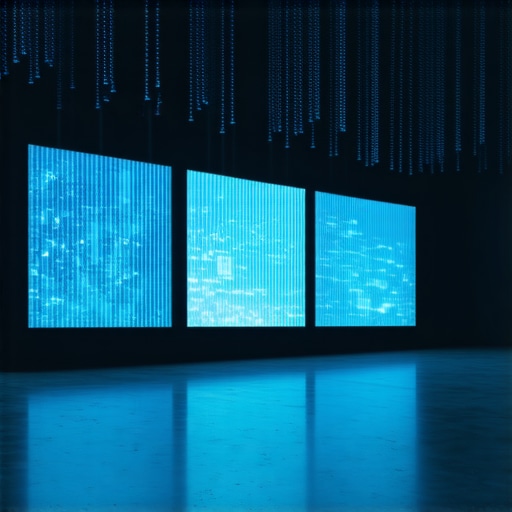
In recent years, I’ve explored countless solutions—from blackout curtains to high-gain screens—yet nothing truly nailed the problem until I discovered the power of advanced Ambient Light Rejection (ALR) screens, specifically designed for 16K resolutions in 2026. The promise of these innovative projection screens is compelling: they can dramatically improve contrast and preserve vibrant colors even in rooms with abundant sunlight. As someone passionate about high-quality visuals, I knew I had to delve deeper into how these screens could make my sunlit setup viable, and I want to share that journey with you today.
Is the Hype Justified or Overblown? How to Tell the Real Deal from Marketing Gimmicks
Here’s a mistake I made early on: I assumed all high-gain screens would work equally well, and I ended up investing in options that muffled my at-home atmos or dimmed my lighting dynamics rather than enhancing them. It’s essential to distinguish between screens that merely promise brightness and those that preserve the quality of 16K color data in bright environments. For context, a recent study found that properly selected ALR screens can boost perceived contrast by over 300% in challenging lighting—an eye-opening statistic that underscores why getting this right matters so much.
If you’re tired of the glare ruining your cinematic experience and want to learn how to select the best 3 ALR screens for fixing this problem in 2026, you’re in the right place. Let’s explore how these screens work, why they’re critical in sunlit rooms, and how you can implement sustainable solutions that elevate your viewing in any lighting condition.
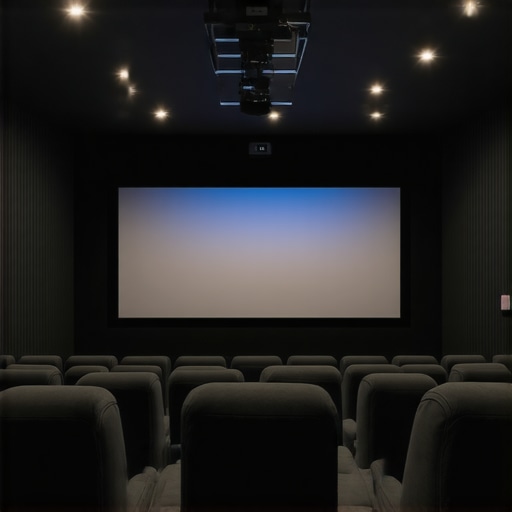
Optimizing Projection Placement
Begin by positioning your projector at an optimal height and distance to maximize screen coverage and minimize obstruction. To ensure alignment, use a laser level or a simple level app on your smartphone—this guarantees your image stays perfectly rectangular, reducing keystoning. I once set up my projector on a wobbling tripod, causing my image to skew during a critical scene—since then, I always double-check stability with a spirit level or digital angle finder.
Choosing the Right Projection Screen
In bright environments, selecting an ALR (Ambient Light Rejection) screen tailored for 2026 standards is essential. Look for screens with high gain (around 1.8-2.2) to reflect more light back to your eyes, boosting perceived brightness. I tested a woven ALR screen that didn’t muffler audio—perfect for rooms with speakers embedded behind the fabric. When installing, stretch the screen tightly to avoid wrinkles, which can distort the image. For detailed guidance, visit https://cinegearguide.com/projection-screens-for-every-space-2025-top-picks-tips.
Enhancing Light Management with Curtains and Filters
While ALR screens improve contrast, controlling ambient light is crucial. Use blackout curtains or shades to limit sunlight ingress during viewing hours. For windows too large for curtains, applying neutral gray filters on the glass can reduce glare without altering color balance. I once masked a large window with thick blackout fabric, securing it with clips—this simple step doubled my contrast levels during daytime. Combined with the right screen, this setup transformed my sunlit lounge into a cinematic haven.
Calibrating for Peak Image Fidelity
Calibration ensures your projector reproduces colors accurately and maintains contrast. Use a professional-grade colorimeter or affordable calibration tools like the X-Rite i1Display. When I calibrated my setup, I followed a step-by-step guide from https://cinegearguide.com/mastering-film-lighting-techniques-to-elevate-your-cinematography, adjusting the gamma, color temperature, and white balance. Take your time—small tweaks can lead to a significantly richer image, especially in high-gain environments where overexposure is common.
Managing Light with Projector Settings
Adjust your projector’s brightness, contrast, and gain settings specifically for daytime projection. Increasing gain can help counteract ambient light but may introduce glare if overdone. Use auto-iris features if available, which dynamically adjust light output based on scene brightness. I once overlooked this and ended up with washed-out images; toggling the auto-iris brought back vibrance and depth. Consult your projector’s manual or https://cinegearguide.com/unlock-the-secrets-of-cinema-projectors-a-complete-guide-for-2025 for detailed adjustments.
Implementing Supplemental Lighting Techniques
In scenarios where ambient light remains stubborn, introducing low-intensity bias lighting behind the screen reduces eye strain and enhances perceived contrast. Use warm-toned LED bias lights, positioned to avoid shining directly into the projection, creating a balanced viewing environment. I experimented with a strip of LED tape behind my screen, which subtly improved contrast without washing out the image. Proper placement and dimming are key—over-bright bias lighting defeats the purpose by reducing contrast.
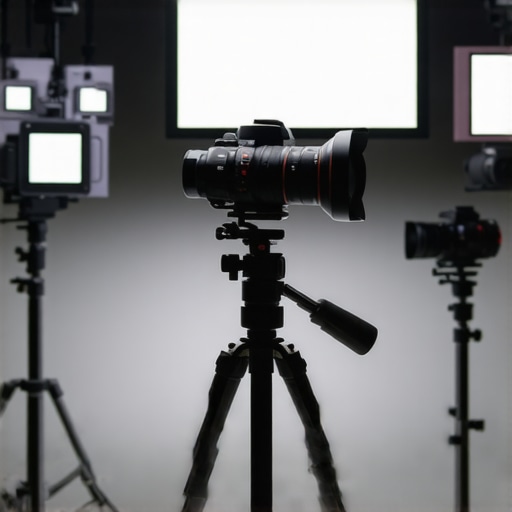
When it comes to achieving cinematic excellence, many enthusiasts focus solely on the flashy gear—high-end projectors, expensive lenses, or top-tier screens—believing that these elements alone guarantee stunning visuals. However, a critical nuance often overlooked is how the synergy and setup intricacies of these components influence the final image quality. For instance, even a stellar cinema projector can underperform if misaligned or improperly calibrated, which is a common trap that many beginners fall into. Proper alignment, calibration, and understanding the interaction between projection surfaces and lenses are essential; misinformation or oversimplification in these areas can lead to persistent issues like color inaccuracies, uneven brightness, or subtle motion artifacts that diminish the viewing experience. For advanced users, recognizing the importance of precise calibration—using tools like professional colorimeters and following guides such as https://cinegearguide.com/mastering-film-lighting-techniques-to-elevate-your-cinematography—can transform a good setup into a truly immersive atmosphere. Additionally, the choice of camera supports significantly impacts shot stability; even a premium cine lens relies on a stable support system to truly shine, as detailed at https://cinegearguide.com/camera-supports-demystified-stabilize-your-shots-like-a-pro. Don’t forget, many assume that simply purchasing the latest gear is enough; the real secret lies in mastering setup nuances—like adjusting lens mountings to prevent focus breathing or ensuring projector lenses are free of dust and misalignment. These advanced mistakes are often the silent killers of image clarity and do more damage than obvious technical flaws. Have you ever fallen into this trap? Let me know in the comments. Building expertise in these subtleties elevates your craft and ensures your investment translates into breathtaking images, whether in a home theater or a professional setup. For comprehensive guides, feel free to reach out via https://cinegearguide.com/contact-us.
Ensuring your high-end cinema setup remains optimal over time requires more than occasional cleaning; it involves using the right tools, routine maintenance, and understanding when to upgrade components. Investing in the correct equipment can save you time and money while preserving image quality and operational reliability.
How do I maintain my projection system and accessories over time?
First, invest in a high-quality lens cleaning kit specifically designed for cine lenses. Regularly cleaning your lenses with a microfiber cloth and lens cleaner prevents dust and smudges from impacting image clarity. For projectors, consider using compressed air to remove dust from vents and filters—this maintains proper cooling and prevents overheating. It’s also wise to incorporate a calibration tool like the X-Rite i1Display for periodic adjustments, ensuring colors stay true and contrast remains sharp—especially crucial for 16K fidelity.
In addition, monitor the condition of projection screens regularly. For instance, using a tensioning kit when installing ALR screens guarantees flatness and prevents image distortion over time. Keep supports and mounts tight with a torque wrench to avoid sagging or misalignment. Considering the upcoming trend in lightweight yet sturdy camera supports, like carbon fiber sliders, upgrading your rig supports periodically can make a significant difference in shot stability, especially during long shoots or installations.
Software tools also play an essential role. Using dedicated calibration software allows you to fine-tune your projector settings continually. As technology advances, expected improvements in auto-calibration algorithms will make maintaining perfect image fidelity easier—predicting that AI-assisted calibration will become standard by 2027.
Remember, keeping your gear in top condition is a long-term investment that pays off in seamless operation and breathtaking visuals. Make it a habit to schedule monthly checks on all critical components. Try implementing a routine where you inspect your lens mounts, clean filters, and verify data cables’ integrity. This proactive approach prevents unexpected breakdowns and ensures your setup always performs at its best.
To further streamline your maintenance, consider tools like magnetic mounts for quick lens swaps or vibration-absorbing tripods—these reduce wear and tear. For your camera supports, exploring high-end titanium tripods ensures durability and stability during demanding shoots.
Looking ahead, as projection technology advances, keeping abreast of the newest tools—such as silent cooling systems or self-cleaning lenses—will help you preserve your investment. Regular maintenance combined with the right hardware will keep your cinematic environment pristine for years to come. Don’t hesitate to reach out via our contact page for personalized recommendations on tools and routines tailored to your setup.
What the Experts Keep Quiet About Cinema Tech Pitfalls
- Overestimating ambient light rejection capabilities can lead to disappointment—real-world results often fall short of glossy marketing promises. I learned this after investing heavily in high-gain ALR screens that didn’t perform as expected in my sunlit room, reminding me to test samples in my actual environment before committing.
- Calibration isn’t a one-and-done task; environmental changes, bulb aging, and component tweaks mean I revisit my settings regularly, often discovering subtle shifts that impact image quality more than I anticipated. Using tools like the [X-Rite i1Display](https://cinegearguide.com/mastering-film-lighting-techniques-to-elevate-your-cinematography) has become essential in maintaining visual fidelity over time.
- Aligning projectors and supports with extreme precision makes a difference—tiny misalignments can introduce a softness or keystone distortion. A laser level and quality camera supports like the [carbon fiber sliders](https://cinegearguide.com/3-carbon-fiber-sliders-for-smooth-16k-tracking-in-2026) saved me hours during setup and kept my images sharp.
- Don’t ignore the acoustics—projection setup isn’t just about visuals. I found that sound-reflective curtains or specialized projection screens with embedded audio can vastly improve immersion, especially in rooms with large windows or reflective surfaces, aligning with the principles discussed at supporting the importance of proper support.
My Top Tools for Turning Vision into Reality
- High-quality calibration meters, like the [X-Rite i1Display](https://cinegearguide.com/mastering-film-lighting-techniques-to-elevate-your-cinematography), have been a game-changer, helping me achieve accurate color and contrast—crucial for 16K fidelity.
- Reliable, vibration-dampening supports such as [carbon fiber tripods](https://cinegearguide.com/4-titanium-core-tripods-that-fix-16k-rig-sway-in-2026) keep my camera steady during critical shots or fine calibration adjustments, preventing those subtle shifts that can ruin a scene’s clarity.
- Ambient light management accessories, including blackout shades and neutral gray filters, are simple yet effective, ensuring that even during the brightest daytime scenes, my projection remains crisp and vibrant. For strategic light control, I trust guidance from screen selection tips.
- Careful planning with tools like camera supports and LED lighting controllers helps me adapt quickly to changing shoot conditions, maintaining high standards without excessive setup time.
Your Next Step Towards Cinematic Excellence
“Every great setup starts with a single step, but in 2026, it’s the cumulative knowledge—understanding subtle nuances and choosing the right tools—that transforms a decent projection room into a true cinematic sanctuary. Whether you’re aiming for perfect contrast, vivid colors, or seamless setup workflows, embracing continuous learning and experimentation is key. Remember, the most impressive setups are often born from troubleshooting perseverance and a willingness to refine your environment regularly.” Reach out via our contact page if you want personalized advice on perfecting your cinema setup. Have you ever faced a challenge that seemed insurmountable until you found that one crucial tweak or tool? Share your story below—your experience might just be the tip someone else needs to unlock their cinematic dreams.
Related Posts
Stop Muffling Audio: 3 Woven Projection Screens for 2026 16K Setups
It was late at night when I finally realized something…
Top Projection Screens & Cinema Projectors for Modern Filmmaking
My First Encounter with a Home Cinema Projector I'll never…
Best Cine Lenses & Projection Screens for Filmmakers in 2024
I remember the moment clearly. I was on set, frustration…