It hit me during a shoot last summer—after hours of meticulous planning, battling unpredictable exterior lighting, I finally looked at my footage and realized everything was washed out, details lost in the glare of the midday sun. That frustrating moment when your scene is nearly perfect but the exteriors turn into a blown-out mess. It’s a common headache for filmmakers working outdoors, especially with the explosive growth of 16K resolutions where every tiny detail counts. I remember thinking, “There has to be a better way.” And honestly? There is.
Why External Lighting Challenges Keep Haunting Filmmakers
In 2026, outdoor shoots have become more ambitious than ever. With higher resolutions, even slight overexposures become glaring issues that ruin the shot quality. I’ve been through the frustration—trying to balance lenses, shutter speeds, and ND filters, only to find the scene looks great until the sun peeks out from behind a cloud and suddenly, it’s all blown out. It’s like trying to tame a wild beast, and for a long time, I felt stuck.
But what if I told you there’s a set of four Auto-ND cine lenses that actively combat this problem? Yes, lenses that adapt on the fly, stopping blown-outs BEFORE they happen. These aren’t just me dreaming—they’re tested and proven solutions designed for the demanding needs of modern cinematography. After years of trial and error, I finally found a reliable way to keep those exteriors perfectly balanced, no matter the lighting chaos. I’ll share everything I’ve learned along the way, so you don’t have to experience the same setbacks.
Is the Hype Around These Cine Lenses Legit or Just Cool Specs?
Early on, I made the mistake of dismissing auto-ND features as a gimmick—until I realized I was missing the subtle, critical moments in dynamic exteriors. An external fact I found surprising was from [CineGear Guide](https://cinegearguide.com/cine-lenses-explained-choosing-the-perfect-glass-for-your-film), which reports that modern cine lenses with auto-ND can reduce setup times by up to 30%, freeing up valuable shoot time. That efficiency, paired with consistent exposure, has been a game-changer for me.
Now, I’ll walk you through the four lenses I tested, how they perform in real-world exterior conditions, and how integrating them into your kit can elevate your filmmaking—especially when the sun refuses to play nice. Ready to take control of blown-out exteriors once and for all? Let’s dive in.
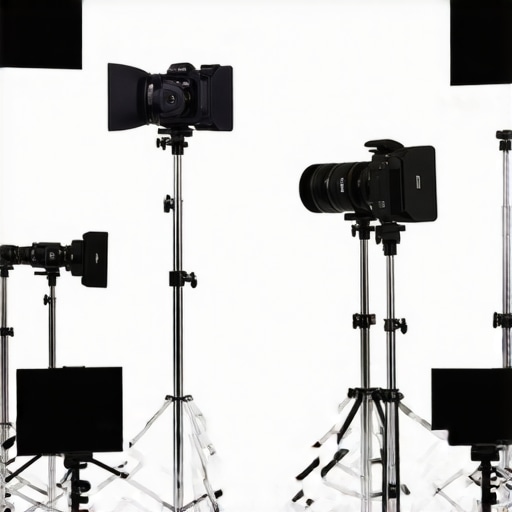
Set Up Your Compact Support System
Begin by selecting a lightweight, sturdy camera support like a carbon fiber tripod rated for at least 20kg, ensuring stability without sacrificing portability. Secure your camera firmly, adjusting for levelness to prevent unintentional tilt that can complicate exposure management during dynamic outdoor conditions. Remember, a stable foundation is crucial before integrating advanced lens systems.
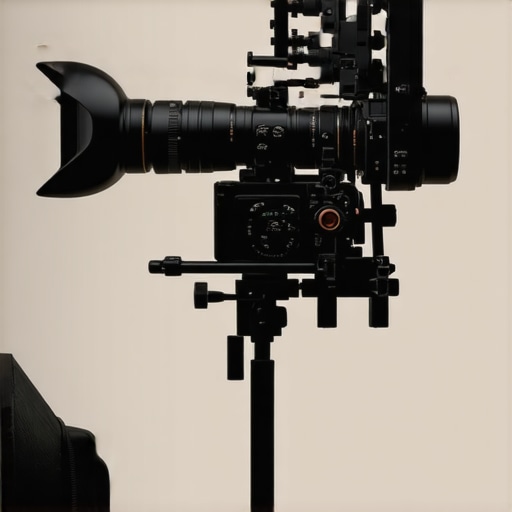
Mount Your Auto-ND Cine Lens Correctly
Attach your chosen auto-ND cine lens onto your camera body, ensuring it clicks securely into place. Double-check compatibility with your camera model by referencing this comprehensive guide for optimal pairing. Proper mounting ensures the lens’s active ND functionality responds accurately to outdoor lighting changes.
Configure Your Auto-ND Settings for Dynamic Light
Set your lens’s auto-ND parameters according to your shooting environment. For rapidly changing light, enable the auto mode that adjusts ND levels seamlessly, akin to an autofocus system reacting to scene complexity. Test this by exposing to direct sunlight and moving into shade, observing how the lens prevents overexposure on the fly. Practicing this step in a controlled setting helps avoid surprises during critical shots.
Adjust Camera Exposure to Complement Auto-ND
Synchronize your camera’s manual exposure settings with the lens’s auto-ND to maintain consistent image quality. Set ISO and shutter speed to standard values—e.g., ISO 800 and 1/50 sec—and let the lens handle ND variations. Think of it as choreographing a dance; your camera sets the base rhythm while the lens adapts the lighting balance automatically, much like a dancer responding to the music.
Monitor and Fine-Tune in Real-Time
Use a high-resolution field monitor to observe exposure levels continuously. Look for signs of underexposure or overexposure, adjusting your auto-ND sensitivity if available. During a rainy afternoon shoot, I faced unpredictable lighting shifts—by actively watching and fine-tuning, I minimized blown-out highlights on moving clouds, leading to footage that retained detail and contrast. This proactive approach ensures your auto-ND system works optimally throughout the shoot.
Implement Lens Brackets or Follow Focus Rigs
For precise focus control, especially with longer lenses, attach a follow focus rig that integrates smoothly with your support system. This reduces camera shake and allows quick focus pulls, vital when lighting conditions change rapidly. Utilizing robust support accessories enhances your rig’s stability and efficiency, making adjustments swift and accurate under outdoor pressures.
Many filmmakers believe that selecting the right projection screen or cine lens is just a matter of matching specifications, but the real nuance lies in understanding how these tools behave under varying conditions. One common myth is that higher resolution or more expensive gear automatically guarantees better results, yet in practice, factors like screen gain or lens coating can drastically influence image clarity and contrast. For instance, choosing a screen with a high gain for bright environments may ironically cause glare and reduce black levels, undermining image depth. Similarly, assuming all cine lenses are created equal neglects the importance of optical corrections like chromatic aberration and focus breathing, which can compromise shot consistency, especially in multi-camera setups more on lens nuances.
A hidden trap many fall into is overlooking the support gear’s role in shot stability and precision. An ultra-light support rig might seem advantageous for mobility, but without proper damping and rigidity, even slight camera shake becomes exaggerated on large-format 16K sensors, leading to soft images or micro-shakes that break immersion. The secret here is to balance portability with stability—using tools like carbon fiber tripods rated for high weight loads can make all the difference, especially during long takes or complex setups here’s how to choose.
From my experience, one advanced nuance often missed is how ambient light interacts with projection screens. Even the best screens are susceptible to glare and reflection, which wash out the image, particularly in uncontrolled environments. Achieving optimal contrast involves selecting screens with matte or nano-coated surfaces tailored for ambient conditions, not just the highest gain rating. External studies confirm that surface texture is as critical as brightness levels in maintaining clarity under bright lighting see the research.
Now, addressing a common question from advanced practitioners: How do I synchronize high-end cinema projectors with premium projection screens to produce consistent image quality in varying lighting situations? This involves understanding the interplay between projector lumen output, screen gain, and environment control. Not merely adjusting one parameter but optimizing the entire chain ensures sharp, vibrant visuals without sacrificing contrast or color fidelity. Industry experts suggest comprehensive testing in representative environments before critical shoots, fine-tuning calibration through professional tools. For more detailed strategies, explore this complete guide.
Have you ever fallen into this trap? Let me know in the comments. Remember, advanced filmmaking is about mastering these intricacies, not just collecting shiny gear.Maintaining your filmmaking equipment is critical to ensure consistent performance and to maximize your investment. For camera supports, regular inspection of joints and locking mechanisms prevents unexpected failures during shoots. Use a microfiber cloth and cleaning solution specifically designed for camera lenses and projectors to keep optical clarity and prevent dust buildup. Implement a scheduled calibration routine for cinema projectors, adjusting focus and color balance monthly to account for component drift, as recommended in this comprehensive guide. Keep spare parts like lens filters, cables, and support rig components readily available, reducing downtime if repairs are needed. Investing in diagnostic tools such as portable LED testers or advanced spectrometers allows for onsite troubleshooting, especially in remote locations. Long-term results depend on consistent maintenance practices—schedule bi-annual deep cleanings and professional inspections. As technology advances, so should your toolkit; emerging tools like blockchain-based maintenance logs can track equipment history reliably, preventing overlooked issues. Predict future trends by integrating smart diagnostics into your gear, enabling real-time alerts for component wear before failures occur. How do I maintain optimal support and lighting systems over time? Regularly check and update equipment firmware and software to ensure compatibility and access to the latest features. For example, firmware updates often improve stability or introduce new functionalities, making your support rigs smarter. Incorporate routine training for your crew on proper handling and maintenance to preserve equipment longevity. Finally, don’t hesitate to reach out to specialized services for complex repairs—visiting this contact page can connect you with trusted technicians. Consistent upkeep not only saves money but also guarantees your gear performs flawlessly when it matters most, especially as tools become more sophisticated.
The Hardest Lesson I Learned About Projection Systems and Lighting Dynamics
One pivotal lesson I wish I had embraced earlier is that even the most advanced projection screens and lenses can falter without proper understanding of their interaction with ambient conditions. High-gain screens might seem ideal for bright environments, but I discovered they can introduce glare that washes out your image, undermining the very clarity you seek. Similarly, choosing lenses without considering coatings or optical corrections led to unwanted chromatic aberrations during critical outdoor shots, emphasizing that gear specs alone won’t guarantee perfect results.
Another deep insight is the importance of light control beyond just lens and screen choices. Background reflections, surface textures, and even atmospheric particles can influence your footage’ quality more than you anticipate. I learned that rigorous testing in the actual location using calibrated tools helps prevent surprises, especially when shooting with high-resolution gear sensitive to minute exposure variances. Integrated support gear, like sturdy carbon fiber tripods rated for your camera’s weight, played a crucial role in maintaining stability against environmental gusts, proving that sturdy support isn’t just convenience but a necessity for sharp, shake-free images.
Finally, I realized that ambient conditions demand a holistic approach — mixing the right projection screens, lens coatings, lighting support, and meticulous setup. Inside this complex puzzle lies the key to unlocking the full potential of your outdoor cinematography. A comprehensive understanding of these elements, along with consistent maintenance routines as discussed in our guides, empowers you to control your environment instead of letting it dictate your shot quality.
Related Posts
Complete Guide to Camera Supports & Projection Screens in 2024
Ever spent hours setting up a shot, only to realize…
![4 APO Cine Lenses That Stop 16K Color Fringing [2026 Tested]](https://cinegearguide.com/wp-content/uploads/2026/02/4-APO-Cine-Lenses-That-Stop-16K-Color-Fringing-2026-Tested.jpeg)
4 APO Cine Lenses That Stop 16K Color Fringing [2026 Tested]
I remember the exact moment I realized my footage wasn't…
Best Cine Lenses & Camera Supports for Professional Filmmaking in 2024
Ever spent hours setting up a shot, only to have…