
It happened during a critical shoot—my camera was perched on a sturdy support, the scene was set, and I reached for the built-in microphone to capture that perfect ambient sound. But what I heard through my headphones was a tinny, distant echo of the scene, full of background noise and unwanted hiss. Frustration washed over me. I realized then that most in-camera microphones are simply not designed for professional work. They might seem convenient, but in reality, they often do more harm than good when it comes to capturing clean, high-quality audio.
The Hidden Flaws of Built-In Microphones
In my early days, I made the classic mistake of relying on the camera’s internal mic for serious projects. I believed that as long as I had clear visuals, the sound could be handled in post-production. Turns out, that’s a risky assumption. Built-in microphones are typically tiny, unidirectional capsules placed unstrategically, often to minimize cost rather than optimize quality. They are prone to capturing camera noise, handling vibrations, and environmental sounds that are irrelevant or destructive to the final mix.
The difference between professional-quality audio and amateurish noise isn’t just about equipment; it’s about understanding the limitations. A camera’s in-built mic cannot compensate for the echoey acoustics, wind, or handling noise that inevitably creep in during location shoots. Trust me, I learned this the hard way—by editing hours of unusable sound and regretting my initial shortcut.
The good news? Once I understood this common pitfall, I started exploring external microphones designed specifically for film production. From shotgun mics to lavaliers, the options are vast, and each can vastly improve your sound quality when used correctly. For comprehensive guidance on choosing the right gear, check out [this detailed guide on cine lenses](https://cinegearguide.com/cine-lenses-explained-choosing-the-perfect-glass-for-your-film) and how support equipment like stabilizers can further benefit your shoots.
Have you faced the disappointment of lousy audio after a shoot? If so, you’re not alone. Many filmmakers underestimate the importance of proper sound recording from the start, often leading to hours of post-production frustration. Luckily, understanding the core issues is the first step towards fixing them.
In the next sections, I’ll walk you through practical, tried-and-true methods to enhance your audio collection, starting with choosing the right external microphone for your needs. Let’s make every sound count.
Stabilize Your Shots for Crystal Clear Footage
Establish a solid foundation with the right support gear. Begin by selecting a high-quality fluid head tripod; I once used a lightweight model that wobbled during pan shots, resulting in shaky footage I had to fix in post. Upgrading to a professional-grade tripod with a smooth, responsive head immediately improved shot stability. Ensure the tripod’s legs are fully extended and locked to prevent any movement. Use a level bubble to confirm your setup is perfectly horizontal, avoiding unwanted tilt. For added stability on uneven terrain, incorporate weights on the tripod’s hook—this simple step makes a notable difference in overall shot steadiness.
Secure Your Camera with Proper Rigging
Attach your camera firmly using a quick-release plate compatible with your support. When mounting, align the lens’s center with the support’s axis for balanced movement, especially during tilts and pans. Incorporate counterweights or matte boxes to prevent front-heavy rigs from tipping over. During a project, I once rigged a camera on a gimbal with a heavy lens; carefully balancing the rig prevented motor strain and reduced vibrations. Regularly inspect all joints and locking mechanisms to avoid slippage mid-shoot. This proactive approach minimizes on-set mishaps.
Optimize Projection Screen Choices for Brightness and Clarity
Choosing the right projection surface is critical. During a home theater setup, I installed a high-gain, acoustically transparent screen to maximize brightness and maintain audio clarity. The screen’s material influences contrast and color reproduction; for ambient-lit rooms, a screen with a matte white finish diffuses light evenly. For dedicated theaters with controlled lighting, a high-contrast, velvet-bordered screen enhances black levels and detail. When selecting a screen, consider your space’s lighting conditions and desired image depth. Use [projection screens for every space](https://cinegearguide.com/projection-screens-for-every-space-2025-top-picks-tips) as a resource for choosing options tailored to your environment.
Calibrate Your Projector for Flawless Images
Calibration is key to achieving deep blacks and vibrant colors. I once used a basic test pattern to adjust my projector, but switching to a professional colorimeter yielded far superior results. Focus on proper brightness, contrast, and color temperature settings; avoid crushing shadow details to preserve image depth. Utilize free calibration software or tools recommended in guides like [how to calibrate your projector](https://cinegearguide.com/how-to-calibrate-your-projector-for-deep-blacks-without-crushing-detail). Consistent calibration ensures your audience perceives the intended artistic intent, not muddled or washed-out images.
Refine Lighting for Cinematic Atmosphere
Lighting shapes mood and directs viewer attention. Start with a three-point setup: key, fill, and backlights. During a recent short film, I used a softbox for the key light, a reflector for fill, and a hair light behind the actor to create separation. Use diffusion materials to soften harsh shadows and avoid flat lighting. Implement practical lights or LED panels to add natural ambiance; for night scenes, dimmed practicals create intimacy. Remember, controlling light spill is vital—use flags or barn doors (see [how to use barn doors](https://cinegearguide.com/how-to-use-barn-doors-to-sculpt-light-without-adding-bulk)) to sculpt your scene and highlight subjects effectively.
Match Cinematic Lenses to Your Scene
The choice of lens impacts depth of field and image character. When filming an intimate dialogue, I opted for a fast prime lens to achieve a shallow DOP, blurring background distractions. For wide establishing shots, a zoom with a mid-range aperture provided flexibility. To select the best lens, consider the scene’s mood, distance, and lighting; consult resources like [choosing the perfect cine lens](https://cinegearguide.com/cine-lenses-explained-choosing-the-perfect-glass-for-your-film). Precise focus pulling is essential—use a reliable follow-focus system (see [how to fix your follow focus](https://cinegearguide.com/why-your-follow-focus-has-play-and-how-to-tighten-it)) for sharp results consistently.
While many enthusiasts focus on choosing the latest camera or film stock, there’s a lesser-known world of nuances in gear like supports, screens, and lighting that can make or break your cinematic quality. Let’s dig deeper into some common misconceptions and advanced mistakes that even seasoned filmmakers fall for.
Are You Overlooking the True Cost of Supports and Their Impact? Remember, a cheap tripod might save money upfront but can cause jittery footage during critical shots, negating any savings. Many assume that any support will do as long as it holds the camera. However, inadequate support can introduce vibrations, especially with long lenses or during dynamic movements. Using support systems like a stabilizer or gimbal instead of a flimsy tripod ensures smoother footage. Moreover, quick-release plates and proper counterbalancing are vital—ignoring these can lead to slippage mid-shot, ruining your scene. Always invest in quality and maintain your gear properly; it pays off in professional results. Learn more about support demystification at this detailed guide and prevent the well-known trap of support-induced instability.Think All Projection Screens Are Equal? Think Again
Many filmmakers and home projectors enthusiasts assume they can pick any screen and achieve perfect contrast. Wrong. The misconception here is that screen material, gain, and ambient light handling don’t significantly affect picture quality. The truth is, a poorly chosen screen can wash out colors, cause unwanted reflections, or struggle with contrast ratios. For instance, high-gain screens boost brightness but often introduce hot-spotting, making image uneven, especially in larger rooms. Conversely, matte white screens diffuse light evenly but might lack vibrancy in well-lit environments. Tailoring your screen choice to your space and projector specifications is essential—don’t just go for the mainstream options. For expert recommendations, check this resource and avoid costly mistakes. Remember, selecting the right projection surface can significantly enhance your cinematic experience.
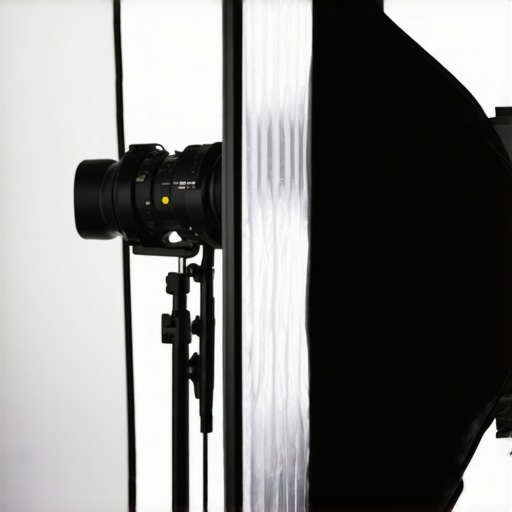
Advanced Lighting Mistakes Even Pros Make
It’s tempting to think that adding more lights brightens a scene. But over-lighting can flatten textures and reduce depth, causing a sterile look. A common error is neglecting the color temperature matching between different light sources, resulting in inconsistent skin tones or unnatural hues. Additionally, many overlook the importance of controlling spill light—using flags or barn doors can sculpt your scene and add dramatic emphasis rather than just flooding the entire frame. Using practicals and motivated lighting enhances realism and mood but requires precision—something beginners often ignore. For masterful lighting setups, I recommend studying techniques in this comprehensive guide. Remember, mastering lighting is about subtle control, not just increasing brightness. Have you ever fallen into this trap? Let me know in the comments.
Keep It Running: Essential Maintenance Tools for Filmmakers
Maintaining your filmmaking equipment is crucial for ensuring consistent performance and longevity. I rely heavily on specialized tools that address the unique needs of camera supports, projection screens, and cine lenses. For instance, a high-quality lens cleaning kit, including microfiber cloths, lens cleaning solution, and an air blower, is indispensable. I personally favor the Kūbler Lens Cleaning Kit because it allows me to safely remove dust and smudges without risking scratches—something I learned the hard way early in my career. Regularly inspecting and lubricating camera support systems, like fluid heads, also prevents wear and tear. For example, this guide offers practical advice on maintaining smooth operation.
Monitoring equipment like projection projectors benefits from tools such as calibrated colorimeters and test patterns, which ensure consistent image quality over time. I use the X-Rite i1Display Pro for color calibration, guaranteeing my screens and projectors display accurate colors, vital for post-production work. As projections are often affected by environmental factors, sealants and dust covers help preserve setup integrity, especially in dust-prone environments. Additionally, for cine lenses, a specialized lens gear push, along with anti-fog solutions, keeps optics pristine.
How do I maintain my cinematic tools over time?
Establishing a routine is key. Always clean lenses immediately after shoots, store equipment in padded cases, and conduct regular checks of support mounts and support gear. For cine lenses, avoiding exposure to extreme temperatures and humidity prolongs their usability. Using dedicated storage solutions, like humidity-controlled cabinets, safeguards critical gear—something I recommend based on my experience working in variable climates. Additionally, keep spare parts like gaskets and O-rings handy; they prevent leaks and maintain sealing integrity, especially for support systems and projectors. Implementing a scheduled maintenance plan, perhaps monthly, ensures you catch potential issues before they become costly repairs. Lastly, always refer to your gear’s manufacturer guidelines—compliance can prevent warranty voids and extend equipment life. For detailed instructions on calibrating your projectors, check out this calibration guide.
Looking ahead, the trend points toward smart maintenance systems integrated with IoT sensors, which will automatically alert you to issues like vibration anomalies in support systems or film stock degradation. Embracing these innovations now can keep your gear at peak performance longer.
So, I challenge you to pick one piece of your support gear or lens system and set up a maintenance routine using these tools and tips. Experience the difference in reliability and image quality firsthand!
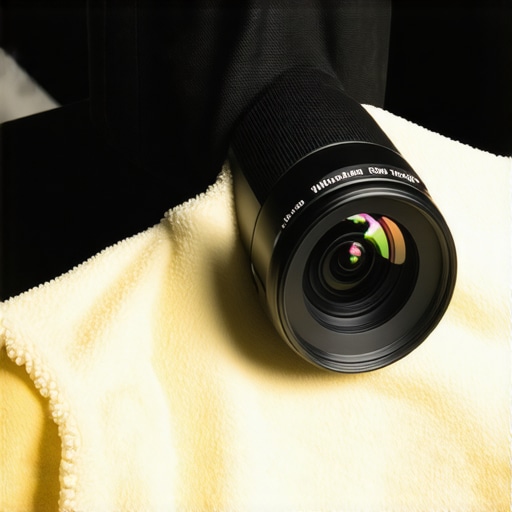
The Hardest Lesson I Learned About camera supports,projection screens,film lighting,cinema projectors,cine lenses
One of my most pivotal moments was realizing that the support gear I selected could make or break my footage’s stability and professionalism. Early on, I underestimated the importance of a sturdy support, thinking a cheap tripod would suffice. The wobbling shots during a critical scene taught me that investing in quality support systems is essential. Additionally, I learned that proper balancing and maintenance prevent costly mishaps, saving time and ensuring consistent results. This eye-opener reshaped my approach and underscored the significance of diligent gear care.
My Essential Toolkit for camera supports and projection screens
Over the years, I’ve come to rely on specific tools and resources that elevate my filmmaking process. The support support guide remains my go-to for selecting stable, reliable support gear. For projection screens, I trust the detailed reviews and recommendations in this resource, which helps me match screens perfectly to my environment. When it comes to lighting, I frequently consult this comprehensive guide to refine my setup. These tools have become indispensable in achieving cinematic excellence.
Your Turn to Elevate Your Craft and Make Every Frame Count
The journey to cinematic mastery involves attention to every detail, from robust support systems to carefully chosen projection surfaces. Applying these insights will transform your projects, bringing clarity, stability, and visual impact that captivate audiences. Remember, the right gear and knowledge are your allies—so forge ahead with confidence and stay committed to continuous improvement. Every filmmaker faces challenges, but with the right support and support tools, there’s no limit to what you can create. Ready to take your filmmaking to the next level? Share your experience or ask questions below, and let’s grow together in this exciting craft.
About the Author
James Duke
ThinkOTS
James Duke is a seasoned professional in the creative production industry, bringing a wealth of technical knowledge and hands-on experience to cinegearguide.com. As a key figure at ThinkOTS, James has spent years navigating the complexities of high-end production environments, where selecting the right equipment is the difference between a successful shoot and a logistical failure. His expertise spans the full spectrum of cinematography gear, from advanced camera systems to the intricate accessories that define modern filmmaking. On cinegearguide.com, James leverages his deep understanding of the industry to provide authoritative insights, gear reviews, and technical guides. He is known for his ability to break down complex specifications into practical, actionable advice for filmmakers of all levels. His perspective is rooted in the real-world application of technology, ensuring that every recommendation is backed by professional standards. James is dedicated to empowering the filmmaking community by sharing his expertise, helping others navigate the ever-evolving landscape of cinema technology with confidence and clarity.
LinkedIn Profile