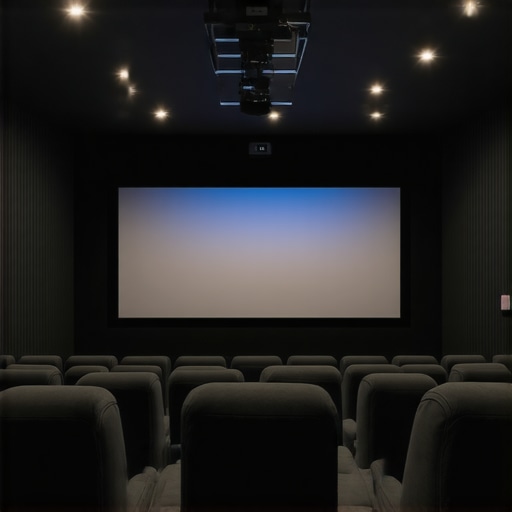
Ever spent hours setting up your cinematic space only to be disappointed by a dull picture or uneven lighting? I remember countless nights where I’d wrestle with cheap screens that blurred the image or lights that cast unwelcome shadows. It’s frustrating, and honestly, it felt like a never-ending battle to get that perfect shot. That was my lightbulb moment — realizing that investing in the right projection screens and film lighting equipment isn’t just a luxury, but a necessity for serious filmmakers.
Why Your Setup Might Be Holding You Back
In my early days, I made a crucial mistake — I thought that any old projector and lighting kit would do. Turns out, choosing the right gear can make or break your entire project. Modern cinematography demands equipment that can deliver sharp, vibrant images with consistent color and contrast, even in less-than-ideal environments. This is especially true for 2024, where innovations like ambient light rejection screens and LED lighting are redefining what’s possible on set. If you’ve ever faced washed-out images or uneven lighting, you’re not alone. Many filmmakers underestimate how much their choice of projection screen and lighting can influence the final result.
Is All the Hype About Projection Screens and Lighting Equipment Justified?
One mistake I made early on was dismissing the importance of a quality projection screen—thinking it was just a surface. But the truth is, a good screen can increase contrast, improve brightness, and even reduce glare. Similarly, cheap lighting can cause color inconsistencies and harsh shadows. Did you know that according to industry experts, investing in top-tier projection screens and lighting can elevate your film’s visual quality significantly? It’s a game changer. If you’re skeptical, I get it — I was too. That’s why I recommend checking out this comprehensive guide to projection screens for 2024. It helped me understand what features truly matter and avoid costly mistakes.
So, if you’re tired of struggling with subpar visuals and inconsistent lighting, stick around. I’ll walk you through the best options for 2024 that will help you craft professional-grade cinematography right in your own space. Ready to stop guessing and start creating?
}**
Invest in the Right Projection Screen
Start by selecting a high-quality projection screen tailored for your space. For example, ambient light rejection screens are ideal if you have some ambient lighting, as they help maintain contrast and brightness. I once set up a room with a basic matte white screen, only to realize that glare and ambient light washed out my image. Upgrading to a dedicated ambient light rejection screen transformed my viewing experience, giving me crisp, vibrant images even during daytime shoots.
Choose the Appropriate Screen Size and Material
Measure your space accurately—think of it like choosing the right lens for your camera. A screen that’s too small makes details hard to see, while one that’s too large can distort perspective. For material, opt for a gain level suitable for your projector’s lumen output. Higher gain screens reflect more light but can create hotspots, so balance your choice based on your projector’s brightness.
Optimize Your Film Lighting Equipment
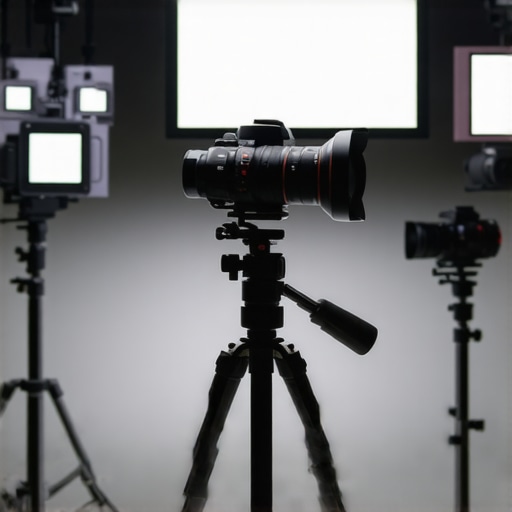
Lighting is the backbone of cinematic storytelling. Invest in LED lights with adjustable color temperature and intensity. I experimented with budget LED panels, but the color inconsistencies undermined my footage. Upgrading to professional-grade LED lighting made a noticeable difference, providing consistent, controllable illumination that enhanced skin tones and scene mood.
Use Softboxes and Diffusers for Natural Light
Hard lighting creates unflattering shadows. Instead, use softboxes and diffusers to mimic natural light. I once tried to light a scene with direct LED spotlights, resulting in harsh shadows. When I added softboxes, the scene gained depth and realism, making my footage look more professional.
Implement Ambient and Practical Lighting
Ambient lighting sets the overall mood. Use dimmable fixtures to control brightness. Practical lights—like lamps and practical fixtures—add realism. I once didn’t consider ambient light control, leading to inconsistent exposure. After installing dimmers and practicals, my shots became more balanced and cinematic.
Control Light Spill and Shadows
Use flags, barn doors, and gobos to shape your light. This helps prevent spill and unwanted shadows. For example, I used flags to block spill onto my background during a shoot, which increased contrast and focused viewers’ attention on the subject. Mastering light shaping is a game changer for professional-quality visuals.
Test and Fine-Tune Your Setup
Always test your setup in the actual environment. Adjust projector placement, screen angle, and light positioning. I once spent hours tweaking my projector’s angle, only to realize I could achieve better results by moving it slightly closer. Small adjustments can dramatically improve image clarity and lighting balance.
Use Professional Tools for Calibration
Invest in calibration tools like colorimeters and waveform monitors. Proper calibration ensures your colors are accurate and your exposure is balanced. I learned this the hard way when my footage looked washed out on different displays. Calibration brought consistency and professionalism to my projects.
Remember, the key is to treat your projection screen and lighting setup as integral parts of your cinematography toolkit. Each element should enhance your story, not distract from it. For more detailed insights on choosing the best equipment, check out this guide to projection screens and advanced film lighting techniques.” ,
Many filmmakers operate under misconceptions that can hinder the quality of their projects. One pervasive myth is that all projection screens are created equal, and choosing a cheaper option won’t significantly impact your image quality. In reality, the nuances of screen material, gain level, and construction are crucial, especially in environments with ambient light. For instance, ambient light rejection screens are not just a luxury—they are essential for maintaining contrast and brightness in less-than-ideal lighting conditions. Skimping here often results in washed-out images and wasted effort.
Another common mistake involves lighting techniques. It’s widely believed that bright, harsh lights make scenes more dramatic. However, this approach often leads to unflattering shadows and color inconsistencies. Skilled filmmakers understand that soft, diffuse lighting enhances realism and visual appeal. Using softboxes and diffusers isn’t just a stylistic choice but a technical necessity that many beginners overlook, leading to flat, unprofessional footage.
Why Do So Many Still Overlook These Details?
The answer lies in the misconception that equipment choices are secondary to camera work or storytelling. But advanced cinematography recognizes that lighting and projection surfaces are foundational. They directly influence how your visuals are perceived and can make or break your scene’s mood and clarity. Industry experts emphasize that investing time and resources into understanding these nuances elevates your work from amateur to professional. For more insights on selecting the right projection screens and lighting, I recommend checking out this comprehensive guide and advanced lighting techniques.
Have you ever fallen into this trap? Let me know in the comments. Remember, small details can have a big impact on your cinematic results.
Keeping your cinematic setup in top shape requires more than just choosing the right gear; it involves consistent maintenance and understanding the tools that ensure longevity. Over time, even the most robust equipment can degrade or fall out of calibration, which is why I recommend adopting a proactive approach to maintenance. This not only preserves image quality and lighting consistency but also saves you money in the long run by avoiding costly repairs or replacements.
How do I maintain my projection and lighting gear for years of reliable use?
One of my go-to strategies is investing in professional-grade cleaning and calibration tools. For projectors, I use a colorimeter like the X-Rite i1Display Pro. It helps me regularly calibrate my projector to ensure accurate color representation, which is crucial for professional-grade cinematography. Regular calibration prevents color drift, especially if your setup is exposed to varying temperatures or frequent use. Additionally, keeping the lens clean with a microfiber cloth and proper cleaning solutions prevents dust and smudges that can diminish image clarity.
For lighting equipment, I swear by portable, adjustable power supplies and dimming controls. Using high-quality dimmers not only allows for precise control over ambient lighting but also extends the lifespan of your LED fixtures by preventing overheating. External fans or cooling systems are also a smart addition if you’re running lights for extended periods, as heat buildup can shorten the lifespan of LED components.
Tools I recommend for ongoing maintenance
Beyond calibration devices, I always keep a set of soft brushes, compressed air cans, and lens cleaning solutions on hand. These help me regularly remove dust from sensitive components without risking scratches or damage. For quick adjustments during shoots, a versatile multi-tool kit with screwdrivers and pliers is invaluable. It enables me to tighten loose mounts and replace worn-out cables swiftly, minimizing downtime.
In the future, I predict that smart maintenance tools integrated with IoT technology will become more prevalent. Imagine sensors embedded in your projectors and lights that automatically alert you to potential issues before they cause failures. Companies are already developing such solutions, which could revolutionize how filmmakers and enthusiasts maintain their setups.
How can I scale my setup effectively without sacrificing quality?
Scaling your equipment should be a gradual process. Start by adding modular components like adjustable mounts, flexible support rigs, and adaptable power sources. These allow you to expand your setup without overcommitting financially or sacrificing precision. Also, consider investing in multi-functional tools that serve multiple purposes, reducing clutter and increasing efficiency during maintenance and adjustments. For detailed insights on supporting your gear, check out this guide to camera supports.
Remember, consistent maintenance and the right tools are the backbone of a reliable, scalable cinema setup. Regularly reviewing your equipment’s health with these tools and tips ensures your visuals stay sharp, your lighting remains consistent, and your creative flow continues unhindered. Try integrating a calibration routine with your projector and keep a maintenance checklist—small efforts that yield big results over time.
As filmmakers and enthusiasts strive for that perfect shot, the details behind projection screens and lighting often determine the difference between amateur and professional results. Over the years, I’ve learned that investing in top-tier equipment and understanding their nuances can dramatically transform your cinematic space. In 2024, new innovations make it easier than ever to achieve stunning visuals, but only if you choose wisely.
The Hardest Lesson I Learned About Cinematic Environments
- Don’t overlook ambient light rejection screens. I used a basic white screen for years, only to find my images washed out during daytime shoots. Upgrading to an ambient light rejection screen was a game changer, maintaining contrast and vibrancy even in bright rooms.
- Lighting isn’t just about brightness. I once thought high lumen LED lights were enough, but inconsistent color temperature ruined my footage. Professional-grade lights with adjustable color and intensity gave me the control I needed to craft mood and realism.
- Calibration saves time and effort. I used to ignore calibration, leading to mismatched colors across devices. Regularly using tools like the colorimeter ensures consistent, accurate visuals, elevating the professionalism of my work.
- Small adjustments matter. Whether shifting projector placement or shaping light with flags, I discovered that tiny tweaks can unlock much better image clarity and depth, making my scenes more cinematic.
My Essential Toolkit for Cinematic Brilliance
- Projection screens for every environment: I trust the latest projection screens for 2024 that balance gain, material quality, and ambient light rejection, crucial for vibrant images regardless of space.
- Adjustable LED lights: My go-to are lights with tunable color temperature and dimming, ensuring I get the perfect mood without harsh shadows. Brands like Aputure and Godox have consistently delivered reliable results for me.
- Calibration tools: The X-Rite i1Display Pro has been invaluable for maintaining color accuracy over time, especially when I upgrade or move my setup.
- Support and maintenance gear: Support rigs, softboxes, and cleaning kits keep my equipment in top shape, preventing issues before they start and ensuring longevity.
Step Up and Make Your Mark in 2024
Now is the perfect time to refine your cinematic environment. With smarter equipment choices and a deeper understanding of their impact, you can achieve visuals that truly stand out. Whether you’re shooting a short film, streaming content, or refining your home theater, the right setup empowers your creativity and elevates your craft. Ready to take the next step in your cinematic journey? Share your biggest challenge below and let’s conquer it together!
Related Posts
Top Projection Screens & Cinema Projectors for Modern Filmmaking
My First Encounter with a Home Cinema Projector I'll never…
Best Cine Lenses & Projection Screens for Filmmakers in 2024
I remember the moment clearly. I was on set, frustration…
Stop Muffling Audio: 3 Woven Projection Screens for 2026 16K Setups
It was late at night when I finally realized something…