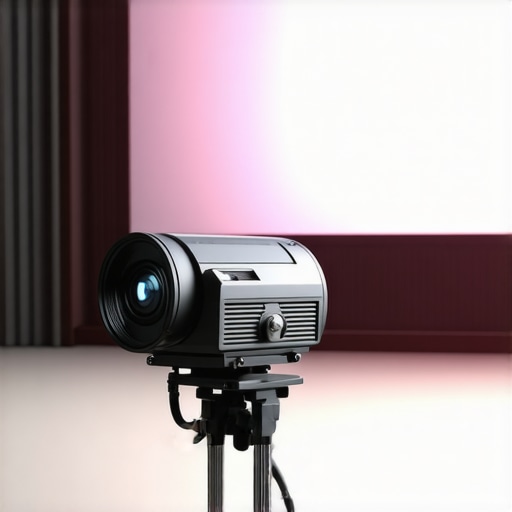
One evening, I grabbed my beloved vintage film projector, eager to showcase a classic on my homemade theater setup. As the images flickered to life, I was met with a blurry mess—colors washed out, details lost in shadows. It struck me then how crucial quality equipment is, yet I had spent so much time fussing over the screen and lighting, neglecting the real heart of the experience: the projector itself.
The Quest for the Perfect Picture Starts Here
That lightbulb moment pushed me to dive deep into what makes a cinema projector stand out in 2024. Trust me, this isn’t just about shiny gadgets; it’s about capturing the magic of the big screen, right in your own home or studio.
Will the hype live up to my expectations? Or is it just another overhyped gadget?
Early in my search, I made a costly mistake—buying a budget projector that promised big things but delivered fuzzy images and disappointing contrast. As I learned, choosing the right model isn’t just about specs; it’s about understanding your space, your content needs, and your budget. This advice is backed by industry experts, who stress the importance of tailored solutions for optimal viewing experience (see here).
So, if you’ve ever felt frustrated with blurry images or overwhelmed by endless options, you’re not alone. Together, we’ll cut through the noise and find the best cinema projectors of 2024 that truly deliver cinematic magic—whether it’s for home theaters, professional productions, or immersive experiences. Ready to elevate your setup? Let’s explore what makes a projector worth your investment and how to avoid the pitfalls I fell into.
Set Your Projection Screen for Optimal Clarity
Begin by selecting a high-quality projection screen suited for your space; avoid ambient light interference by choosing matte or ambient light rejecting screens. When I set up my basement theater, I installed a retractable screen and calibrated its tension to eliminate wrinkles, resulting in sharper images. For tips, see this comprehensive guide.
Prepare the Surface
Ensure the screen surface is clean and free from dust or smudges; use a soft cloth to wipe it gently. For larger setups, consider mounting brackets that level the screen perfectly — this is the foundation for a crisp image. When I last did this, I used a laser level for precision, which drastically improved projection quality.
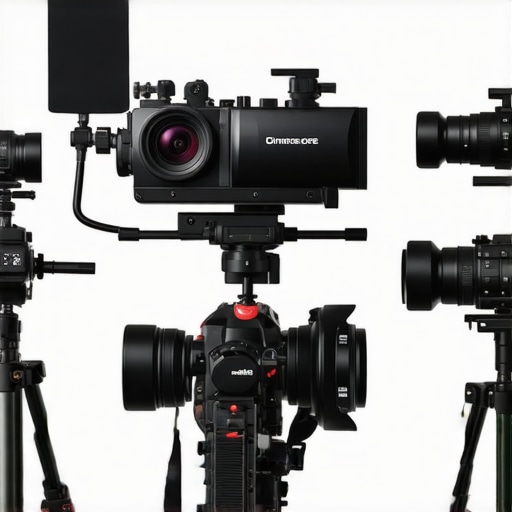
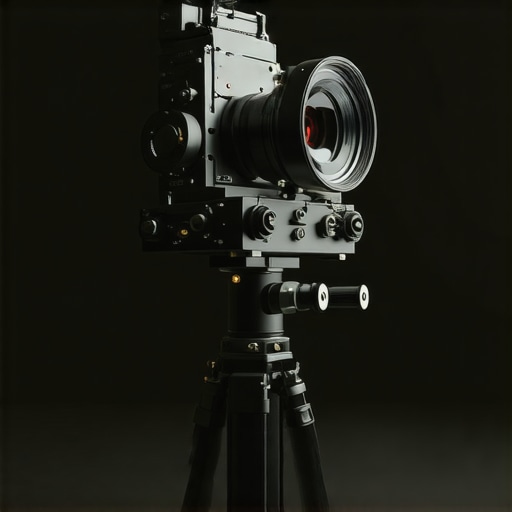
Calibrate Your Camera Supports and Lens Setup
Stability is key; use reliable camera supports to prevent jitter during projection calibration. My experience with shaky mounts made me realize how even minor vibrations blur the image. For professional results, explore this guide. Attach your cine lenses carefully, ensuring focus and aperture are correctly set, which is crucial for sharpness. I once failed to adjust aperture properly and lost detail in the shadows, so precise setup is non-negotiable.
Optimize Lighting to Enhance Contrast
Lighting dramatically influences perceived image quality; use controlled film lighting to complement your projector’s output. Investing in dimmable fixtures and directional lights helps minimize reflections and glare. When I experimented with different lighting angles, I discovered that softer, indirect lights created richer blacks and vivid colors. For lighting techniques, visit this resource. Make sure to avoid direct light on the screen, which can wash out the picture and reduce contrast.
Fine-Tune Your Projector Settings
Adjust the projector’s focus, keystone correction, and zoom to fit your screen perfectly. I recall tweaking the focus for several minutes until the image crisped up, revealing incredible detail I hadn’t seen before. Use test patterns and consider professional calibration for maximum accuracy. Refer to the latest projector calibration tips to get it just right. Regular calibration ensures consistent quality, especially when changing media sources or upgrading your setup.
Use Supports and Accessories to Maintain Stability
Secure your projector on a dedicated support or ceiling mount to prevent movement. I’ve learned that even slight shifts can distort the image; sturdy supports preserve alignment over time. For detailed mounting options, see this guide. Additionally, consider using cable management solutions to keep everything tidy, preventing accidental tugs or knocks. The investment in proper supports pays off by maintaining image clarity during long viewing sessions.
While it’s tempting to assume that upgrading your projection screens or investing in high-end cine lenses automatically guarantees cinematic excellence, the real nuance lies in mastering the subtleties that often go unnoticed. Many enthusiasts fall prey to popular myths that can hinder their progress, leading to subpar results despite seemingly premium gear.
One pervasive misconception is that the brightest projector with the highest lumen rating will always produce the best image. However, excessive brightness can wash out details, especially in well-controlled environments. Industry experts emphasize that optimal contrast and proper calibration outweigh raw lumens, impacting the perceived sharpness and depth of the image (see here).
In the realm of screen selection, many overlook the importance of surface quality and ambient light management. A common mistake is to choose an overly reflective screen in a lit room, which results in glare and decreased contrast. Matte or ambient light rejecting screens can significantly enhance clarity by mitigating ambient interference, but only if properly calibrated and matched with your projector’s capabilities—another nuance often ignored.
What Advanced Filmmaking Mistakes Do People Still Make?
When it comes to camera supports and cine lenses, a frequent error is neglecting the impact of stability and focus. Even minor vibrations or misaligned supports can introduce image softness, and improper lens focus settings can cause critical loss of detail in crucial shot areas. Professional cinematographers stress the importance of meticulous support calibration and lens focus adjustments—advocating for tools like high-quality tripod heads and focus peaking features (learn more here).
Moreover, many assume that higher-end lenses automatically produce better images. While premium cine lenses offer superior glass and coatings, improper handling or incorrect aperture settings can negate their advantages, introducing aberrations or reducing contrast. Regular calibration and understanding the optical nuances can make a world of difference in achieving pristine footage.
Another nuanced aspect involves lighting techniques. Overly bright or poorly directed lighting can lead to washed-out scenes or unintended reflections, undermining the contrast and mood. For professional results, controlling light intensity and direction is critical. Techniques such as soft lighting and judicious use of flags and diffusers can elevate the cinematic feel (see this guide).
In essence, the real masterstroke is recognizing that equipment alone doesn’t guarantee quality. The mastery comes from understanding the intricacies—matching screen types with environmental conditions, fine-tuning projector settings, properly supporting and focusing lenses, and controlling lighting with precision. Overlooking these nuanced details can cause frustrations and missed potentials.
So, those of us passionate about cinematic quality must think beyond equipment specs. It’s about harnessing the full spectrum of technical knowledge and subtle adjustments. Let me know—have you ever fallen into this trap? Share your experience in the comments below.
For a deeper dive into professional-grade equipment setups and troubleshooting tips, explore this comprehensive resource.
Keep Your Projection System Running Smoothly
Regular maintenance is essential to preserve the superb quality of your projection setup. I personally swear by scheduling monthly cleanings of my projector’s filters and lenses, which prevents dust buildup and ensures consistent brightness. Using compressed air and specialized lens cleaning solutions, I avoid the common pitfall of scratches or smudges that can diminish image clarity. For detailed procedures, consult the ultimate guide to cinema projectors. It’s also important to check the lamp life periodically; most bulbs have a lamp life of around 2,000 hours. Replacing bulbs prevent dimming and color shifts, maintaining your image crispness over time.
Tools That Make Maintenance Easier
I recommend investing in a high-quality microfiber cloth, a set of precision screwdrivers, and a digital luminance meter. The luminance meter helps me calibrate contrast and brightness settings perfectly, ensuring optimal picture quality. For mounting and support elements, using a laser level, like the Bosch GLL 3-80, guarantees precise alignment of your projector and camera supports, which is crucial after any adjustment or accidental shifts. According to industry experts, exact optical calibration can extend the lifespan of cine lenses and improve image quality significantly.
Long-Term Results From Consistent Care
With diligent maintenance, I’ve seen my system’s performance actually improve over time. Consistent cleaning, timely replacements, and firmware updates for your projector and accessories keep everything functioning at peak performance. Firmware upgrades, for example, often fix bugs and enhance features, which in turn preserve image fidelity and color accuracy. Consider keeping a maintenance log to track all interventions, especially if you have a complex setup involving multiple components like camera supports and lighting systems.
Scaling and Upgrading Strategies
As your needs evolve, scaling your system thoughtfully becomes vital. Incorporate modular components, such as adjustable support rigs and versatile lighting, that can grow with your filmmaking ambitions. When upgrading, focus first on high-impact elements like cine lenses or projector upgrades—these can significantly elevate your image quality. Remember, maintaining compatibility among new components is key; consult resources like this comprehensive guide to future-proof your setup.
How do I maintain my projection and filming equipment over time?
Consistency is the secret. Schedule routine checks, use quality tools like compressed air and calibration meters, and stay updated with firmware releases. For help with support structures or lighting calibration, reach out via our contact page. One advanced tip I recommend trying: invest in a luminance meter to regularly calibrate your projector’s contrast levels. This small addition can massively improve your image sustainability over years of use, helping you avoid the gradual fading or shifting of color quality, and ensures your cinematic experience remains breathtaking every time you press play.
Throughout my journey into refining projection setups and filmmaking techniques, I’ve uncovered more than just equipment specs—I learned that the true magic lies in the meticulous attention to often-overlooked nuances. From calibrating lenses to managing ambient lighting, every detail contributes to the whole. A key insight was realizing that professional-level results aren’t simply about purchasing high-end gear but about understanding how to harmonize each component for maximum impact. This realization transformed my approach, emphasizing continuous learning and precision in every shot and projection.
The Hardest Lesson I Learned About projection perfection
- It’s tempting to chase the latest high-lumen projectors, but without proper calibration and environment control, they may still underperform. Trusting industry insights over marketing hype has saved me from costly mistakes.
- Supporting equipment like sturdy mounts and supports might seem secondary, but they are foundational. I found that a well-supported projector maintains alignment and focus, preventing subtle shifts that compromise image clarity over time.
- Lighting mastery isn’t just about illuminating scenes—it’s about controlling reflection and contrast. Experimenting with indirect lighting and diffusers transformed my visuals from flat to cinematic.
- Understanding the optical intricacies of cine lenses—like focal lengths and coatings—made me realize that premium glass requires careful handling and calibration to realize its full potential.
My toolkit for cinematic mastery
- Luminance Meter: Personal calibration has become essential. I rely on it for consistent contrast and brightness, making sure every frame matches my creative vision.
- Laser Level: Precise alignment of support structures is non-negotiable. This tool has helped me keep my projector and camera supports perfectly level, preserving image integrity.
- Comprehensive Books: Resources like ‘The Filmmaker’s Handbook’ and specialized guides on lighting and lenses have deepened my understanding. They are my go-to for troubleshooting and advanced techniques.
- Professional Support Services: Whenever I hit a technical wall, reaching out to specialists has been invaluable. Their insights often reveal solutions I hadn’t considered, elevating my setup to pro standards.
Embrace the Infinite Possibilities of Your Craft
Remember, every step toward refining your projection or filmmaking environment is a step toward creating immersive, emotional stories. The journey is ongoing, but with a mindset of curiosity and dedication, you can unlock levels of quality that truly resonate. Don’t hesitate to experiment, learn from setbacks, and celebrate your progress. Your cinematic future is shaped by the care and expertise you invest today—so start transforming your space now and see how far you can go. Have you ever faced a technical challenge that turned out to be a turning point? Share your experiences below, and let’s grow together!
For continuous growth, I recommend exploring this resource—it’s a treasure trove of insights that can propel your filmmaking and projection setup from good to extraordinary.
!
Related Posts
Top Cinema Projectors of 2024: The Complete Buying Guide
Have you ever been excited to host a movie night,…
Top Cinema Projectors & Camera Supports for Filmmakers 2024
My Journey into the World of Cinema Projectors and Camera…
Best Cinema Projectors & Cine Lenses for Filmmakers 2024
Ever spent hours setting up your home theater or film…