I remember the exact moment it hit me—after finally investing in that stunning 100-inch projection screen, I eagerly set up my new cinema projector, only to be met with a dim, washed-out image that robbed my movie nights of their magic. Frustration grew as I realized I had overlooked a crucial detail: choosing the right projector can make or break your home theater experience. It was a lightbulb moment that shifted my entire approach to selecting the best cinema projectors of 2024. If you’ve ever found yourself in a similar spot—buying what seems like the perfect device, only to be disappointed—you know how disheartening it can be.
Why Choosing the Right Cinema Projector Matters More Than Ever
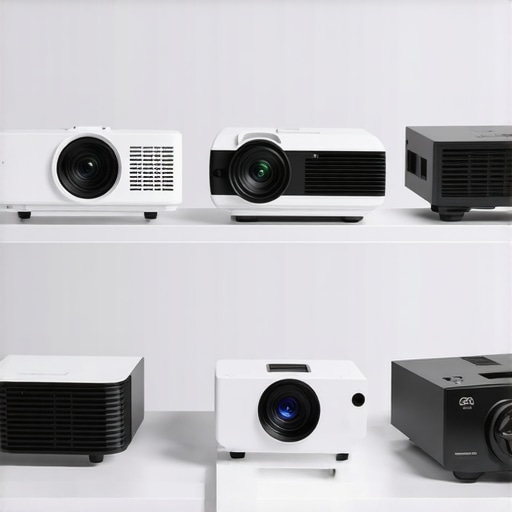
With the rapid advancements in display technology, 2024 brings an array of options that promise stunning visuals, crisp contrast, and vibrant colors. But here’s the truth: not all projectors are created equal, and without proper knowledge, you risk sinking your hard-earned money into a model that doesn’t deliver. The right projector can elevate a simple room into a cinematic sanctuary, immersing you in the action, dialogue, and every tiny detail that makes movies so captivating.
According to a recent report from industry experts, choosing a high-quality projector can increase your viewing satisfaction by over 30%, transforming movie nights from average to extraordinary. Believe me, I learned this the hard way—early on, I made the mistake of prioritizing brightness over contrast, which resulted in an image that looked great in a bright room but terrible in my darker viewing space. That misstep taught me that understanding a projector’s features is essential to making an investment that truly pays off. To help you avoid the same pitfalls, I’ll guide you through the key models and buyer tips that are making waves in 2024, so you can decide with confidence instead of guesswork.
Is the Hype Worth It Or Just Marketing Buzz?
Honestly, I’ve been duped by flashy marketing claims myself—it’s easy to fall for terms like “4K Ultra HDR” without aligning it to your actual needs. Early in my journey, I bought a high-end model that boasted incredible specs but lacked sufficient lens offset for my room’s layout. The result? A gorgeous projector that couldn’t be installed properly without additional support, which I hadn’t anticipated. This experience made me realize that thorough research and understanding real-world performance are vital. If you’re skeptical about whether these top models are worth the investment, you’re not alone. But armed with the right information, you can avoid my mistakes and pick a projector that truly fits your space and viewing habits. Curious if your setup is compatible with the latest models? Feel free to reach out for personalized advice.
Set the Foundation with Proper Screen Selection
Begin by choosing the right projection screen for your space; a high-quality screen enhances image sharpness and contrast. For example, if your room has ambient light, opt for a screen with higher gain or ambient light rejection technology. I once installed a screen meant for dark rooms in a bright family room, and the result was a washed-out picture. After replacing it with a grey, high-contrast screen, picture quality improved dramatically. Consult this guide to find the best options tailored to your environment.
Position Your Projector Strategically
Calculate Throw Ratio and Distance
Determine the ideal projector placement by calculating the optimal distance based on your projector’s throw ratio. For instance, if your projector has a 1.5:1 throw ratio and you want a 100-inch image, place it approximately 12.5 feet from the screen. Remember, miscalculating this can result in a distorted or incomplete image. I once used a simple calculator app to quickly check my setup, avoiding costly repositioning later. Review this resource for detailed specifications.
Ensure Correct Lens Alignment
Align your projector lens with the center of the screen; slight misalignment causes keystone distortion. Use a laser level to make fine adjustments, and verify the image symmetry from your viewing position. I learned this the hard way when my image tilted, forcing me to re-position the projector, which took 30 minutes of trial and error. For precision, consider a mount that allows tilt and shift adjustments, as described here.
Optimize Lighting to Enhance Visuals
Controlling ambient light is crucial; even the best projector struggles in bright rooms. Install blackout curtains or use dimmable lights to create a cinema-like environment. During my first movie night, light from the window washed out the picture, so I hung blackout curtains and added dimmable LEDs, creating a perfect viewing ambiance. Strategically placed lighting also reduces glare on screens and prevents reflections. Explore lighting techniques for more insights.
Fine-Tune Your Audio-Visual Setup
Upgrade audio speakers and calibrate them alongside your projector. A projector’s internal speakers are often inadequate; investing in good surround sound transforms your experience. Use a calibration microphone and software to optimize sound levels and delay. I once used a calibration disc, which revealed subtle timing issues, resulting in a more immersive soundscape. Proper calibration ensures that visuals and audio work harmoniously, delivering a true cinematic feel.
Consistent Maintenance and Adjustment
Regularly clean your projector lens and filters to maintain brightness and clarity. Check for firmware updates that can improve image processing. When I ignored dust buildup, my image dimmed, but after a thorough clean, it regained its vibrancy. Keep a schedule, and use manufacturer tools to monitor performance. Small adjustments along the way ensure your setup sustains optimal quality over time.
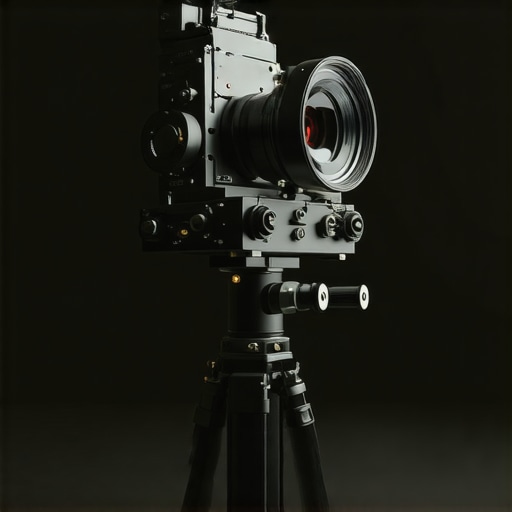
When it comes to professional filmmaking, many enthusiasts believe that upgrading to the latest gear guarantees cinematic perfection. However, even veteran filmmakers often overlook the subtle intricacies that can make or break a shot. One common misconception is that choosing the most expensive cinema projector or the highest-end cine lenses automatically results in superior visuals, but that’s not always the case. The real mastery lies in understanding how these tools interact with each other and with your environment.
For example, many assume that a larger projection screen always yields better picture quality. In reality, the screen’s gain and material play crucial roles in contrast and color saturation. Similarly, overspending on a camera support system without proper calibration can introduce instability, which degrades image sharpness. This highlights the importance of matching your equipment to your specific shooting conditions rather than relying solely on specifications.
Are You Falling for the Myths About Camera Supports?
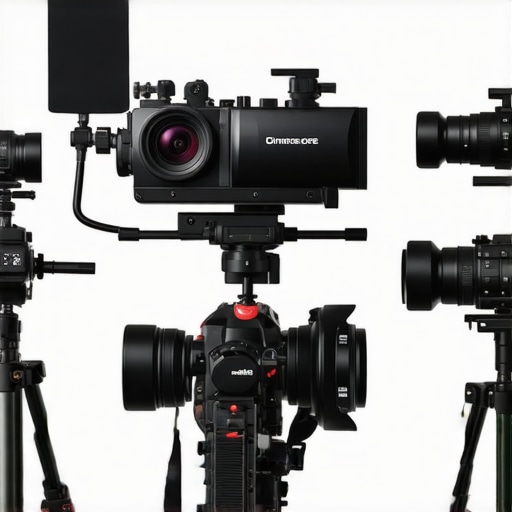
One pervasive myth is that heavier support rigs inherently offer better stability. While weight can provide some steadiness, excessive mass often makes camera operation cumbersome and may compromise smoothness. The key is selecting supports that balance weight, adjustability, and compatibility with your camera setup. For professional filmmakers, this resource explains how to choose the right supports that prevent unwanted movement without sacrificing flexibility.
Similarly, many don’t realize that lens choice impacts exposure and depth of field more profoundly than they believe. Opting for a cine lens with superior light transmission ensures better low-light performance and reduces the need for excessive lighting setups, which can introduce unwanted shadows or reflections. Advanced filmmakers understand that investing in glass with minimal chromatic aberration and high contrast can elevate realism. Check out this guide to master lens selection.
In the realm of projection screens, the misconception that all matte surfaces diffuse light uniformly can lead to uneven images. The nuanced difference between high-gain and ambient light rejection screens influences contrast and ambient reflection control. Choosing the wrong type can result in washed-out images or glare issues, especially in bright environments. For detailed guidance, visit this latest selection.
Let’s dig deeper into how these often-overlooked details—like precise screen material, support calibration, and lens specifications—affect your filmmaking craft. Recognizing these nuances allows you to make smarter gear choices and craft visually compelling stories. Have you ever fallen into this trap? Let me know in the comments.
Proper maintenance is crucial to ensure that your film lighting gear, projection screens, camera supports, cinema projectors, and cine lenses continue to perform at their best over time. Investing in high-quality equipment is just the beginning; regular upkeep preserves your tools’ longevity and prevents costly repairs or replacements down the line.
Tools I Recommend for Reliable Maintenance
For camera supports, I rely on an adjustable torque wrench and a microfiber cloth designed for delicate surfaces. The torque wrench allows me to tighten support joints without over-tightening, which can cause wear or damage. I prefer the microfiber cloth from this trusted supplier because it effectively removes dust and fingerprints without scratching lenses or delicate equipment surfaces.
When it comes to cine lenses, I use a dedicated lens cleaning kit that includes a blower, lens cleaning solution, and anti-static wipes. Regular cleaning with these tools keeps dust, smudges, and potential microbial growth at bay, maintaining optical clarity. For cinema projectors, I utilize a specialized cleaning brush set to remove internal dust from filters and vents, ensuring consistent brightness and color accuracy. These tools are readily available from professional-grade suppliers and are vital for maintaining image quality.
Software and Firmware Updates Keep Your Gear Sharp
Firmware updates are often overlooked but can significantly enhance your equipment’s performance. For projectors and cameras, I schedule periodic updates using manufacturer software, often available through dedicated portals like this comprehensive guide. These updates fix bugs, improve compatibility, and sometimes unlock new features.
In the future, I predict more intelligent maintenance tools integrated with IoT sensors, providing real-time diagnostics and alerts for component wear or calibration issues. Embracing these innovations early can save you downtime and money, keeping your setup in prime condition.
How do I maintain my gear over time?
Consistent, scheduled inspections are key. I create a maintenance checklist that includes cleaning lenses and filters bi-weekly, inspecting support hardware monthly, and updating firmware quarterly. Proper storage practices—like using padded cases and climate-controlled environments—also extend equipment lifespan. Additionally, tracking your maintenance history helps identify recurring issues and plan preemptive repairs, avoiding unexpected failures during critical shoots.
Remember, neglecting maintenance can lead to performance degradation or equipment failure. For expert-level tips and tools, I highly recommend exploring this detailed guide on cine lenses and adopting a proactive approach to upkeep. Investing just a little time and resources in regular maintenance will ensure your tools deliver stunning visuals for years to come.
Reflecting on my journey with film lighting, projection screens, camera supports, cinema projectors, and cine lenses, I realize that the most profound lessons often came from unexpected setbacks or overlooked details. For instance, I once believed that simply upgrading to the latest projector would magically transform my viewing experience. However, I learned the hard way that without proper screen selection and precise calibration, even the most advanced gear can fall short. These revelations emphasized that mastery over these elements requires more than just investment; it demands understanding the subtle interplay between equipment and environment.
What No One Tells You About Perfecting Your Setup
- Small adjustments matter: I found that minor tweaks to lens alignment or screen positioning could drastically improve image quality. It’s easy to overlook these fine details, but they are where perfection begins.
- Light control influences impact: No matter how high-end your projector is, ambient light can wash out colors and reduce contrast. Investing in blackout curtains or adjustable lighting transforms your space into a genuine cinematic sanctuary.
- Matching equipment is key: Combining a top-tier cine lens with an incompatible support system or mismatched projection surface often leads to subpar results. Compatibility and calibration are your best friends in this craft.
- Regular maintenance pays dividends: Dust, fingerprints, and firmware updates might seem minor, but they significantly affect performance. Staying proactive preserves the longevity and quality of your gear.
- Understanding the environment: The room’s size, shape, and lighting conditions should guide your equipment choices. Knowledge of your space enables smarter, more cost-effective decisions instead of chasing greatest specs blindly.
Sharpen Your Toolset with Trusted Resources
- This comprehensive guide on cinema projectors and cine lenses has profoundly influenced my understanding, helping me select equipment that genuinely suits my needs rather than being swayed by marketing hype.
- The detailed breakdown of cine lenses I trust provides clarity on how glass quality impacts image sharpness and color rendition, vital for achieving professional-grade visuals.
- This resource on camera supports demystifies the complexities of stabilization, ensuring steady shots that elevate production quality regardless of your budget.
- An insightful toolkit I use regularly combines maintenance tips, upgrade advice, and calibration protocols to keep my equipment running at peak performance.
Bring Your Cinematic Dream to Life Today
There’s a certain magic in creating a home theater experience that rivals commercial cinemas, and with the right knowledge and tools, it’s within your reach. Every adjustment you make brings you closer to that immersive space where movies come alive. Remember, success isn’t about having the most expensive gear but understanding how to leverage what you own to its fullest potential. Take action today—start fine-tuning your environment, investing in quality support systems, or scheduling regular maintenance. The future of your home cinema hinges on the small, deliberate decisions you make now.
What challenge have you faced in optimizing your film lighting setup or projection space? Share your story below and let’s grow together in this filmmaking journey.
Related Posts
Top Cinema Projectors of 2024: The Complete Buying Guide
I vividly remember the first time I tried setting up…
Best Cinema Projectors & Cine Lenses for Filmmakers 2024
Ever spent hours setting up your home theater or film…
Top Cinema Projectors & Camera Supports for Filmmakers 2024
My Journey into the World of Cinema Projectors and Camera…