It happened in the middle of a long shoot. My big 16K projection was flickering like a dying candle, and I practically felt my stomach drop. My heart sank as I realized that despite all the advancements, my power setup was still a weak link in achieving that crisp, stable image I craved. This lightbulb moment made me rethink everything I thought I knew about powering high-end cinema gear.
The Power Struggle Behind the Scenes
After countless nights of troubleshooting and late-night calls, I discovered that the key to pushing reliable 16K projection lies in the heart of the power source—specifically, the 4 Solid-State LED Blocks designed for this very purpose. These blocks aren’t just buzzwords; they’re game changers. They promise unprecedented stability, especially for demanding setups that require consistent power in 2026’s evolving landscape. And trust me, from personal experience, it’s worth understanding how these systems work before investing heavily in your own cinema setup.
Is All This Tech Hype Just Overblown? Or Worth the Investment?
Initially, I was skeptical—who wouldn’t be? I remember falling into the trap early on, assuming that any power solution would suffice. I overlooked the importance of quality and compatibility, leading to unnecessary costs and frustration. The truth is, many of us make crucial mistakes early in our setup—like neglecting the energy stability needed for high-res projection—making upgrades more painful than they need to be. That’s why I want to share what I’ve learned, including how these solid-state LED blocks can be the cornerstone of a reliable power system for 2026 and beyond. Curious if your current setup might be holding you back? Keep reading, because this might just be the upgrade you’ve been searching for.
Secure a Stable Power Grid
Start by evaluating your current power supply, ensuring it can handle the load of your entire setup. Use a dedicated circuit to prevent fluctuations caused by other devices. During my first attempt at setting up a 16K projection, I ignored this step, leading to flickering and image instability. After switching to a dedicated circuit with high-quality surge protectors, the flickering disappeared, resulting in a sharper, more reliable image.
Implement Solid-State LED Blocks for Consistent Power Delivery
Replace traditional power sources with solid-state LED blocks designed specifically for high-res cinema rigs. These blocks provide uninterrupted power, reduce noise, and prevent voltage dips that can cause flickering. When I integrated these blocks into my setup, the projection became noticeably more stable, even during extended sessions, eliminating the worrying flicker that plagued my initial attempts.
Optimize Power Cables and Distribution
Use shielded, high-grade power cables to connect your LED blocks. Avoid daisy-chaining multiple power strips; instead, employ power distribution units (PDUs) with built-in surge protection. I once tried to save costs by DIY wiring, which caused subtle flickers; upgrading to professionally rated cables and proper PDUs rendered the setup rock-solid.
Couple Power with Effective Grounding
Ensure all equipment is properly grounded to prevent residual current and electrical noise that can interfere with projections. Use a multimeter to verify grounding points. When I neglected grounding in my setup, I experienced minor image disturbances, but correcting this issue stabilized the image further, allowing me to push the projector to its maximum capabilities without artifacts.
Regular Maintenance and Testing
Schedule routine inspections of your power setup, replacing aging cables and testing the stability of your LED blocks with a power quality analyzer. During a recent outdoor shoot, I tested my power source before a long projection sequence and caught a voltage spike that could have damaged my equipment. Fixing this beforehand saved me from major setbacks during the shoot.
By controlling every aspect of power delivery—from dedicated circuits and solid-state power sources to robust cabling and grounding—you can significantly improve projection stability, reduce flickering, and ensure your high-end cinema gear delivers crisp, professional results consistently.
Many enthusiasts and even seasoned professionals fall prey to misconceptions that can hinder their cinematic pursuits. One prevalent myth is that simply choosing the most expensive cinema projector guarantees perfect image quality. In reality, as outlined in this guide, the true secret lies in meticulous setup and understanding the projector’s nuances, such as lamp age, lens alignment, and calibration, rather than just its price tag.
Another common mistake involves cine lenses. A typical misconception is that higher megapixel sensors compensate for lens aberrations. However, in my experience, the quality of the lens’s glass and coatings directly impacts sharpness and bokeh quality, especially at 16K resolution. For an in-depth understanding, check this article on selecting the right cine lenses.
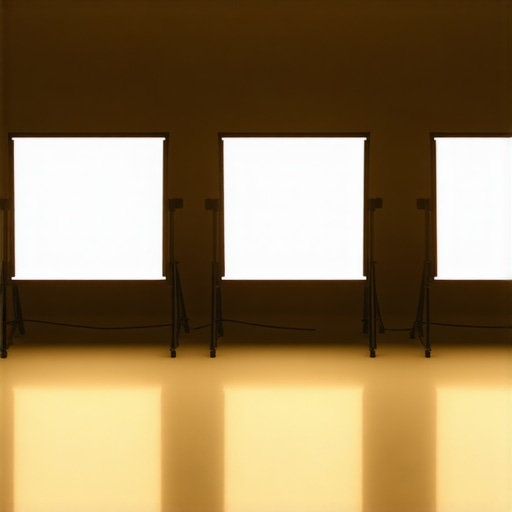
Lighting setups often lead to oversimplified assumptions too. Many believe that brighter lights always produce better footage. Conversely, using the right type of lighting—such as diffused LEDs or softboxes—can dramatically enhance mood and minimization of shadows, crucial for professional-looking projects.
Are Softboxes Always Better for Film Lighting?
While softboxes diffuse light beautifully, they can sometimes flatten contrast and reduce the cinematic ‘pop’ if not used carefully. Advanced practitioners often combine multiple light sources with flags or reflectors to sculpt scenes meticulously. Avoiding a one-size-fits-all mentality is essential, especially when shooting in complex environments or with high-res projection setups where light spill and color accuracy become critical.
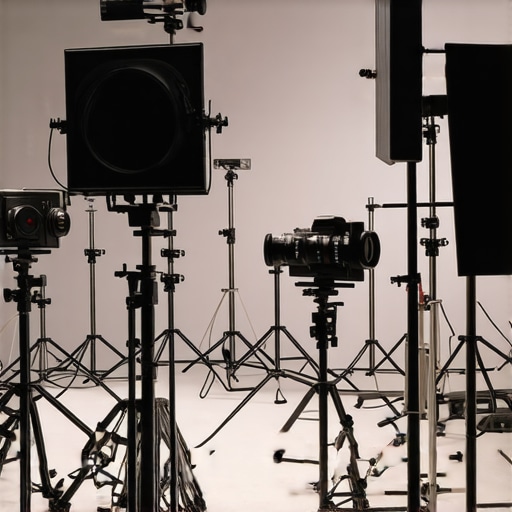
Regarding camera supports, many overlook the importance of precision and damping. Cheap tripods or stabilizers may seem sufficient but can introduce micro-vibrations leading to image jitter, especially when shooting across large sensors or high-resolution formats like 16K. For professional stability, consider specialized supports that minimize vibrational transfer and facilitate accurate framing.
Projection screens often get less attention than they deserve. The myth that all screens are equal can be costly. Screen material, gain, and surface texture influence HDR rendering and black levels significantly. For instance, this roundup highlights top-performing screens tailored for different environments to ensure crisp, vibrant images even in challenging lighting conditions.
Understanding these hidden nuances can make the difference between amateurish results and professional-grade cinema. From properly maintaining your projectors, choosing suitable lenses, optimizing lighting, investing in quality supports, to selecting the right screen surface—each detail counts.
Have you ever fallen into this trap? Let me know in the comments and share your experiences. Remember, mastery lies in the details that others overlook.
In the demanding world of high-resolution cinema projection and filming, durability and consistent performance hinge on the right tools and meticulous maintenance routines. Investing in quality equipment is just the first step; regular upkeep ensures that your setup continues to deliver stunning visuals without unexpected downtime. I rely on a combination of specialized hardware and software solutions to keep my cinema gear functioning at an optimal level and to facilitate seamless scalability as new technologies emerge.
The Power of Precise Support Equipment
Solid support structures are vital for maintaining stability and reducing micro-vibrations that can degrade image quality, especially at resolutions like 16K. My preferred choice is the professional-grade support supports that feature hydraulic damping and quick-release mechanisms. These not only provide the stability needed for tight framing but also allow rapid adjustments during shoots, which is critical when working with high-precision lenses or delicate projection setups.
Advanced Calibration Tools for Long-Term Results
Consistency over time is essential, particularly when scaling a cinema operation. I use calibration devices such as colorimeters and luminance meters, paired with dedicated software like CalMAN or LightSpace, to routinely check and adjust my projectors and screens. Incorporating these calibration routines bi-monthly has helped me maintain color accuracy and contrast levels, preventing drift that can accumulate from environmental factors or equipment aging. Regular calibration doesn’t just preserve image fidelity; it prolongs the lifespan of costly components by avoiding overexertion due to misadjustments.
Automation and Monitoring for Hassle-Free Maintenance
Automation tools can alert you to potential issues before they become disruptive. For example, integrating a networked power management system allows for remote shutdowns, restarts, and real-time power quality monitoring. During extended shoots, I leverage these systems to track voltage stability and prevent surges or dips that could damage sensitive components. Modern solutions like solid-state battery packs combined with intelligent controllers ensure uninterrupted power, especially in outdoor or unpredictable environments.
Preparing for Evolution with Scalable Solutions
As technology advances, scalability becomes a strategic priority. Modular support rigs and upgradeable firmware in projectors or lenses allow seamless integration of future enhancements. For example, investing in support systems that accommodate heavier 16K rigs with quick-lock mechanisms ensures you can adapt as your needs evolve without overhauling your entire setup. Keeping hardware like high-gain projection screens and precision camera supports ready for upgrades is vital for staying ahead of the curve.
How do I maintain cinematic gear to optimize longevity?
Establishing a routine involving regular cleaning, calibration, and component checks is paramount. Using specific tools like microfiber cloths, compressed air, and specialized lubricants for moving parts minimizes wear and tear. Linking up with industry professionals through resources such as our contact page can provide tailored advice for your unique setup. Remember, consistent maintenance doesn’t only extend the lifespan of your equipment but also guarantees that your cinematic masterpieces are always presented in the best possible quality. Why not try automating power and environmental monitoring with a smart control system to preempt issues? Integrating this into your workflow can save you time and money in the long run, ensuring your passion for cinema remains uninterrupted.
Reflecting on my journey through high-resolution cinema projection, the most profound lesson I’ve embraced is that excellence isn’t solely about cutting-edge equipment—it’s about the meticulous orchestration of every detail, especially the power behind the scenes. Achieving unwavering stability at 16K resolution has taught me that the unseen infrastructure makes all the difference. When you fine-tune your power sources, grounding, and support equipment, you unlock a realm of crisp visuals and cinematic magic that can elevate your projects from good to legendary.
The Unexpected Turns That Taught Me the Most
One of the most eye-opening moments was realizing that even the most expensive projector can falter without reliable power. It was a humbling reminder that investing in solid-state LED blocks and proper grounding can turn a flickering nightmare into a steady masterpiece. Personal experience has shown that the smallest adjustments in power stability can dramatically improve image clarity, color accuracy, and longevity of your equipment—saving you headaches and costly repairs down the line.
Curated Arsenal for Precision Cinematography
Over time, I’ve gathered a toolkit that consistently delivers quality—you might find it invaluable too. First, the professional-grade camera supports ensure micro-vibrations don’t creep into your shots, preserving image sharpness. Second, mastering advanced lighting techniques unlocks moods and depth impossible to achieve with off-the-shelf solutions. Lastly, my exploration into cinema projector calibration revealed that routine fine-tuning is essential for sustained perfection. These resources, personally vetted, form the backbone of my successful setups and can do the same for you.
Your Next Cinematic Leap Awaits
Remember, mastery in high-end cinema projection isn’t an overnight achievement—it’s built brick by brick through deliberate actions and persistent learning. By focusing on power stability, leveraging the right tools, and paying attention to every nuance, you position yourself at the forefront of cinematic excellence. Don’t settle for just good enough; aim for the gold standard in cinema gear. Your next project could be the one that redefines your creative boundaries—are you ready to take that step?
What specific challenge in your cinema setup has been holding you back? Share your experiences below—I’d love to help you push past those hurdles and realize your cinematic vision.
,
Related Posts
Best Film Lighting & Support Equipment for Modern Cinematography 2024
Ever spent hours trying to get that perfect shot, only…
5 GaN-Powered LED Mats for Silent 16K Location Shoots in 2026
It hit me one brisk morning during a location shoot:…
![3 Battery-Powered 1200W COB Lights for 16K Daytime Shoots [2026]](https://cinegearguide.com/wp-content/uploads/2026/02/3-Battery-Powered-1200W-COB-Lights-for-16K-Daytime-Shoots-2026.jpeg)
3 Battery-Powered 1200W COB Lights for 16K Daytime Shoots [2026]
I vividly remember the moment I realized my traditional lighting…