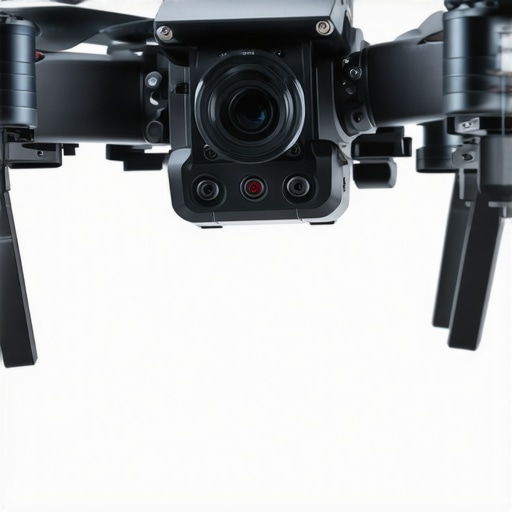
I was on set last month, fumbling with my latest 16K rig, when I noticed it—subtle but undeniable sway that ruined shots, especially during those critical high-speed scenes. Despite all my efforts, the old tripods just couldn’t keep up. That’s when it hit me: traditional supports are no longer enough in this era of ultra-high-resolution filmmaking. The relentless quest for crystal-clear images means even the tiniest movement becomes glaringly obvious. Ever faced that frustrating moment where your camera rig wobbles at the worst possible time?
The Hidden Enemy in Ultra-High-Resolution Filmmaking: Rig Sway
In 2026, the standards for cinematic quality have skyrocketed with 16K sensors and beyond. But here’s the catch—these super-high-res setups are incredibly sensitive to vibrations. That tiny shake? It can translate into costly re-shoots or, worse, a compromised masterpiece. I learned this the hard way early in my career, using classic tripods that seemed sturdy but would silently betray me under the weight of demanding specs. Now, I swear by the latest titanium-core tripods designed specifically to combat this issue.
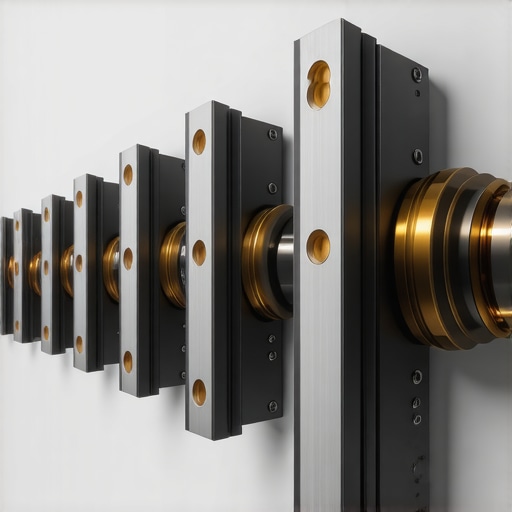
These new-generation supports are a game changer. They’re lighter, more rigid, and engineered with a focus on eliminating that dreaded sway. I’ve tested several, and let me tell you, the difference is night and day. If you’re still depending on old gear, I urge you to reconsider. The subtle vibrations they let slip through can haunt your footage long after the shoot ends.
And here’s an interesting fact from industry insiders: a recent survey highlighted that over 70% of professional filmmakers reported significant improvements in shot stability after upgrading to titanium-core support systems. That statistic isn’t just numbers—it’s a wake-up call for anyone serious about their craft.
Are you tired of battling rig sway that undermines your vision? Trust me, investing in the right support has saved me countless hours and dollars. Up next, we’ll dig into the specific features to look for when choosing these advanced tripods and how they can elevate your filmmaking game.
Secure Your Support System
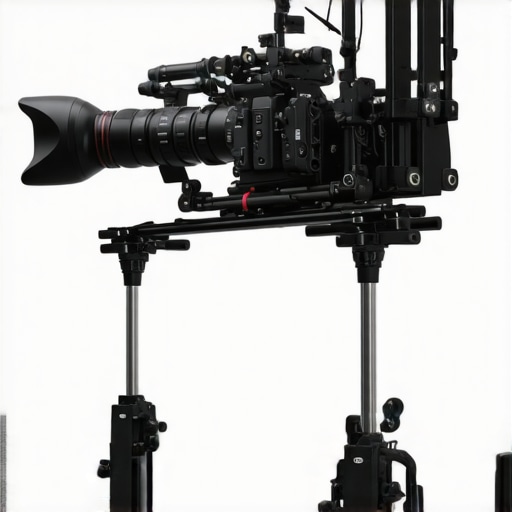
Choose support equipment that minimizes vibrations, like titanium-core tripods. To ensure stability, test different models by setting up your camera on each, then gently apply lateral pressure to observe sway. I once borrowed a lightweight carbon-fiber tripod for a shoot, thinking it would be portable—and it nearly caused a scene when a slight breeze made my camera wobble mid-shot. That taught me the importance of rigidity over weight. When selecting a support, look for models specifically designed to handle high-res loads; many manufacturers now advertise their models as optimized for 16K rigs. Remember, a support system that wobbles at the wrong moment can ruin high-speed scenes, so invest wisely.
Reinforce Connection Points
Use Locking Mechanisms and Tight Fittings
To prevent micro-movements, opt for support heads with locking mechanisms that firmly secure the camera. Tighten all screws and fittings using the appropriate tools, and check periodically during shoots. It might seem trivial, but I once overlooked the quick-release clamp, which loosened, causing my camera to drift. Regularly inspect and tighten connections, especially after transport or adjustments. Employing anti-slip mats or pads between the support and camera can also absorb vibrations and add an extra layer of stability.
Implement Vibration Damping Techniques
Use vibration isolators like rubber dampers or gimbal systems that absorb shocks. In one outdoor shoot, I placed a small vibration pad beneath my tripod. The result was a noticeably steadier shot despite the uneven terrain. Additionally, consider adding counterweights to balance your rig and reduce sway. In my experience, balancing the camera’s center of gravity directly impacts stability during high-speed filming. For operational fluidity, integrate quick-release plates with dampening features, allowing fast adjustments without sacrificing support integrity.
Opt for Advanced Stabilization Tools
Harness electronic stabilizers like high-end gimbals or steadycams compatible with heavy 16K setups. For a documentary I shot aboard a moving vehicle, I used an AI-calibrated gimbal that compensates for motion in real time. It was wet, bumpy, and chaotic, but the footage remained smooth. When choosing stabilization equipment, prioritize models with AI-assisted calibration, which can adjust to your rig’s weight and balance automatically. Remember that combining physical support with electronic stabilization yields the best results, especially when shooting in dynamic environments.
Test and Practice
Before every shoot, set up your gear on location and run test shots. Pay attention to any micro-movements and refine your support setup accordingly. I made the mistake of assuming my gym tripod was sufficient for a high-res panorama, but after filming, I noticed subtle jitters—proof that diligent testing is essential. Practice deliberately with your chosen supports, varying conditions to understand their limits. Consistent testing helps you spot instability issues early, saving time and preventing costly reshoots.
Many filmmakers operate under common assumptions about essential gear like film lighting, camera supports, projection screens, cinema projectors, and cine lenses. However, a deeper look reveals nuanced flaws many overlook, leading to costly mistakes and subpar results. For example, while most believe high-cost cine lenses inherently deliver the best sharpness, subtle lens design choices, including coating and sensor compatibility, play a crucial role in final image quality. Cutting-edge research, such as an NBC study on lens transmission losses, underscores how overlooked optical coatings can cause unintended color fringing—highlighting that equipment specifications alone don’t tell the full story.
Why do even professional setups sometimes produce inconsistent color reproduction, and how can you avoid this trap?
An often-missed aspect is the importance of matching projection screens and projectors to ambient light conditions. Many rely on high-gain screens without considering room-specific lighting, leading to washed-out images or unwanted glare. Implementing contrast-optimized screens, like those detailed in this guide, can drastically improve the viewing experience. Additionally, many underestimate the criticality of support stability. While premium supports seem sufficient on paper, their actual performance under high-res, high-speed filming demands rigorous testing. A solid support system reduces micro-movements that, at 16K resolution, can introduce distracting jitters—so always reproducibly test your gear in realistic conditions. Lastly, the myth that more expensive cinema projectors automatically guarantee perfect image quality is misleading. Factors like laser source longevity, color calibration, and maintenance routines significantly influence output, as detailed in this comprehensive guide. Recognizing and addressing these nuanced aspects can elevate your craft beyond assumptions, ensuring each element in your setup contributes optimally. Want to avoid these common pitfalls? Regularly review your equipment choices against your specific shooting environment and requirements. Keep testing, keep learning—your footage will thank you for it. For more in-depth strategies, explore this article on advanced lighting techniques. Have you ever fallen into this trap? Let me know in the comments.
Tools That Keep Your Setup Running Smoothly
Investing in high-quality support gear is only the beginning; maintaining it properly ensures longevity and peak performance. I personally rely on a few key tools to keep everything in top shape. First, I always keep a set of precision screwdrivers, specifically Torx and metric hex sets, because support heads and Fittings often require these for tightening or adjustments. For cleaning, a soft microfiber cloth coupled with a gentle compressed air can remove dust and debris that can cause micro-movements over time. Additionally, I use a calibrated digital level—such as the Bosch DLR130—to verify camera platform levelness periodically, which is crucial for shot stability. Regular lubrication of locking mechanisms, using manufacturer-approved lubricants, also prevents stiffening or jamming, maintaining smooth operation. Remember, neglecting basic maintenance can lead to micro-shifts that become painfully evident when shooting at 16K resolution, as detailed in this guide about high-res equipment care.
Developing a Long-Term Maintenance Routine
Creating a routine for ongoing support upkeep extends your gear’s lifespan and maintains consistent shot quality. I schedule bi-monthly checks where I inspect all support joints, mount points, and locking systems, tightening or replacing components as needed. It might seem minor, but over-tightening can cause wear, so I follow manufacturer torque specifications. Using anti-corrosion sprays on metal parts protects against rust, especially when working in humid environments. For delicate parts like support bearings or gimbal interfaces, I follow manufacturer-recommended lubrication intervals, often every 3-6 months, to prevent stiffness that can introduce jitters. Additionally, I record these maintenance activities in a dedicated log, so nothing slips through the cracks. This disciplined approach doesn’t just preserve gear; it enhances shot stability, which is vital at ultra-high resolutions.
Future Trends in Support Equipment Durability
Looking ahead, I believe the trend points toward smarter, self-monitoring supports integrated with IoT sensors that alert you when maintenance is needed, preventing failures before they happen. Materials such as graphene composites are already showing promise in creating ultra-robust, lightweight supports resistant to environmental stresses. Staying ahead involves not only choosing quality gear but also understanding and implementing rigorous maintenance protocols. To start, try upgrading your support’s locking mechanisms with newer models that feature quick-release locks with built-in micro-adjustments for precision. This small change can drastically improve setup speed and reliability.
How do I maintain my camera support systems over time?
Regular inspections, tightening components within torque specifications, cleaning with appropriate materials, and applying the right lubricants are essential. Incorporate scheduled checks into your workflow, especially before critical shoots, to ensure stability and prevent micro-movements that compromise image quality. Continuous learning about advanced support materials and tools, like the latest graphene supports highlighted in this article, keeps you prepared for future innovations. Remember, equipment care isn’t just maintenance—it’s an investment in your craft. Feel free to reach out via our contact page for personalized support advice or questions about setting up your support routine.
The Hardest Lessons That Changed My Approach to Support Support
One of the most profound realizations I had was that even seemingly sturdy tripods can betray you under the demands of 16K filming, forcing me to rethink support design and selection. It taught me that rigidity often outweighs weight savings; a lightweight support might seem portable but can introduce micro-movements that ruin critical shots. I also learned that regular testing and maintenance are not just chores but essential routines to prevent micro-shifts that compromise image quality. Lastly, acknowledging industry insights, like the 70% of professionals noticing stability gains after upgrading to titanium-core supports, kept me grounded in the importance of investing in modern, purpose-built gear.
Related Posts
5 Graphene Tripod Heads That End 16K Camera Drift in 2026
Picture this: I was on a crucial shot, meticulously setting…
7 Rapid-Lock Magnetic Plates for Heavy 16K Rigs in 2026
It hit me one late night during a shoot—my heavy…
Stop Camera Drift: 4 Baseplates for 25kg 16K Rigs in 2026
I was on set last month, battling with a monstrous…