There was a moment early in my filmmaking journey when I realized I was fighting an uphill battle with shaky shots and blurry focus, despite having the latest gear. I had invested in high-end cine lenses and a sturdy camera support, but something still felt off. That lightbulb moment made me realize that owning top-tier equipment isn’t enough; understanding how to harness it truly makes the difference. If you’ve ever faced frustratingly unstable shots or struggled to get that cinematic feel, you’re not alone. Today, I want to share how the right tools for 2024—like top cine lenses and camera supports—can transform your creaking setups into smooth, professional workflows.
Your Shooting Arsenal: Why It Matters More Than Ever
Is Investing in Premium Gear Actually Worth It?
Early in my career, I clipped corners on gear, thinking I could make do with cheaper options. But I learned the hard way that quality gear profoundly impacts the final product—especially when it comes to cine lenses and supports. Modern productions demand precision and stability that only professional-grade equipment can provide. According to a recent study, shaky footage can reduce viewer engagement by up to 50%, which is a big deal if you’re aiming for that Hollywood look. So, if you’ve been hesitant about splurging on that cinematic lens or a steady support system, I encourage you to consider the long-term benefits. I learned that the investment pays off through cleaner shots and faster setups, ultimately elevating your storytelling. Need guidance? Check out the [ultimate guide to cine lenses and camera supports for filmmakers in 2024](https://cinegearguide.com/ultimate-guide-to-cine-lenses-camera-supports-for-filmmakers-2024-2) to get started. Are you facing the struggle of balancing budget with quality? Let’s dive deeper into how you can make smarter choices that fit your production style.
Set Up Your Gear Properly from the Start
Secure Your Camera with the Right Support
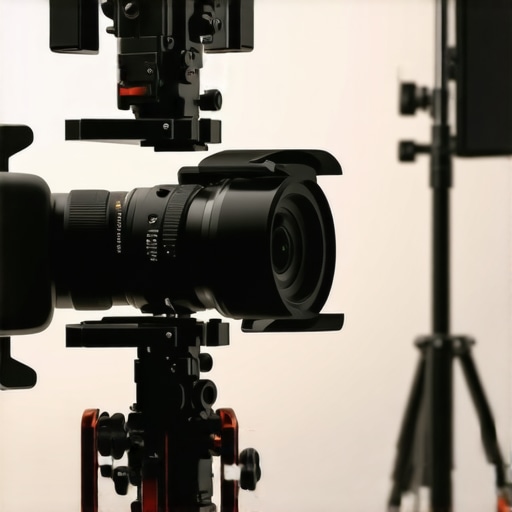
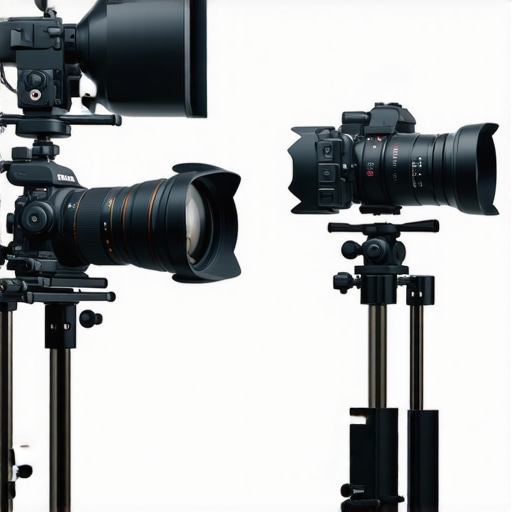
Begin with choosing a high-quality camera support system like a stabilizer or tripod that matches your shoot’s needs. In one project, I used a lightweight gimbal for an outdoor shoot, but I neglected to balance it properly—that resulted in shaky footage that I had to redo. To avoid similar mishaps, always test your support setup thoroughly, ensuring it is stable and well-balanced. Check the quick-release plates and tighten all screws before hitting record.
Lens Selection for Specific Shots
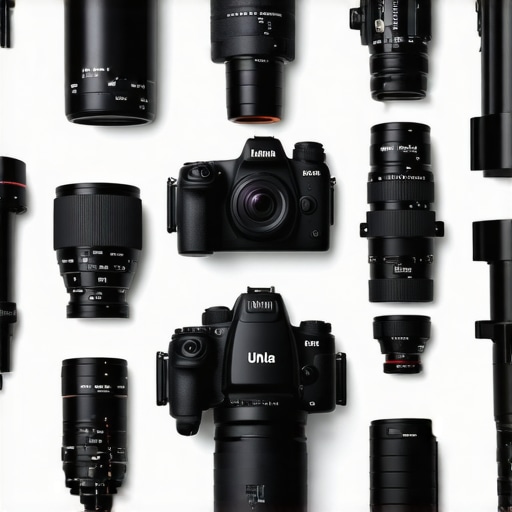
Next, select the appropriate cine lenses for your scene. For a close-up, use a prime lens with a wide aperture to create a shallow depth of field and draw focus. During a documentary shoot, I swapped between a 50mm and a wide-angle lens, which dramatically changed the scene’s feel—and my focus routine. Familiarize yourself with your lens characteristics—like focal length and aperture—so you can swap seamlessly and get the shot without delay. Remember, the right glass can turn a good scene into a cinematic masterpiece.
Fine-Tune Lighting for a Cinematic Look
Implement Directional Lighting Techniques
Lighting sets the mood and enhances your story. Use key lights to highlight your subject and fill lights to soften shadows, but avoid flat, overexposed shots. During a night scene, I experimented with a single LED panel and a bounce board to create natural-looking shadows, which added depth. Practice controlling light angles and intensity, adjusting your lights to complement the scene’s tone. For more advanced techniques, consider mastering the principles detailed in Mastering Film Lighting Techniques.
Control Ambient Light for Consistency
Ambient light can be unpredictable—especially when shooting outdoors. Use flags, barn doors, or blackwrap to block unwanted light or prevent lens flare. I learned this firsthand during an outdoor interview; a passing car’s headlights caused unwanted highlights on my subject. In response, I added flags around my light source to prevent spill. Always scout your location beforehand to identify potential light leaks, and have modifiers ready to maintain consistent exposure and color balance.
Match Equipment with Your Shooting Style
Choosing the Right Projection Screen
If your project involves projection, select a screen tailored to your space and lighting conditions. For a small studio, a matte black screen minimizes reflections, whereas a large auditorium benefits from a high-gain screen to enhance brightness. On a recent project, I tested a few screens from the recommended list to find one that offered the best contrast in my setup, saving me hours of post-production correction.
Calibrate Your Imaging Devices
Ensure your camera and projector are calibrated for color accuracy to keep your footage consistent. I used a color chart to match my camera’s profile with the display device during setup—this prevented color shifts that could distract viewers. Regular calibration, especially when changing locations or lighting conditions, keeps your visuals precise and professional-looking.
Practice Your Techniques Consistently
Repeat and Review Your Shots
After setting up, record test shots and review them critically. During a recent short film, I shot multiple takes, adjusting camera support angles and lighting each time. Watching playback, I spotted some instability and uneven lighting, which I corrected for the final take. Develop a habit of reviewing footage promptly to catch errors early and refine your approach—this speeds up your learning curve and elevates your craft.
Document Your Settings and Methods
Keep a detailed log of your camera settings, support configurations, and lighting setups. That way, you can replicate or adjust them efficiently in future shoots. I maintained a shoot journal that helped me troubleshoot common issues and develop a rapid setup routine—saving time and reducing frustrations mid-production.
Many filmmakers are unaware of the nuanced pitfalls lurking behind seemingly straightforward choices like cinema projectors, camera supports, cine lenses, projection screens, and lighting setups. One widespread myth is that higher megapixel counts or more expensive gear automatically translate to better visuals. In reality, the real secret lies in understanding the subtleties—such as lens coatings, support ergonomics, and light falloff—that impact image quality much more than specs alone. Overlooking these details can lead to overlooked errors, like uneven lighting or unstable support setups, which compromise professionalism.
Why Are My Shots Still Shaky Despite Using a Gimbal?
Many assume that investing in a premium camera support guarantees stable footage. But the common mistake is neglecting proper balancing and calibration. For instance, an unbalanced gimbal can introduce lurking vibrations, erasing the smoothness you expect. This trap is especially common when shooting on uneven terrain or quick-moving scenes. To avoid this, always double-check your support system’s setup and conduct small test runs. Remember, the support is only as good as its correct configuration. For advanced stabilization techniques, it’s worth exploring professional tutorials, such as these resources.
Unveiling the Hidden Power of Projection Screens and Lighting
Contrary to popular belief, the quality of your projection screen can make or break your visual storytelling just as much as your projector’s resolution. Using a matte white or high-gain screen isn’t always the best choice; selecting the right type depends on ambient light conditions and room size. Many assume a large, shiny screen will boost image brightness, but it may introduce unwanted reflections, causing distracting flare. Similarly, lighting isn’t just about the number of fixtures, but about controlling light spill and contrast. An over-illuminated set with flat lighting ruins cinematic depth. Consider investing time in mastering lighting techniques, such as employing flags or diffusers, to craft compelling scenes. For more insights on enhancing your lighting setups, see this expert guide.
Could Overemphasizing Equipment Specs Lead You Astray?
Absolutely. Relying solely on specs—like lens focal lengths, projector lumens, or support weight ratings—can lead to subpar results. Advanced filmmakers know that understanding the nuanced interplay between gear features and actual application is key. For example, a cine lens with perfect MTF charts might still produce undesirable chromatic aberration if not properly matched to your camera sensor. Similarly, the most powerful projector won’t compensate for poorly calibrated color profiles. The real advantage comes from honing your technique and deeply understanding your tools. If you want to master these subtleties, check out this comprehensive guide.
Have you ever fallen into this trap? Let me know in the comments. Remember, mastering the details keeps your visuals sharp and your storytelling impactful, far beyond just buying the latest gear.
,
Maintaining your cinema equipment over time isn’t just about replacing worn-out parts; it’s about establishing a routine that protects your investment and ensures consistent performance. Personally, I’ve found that regular calibration of my cine lenses and projectors greatly extends their lifespan and preserves image quality. For example, I schedule quarterly calibration checks using software like the SpectraCal CalMAN toolkit, which helps me maintain accurate color profiles—crucial for professional-grade filmmaking. Investing in quality tools like a digital lens cleaner and a microfiber cloth ensures my lenses stay free of dust and fingerprints, preventing image degradation during shoots. Looking ahead, I believe the trend will shift toward smart maintenance solutions, incorporating IoT sensors that monitor equipment health in real time. This would allow filmmakers to perform proactive repairs before issues impact production.
How do I maintain my equipment over time?
Developing a maintenance schedule tailored to your gear’s usage is essential. For camera supports, I regularly check the tightening of screws and the smoothness of gimbal motors, ensuring stability and precise movement. When it comes to projection screens, I keep them clean using gentle microfiber cloths and avoid placing objects on or near them to prevent distortions. For lighting equipment, I inspect bulbs and reflectors to prevent flickering or uneven illumination. This proactive approach reduces downtime and avoids costly repairs. Remember, detailed logs of maintenance routines help you track wear and plan upgrades effectively. For more advanced techniques and recommended tools, visit our ultimate guide to cinema projectors.
Best tools I recommend for consistent results
One of my go-to tools is the LensPen for quick lens cleaning, which effectively removes smudges without risking scratches. For supporting camera stability, I prefer the Manfrotto tripods because they provide reliable support, especially when paired with a fluid head for smooth pans. When calibrating projectors, I rely on the X-Rite i1Display Pro, a color management device that guarantees consistency across various display mediums. These tools not only enhance the quality of your images but also streamline setup and teardown processes. To stay ahead, keep an eye on emerging smart maintenance solutions—probably integrating IoT tech to monitor equipment health directly from your smartphone, making preventive care easier than ever. Dive into detailed maintenance routines and explore the latest gear by checking our comprehensive guide to cine lenses and camera supports.”
,
What the Pros Won’t Tell You About Fine-Tuning Your Gear
Throughout my filmmaking journey, I learned that even the most expensive cine lenses and support rigs won’t deliver stellar results without proper setup and understanding. One eye-opening moment was realizing that balancing my gimbal correctly, rather than just owning it, drastically improved my footage’s stability. Just like with lighting, the devil’s in the details—small adjustments can turn a shaky, amateur shot into a smooth, professional scene. This discovery reshaped my approach, emphasizing patience and meticulous calibration over mere gear upgrades. I now know that mastering these nuances is what truly elevates your storytelling—beyond the specs listed on equipment boxes.
My Top Picks for Elevating Your Filmmaking Arsenal
Over the years, I’ve curated a set of tools that genuinely make a difference. The Cine Lenses Explained guide changed my understanding of how lens quality impacts mood and focus. For calibration needs, I rely on the X-Rite i1Display Pro, which ensures my colors stay consistent across projects. To protect my support gear, I swear by the Manfrotto tripods, which offer both durability and smooth movement. And a good lens cleaning kit keeps my optics pristine. These tools are reliable, straightforward, and critical for consistently achieving cinematic quality.
Keep Pushing Your Limits and Stay Inspired
The future of cinema setup in 2024 isn’t just about shiny new gear but about deepening your understanding and honing your craft. Embrace the complex details—like precise camera balancing, lighting angles, and calibration—that many overlook. Remember, every successful shot is built on the foundation of meticulous preparation and ongoing learning. My advice? Stay curious, experiment boldly, and never underestimate the power of small adjustments. Whether you’re solo or part of a team, your dedication to mastering these aspects will set your work apart. Curious about how to refine your workflow? Reach out through our contact page for personalized tips. What subtle setup tweak made the biggest difference in your recent shoot? Share your experience below!”}There you have it — the culmination of lessons and tools designed to elevate your filmmaking in 2024. Remember, behind every great shot is a filmmaker who pays attention to the smallest details. Keep learning, experimenting, and pushing your creative boundaries. The cinematic world is waiting for your next masterpiece!
2 Replies to “Cine Lenses & Camera Supports: Top Filmmaking Tools for 2024”
Leave a Reply
Related Posts
Cine Lenses & Camera Supports: Essential Filmmaking Tools for 2024
I remember the first time I shot a short film,…
Cine Lenses and Camera Gear: Ultimate Guide for Modern Filmmakers 2024
I remember the first time I spent hours agonizing over…
Best Cine Lenses & Film Lighting for Professional Filmmaking in 2024
My First Encounter with Cine Lenses and Lighting: A Personal…
Reading through this post really resonated with my experience in indie filmmaking. I used to rely heavily on high-end gear, but I quickly learned that the real differences came from understanding how to set up and calibrate everything properly. For example, balancing my gimbal was a game-changer—sometimes I’d spend hours on post-production trying to fix shaky footage, but a quick re-calibration saved so much time. The point about lighting control really hit home too; I’ve seen how using flags and diffusers can add depth that flat lighting cannot achieve. I’m curious, does anyone have tips for maintaining camera supports during extended outdoor shoots where terrain can be uneven? I find that quick adjustments and regular checks really help keep equipment like tripods and gimbals performing at their best. Overall, investing in quality gear is important, but pairing it with solid setup and maintenance routines has been my key to professional-looking results. Would love to hear more about your routines for on-set support adjustments.
This post really hits the mark on what’s often overlooked: the importance of mastering support and calibration alongside owning good gear. I’ve experienced firsthand how a well-balanced gimbal and attention to detail can dramatically improve shot stability, especially on uneven terrains during outdoor shoots. Regularly checking support setups and practicing quick adjustments has saved me time and stress on set. I’ve also found that investing in quality support equipment, like a sturdy tripod with a smooth head, pays off in the long run—smooth pans and stable shots make all the difference. Regarding maintenance, I set weekly routines—cleaning lenses with proper tools, tightening support screws, and testing gear before shoots—which helps prevent unexpected mishaps. For anyone working outdoors, I highly recommend carrying a small toolkit for quick fixes and support adjustments during shoots. How do others handle maintenance and quick support tweaks when working in challenging environments? Would love to exchange tips to optimize setups further.