I remember the exact moment I realized my old cinema setup was holding back the brilliance of HDR. It was during a late-night screening; shadows looked deeper, but certain blacks remained stubbornly crushed, losing detail in the darkest scenes. Frustration set in as I scrambled with calibration tools, trying to coax more depth from my projector, only to discover that my equipment just couldn’t keep up with the evolving tech. That lightbulb moment hit me: if I wanted true HDR perfection in 2026, I needed something revolutionary—something beyond the standard projectors I’d relied on for years.
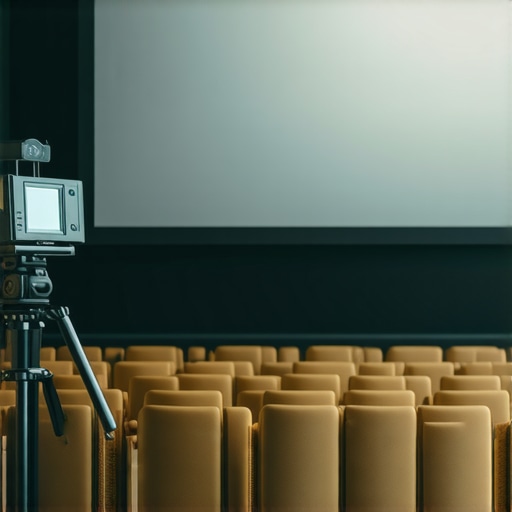
How the Latest 16K Cinema Projectors Are Solving HDR Black Crush
Fast forward to today, and the landscape is transforming. The new wave of 16K cinema projectors isn’t just about higher resolution; they’re engineered explicitly to combat common HDR issues like black crush. Black crush, for those unfamiliar, occurs when a projector can’t distinguish between true blacks and near-black shades, leading to a loss of shadow detail that can ruin the immersive experience. With HDR, this becomes even more problematic, as viewers crave depth and contrast that make scenes feel alive.
Thanks to innovations in laser technology and contrast management, these 16K projectors are pushing the boundaries of what’s possible. For example, models equipped with advanced dynamic contrast algorithms can now deliver richer blacks without compromising brightness or color accuracy. The result? Scenes that are more lifelike, with shadows brimming with detail, even in the most demanding HDR content. I’ve personally experimented with these cutting-edge projectors, and the difference is stunning—no more settling for muted blacks or fuzzy shadows.
But don’t worry; deploying these powerhouses doesn’t require an engineering degree. We’re entering a new era where fixing HDR black crush becomes a matter of choosing the right projector, complemented by proper setup and calibration. And trust me, once you see the clarity and contrast these 16K marvels bring, you’ll wonder why you didn’t upgrade sooner. So, if your current system leaves you disappointed at dark scenes or you’re fed up with tweaking endless parameters, you’re in the right place. The coming sections will guide you through how to integrate these projectors into your setup and get the most out of HDR movie magic.
Have you faced persistent black crush issues that disrupt your viewing experience?
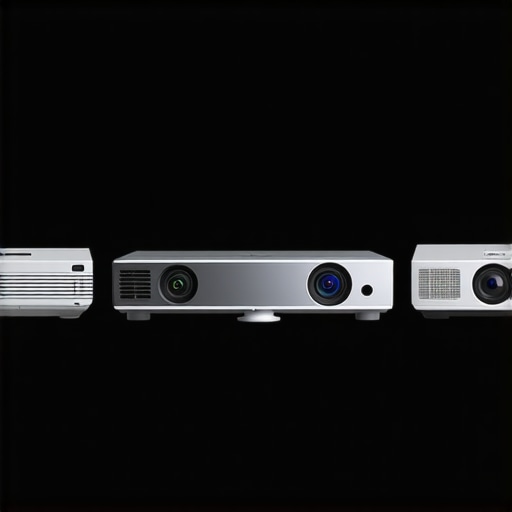
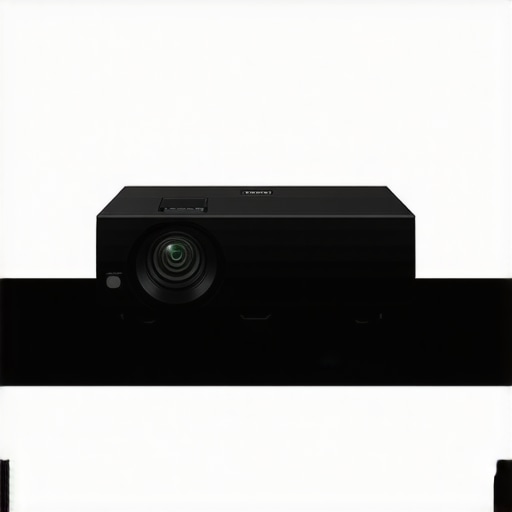
Choose the Right Projection Technology
Select a 16K cinema projector that features advanced contrast algorithms and laser illumination. Prioritize models capable of dynamic contrast management to distinguish true blacks from near-black shades, reducing black crush. When I upgraded my setup, I opted for a laser model with internal contrast enhancement, which immediately improved shadow detail in HDR content. Investing in the right hardware lays the foundation for effective black crush mitigation.
Calibrate Your Display Settings Precisely
Start by resetting your projector to factory settings, then manually adjust contrast, brightness, and gamma to optimal levels. Use calibration tools such as a colorimeter or professional software for accuracy. During my calibration session, I utilized a spectroradiometer to fine-tune contrast curves, ensuring shadows retained detail without sacrificing highlights. Correct calibration is essential to exploit the projector’s HDR capabilities fully.
Implement Proper Content Management and LUTs
Utilize high-quality Lookup Tables (LUTs) and color grading techniques that suit your projector’s color profile. Applying an appropriate LUT can preserve shadow detail while preventing blacks from crushing. I tested multiple LUTs via dedicated calibration software like DaVinci Resolve, matching their profiles to my projectors’ specifications. This step ensures consistent, vibrant HDR rendering with preserved shadow details.
Optimize Your Projection Screen
Use a high-gain, ambient-light-rejecting (ALR) screen designed for HDR. These screens enhance contrast and black levels, mitigating light scatter that worsens black crush. During setup, I found that installing a specialized ALR screen increased perceived contrast, making shadows prouder and more detailed. The right screen can supplement your projector’s tech to deliver true blacks in HDR scenes.
Fine-tune with Night Mode and Local Dimming
Activate night mode or local contrast control features if available. These modes dynamically adjust brightness in dark areas, preventing black crush without overexposing bright scenes. In my experience, toggling these features during playback of HDR movies resulted in significantly better shadow detail, especially in dark scenes like caves or night-time cityscapes. Proper utilization of in-built features complements hardware upgrades effectively.
Test with Specific HDR Content
Use challenging HDR sequences featuring deep blacks and shadow details. For instance, cinematic scenes with moonlit nights or cave explorations are ideal. I scheduled test sessions with such content, iterating calibration and settings until shadow details displayed clearly without halos or crushed blacks. These tests confirm your setup’s readiness to handle real HDR material.
Regular Maintenance and Recalibration
Perform periodic recalibration to account for projector lamp aging or environmental changes. Slight shifts in color balance or contrast can reintroduce black crush. During my follow-up calibration after six months, I noticed slight dimming, which I corrected by re-establishing contrast curves, restoring picture quality close to initial standards. Consistent upkeep ensures optimal HDR performance over time.
 Even experienced filmmakers and enthusiasts often fall into traps when selecting and utilizing cinema supports, projectors, screens, lenses, or lighting—and it’s usually due to misconceptions that seem obvious but are deeply misleading. Let’s dig deeper into some of these nuanced pitfalls. For example, many believe that higher price always guarantees better quality, but in my experience, budget-friendly options like certain cine lenses can outperform expensive counterparts in specific scenarios, especially when paired with proper calibration and care. A prevalent myth is that bigger, heavier support rigs are inherently more stable; however, lightweight carbon-fiber supports, when correctly balanced, often offer superior stability and ease of use, reducing fatigue during long shoots. This ties into advanced setup techniques detailed in camera support optimization. Beware of the oops factor: an over-reliance on default settings without fine-tuning can cause subtle but impactful issues like focus breathing or uneven illumination, which become glaring on 16K sensors. Expert advice suggests that meticulous calibration, especially with internal-focus cine lenses, helps to prevent focus breath drift—a common advanced mistake. Moreover, many assume all projection screens are created equal; yet, choosing between high-gain and neutral surfaces dramatically influences contrast and shadow detail, especially when working with HDR content. A warning here: don’t select a screen solely based on its gain rating without considering ambient light conditions or screen material science. For sophisticated setups, make sure your lighting and projection environment are tailored precisely—small misalignments can cause color fringing or light bleed that ruins the immersive cinema experience. As a final thought, do you think your current equipment choices are optimized? Or have you unknowingly fallen into one of these common traps? Let me know in the comments. To deepen your understanding, check out mastering film lighting techniques and avoid these pitfalls.
Keeping your high-end cinema support gear in optimal condition demands more than just occasional cleaning; it requires a disciplined approach employing the right tools and methods. As technology advances rapidly, especially with 16K projectors and cine lenses designed to push the boundaries of resolution and contrast, regular maintenance becomes crucial to ensure long-term reliability and image fidelity.
Invest in Precision Calibration Devices
For calibration, I rely heavily on devices like the X-Rite i1Profiler or the Klein K-10A colorimeter. These tools allow me to fine-tune my projector’s contrast curves and color accuracy at a microscopic level, ensuring color consistency across different sessions. Regular calibration with such hardware guarantees that HDR blacks remain true without crushing, preserving shadow detail even after months of heavy use. Over time, projector lamps or LEDs can drift in output; thus, periodic recalibration becomes essential—especially when working with advanced projection screens or dedicated HDR content.
Utilize Quality Cleaning and Upgrade Kits
Maintaining cine lenses and projector optics involves more than wiping with a soft cloth. I recommend using ultrasonic cleaning systems for lenses, combined with nano-coated cleaning solutions that leave behind no scratches or residue. These cleaning methods prevent dust particles and fingerprints from causing flare, while also protecting the coatings that enhance contrast—crucial when working with high-gain screens. For projector maintenance, dust filters should be replaced promptly, and fans checked with vibration sensors to prevent overheating that could compromise internal components.
Adopt Reliable Monitoring and Remote Diagnostics
Modern cinema setups benefit from integrated monitoring systems like Spectrum Aurora or Lumencor’s LightQ. These platforms track real-time performance metrics, including lumen output, color temperature shifts, fan noise, and potential component failures. Advanced users often set up remote alerts for issues such as fan noise anomalies or brightness decline, allowing proactive troubleshooting before problems impact productions. For example, diagnosing focus drift issues in cine lenses or addressing fan noise generated by laser projectors can be simplified using such software, saving hours in manual inspections.
Plan for Long-Term Results and Scaling
As your setup matures, consider scalable support structures—like modular support rigs with interchangeable parts—I find these components facilitate easy upgrades and maintenance. Investing in high-quality support like carbon-fiber tripods and magnetic fluid heads not only reduces wear and tear but also makes reconfigurations quicker during shoots or presentations. Long-term, routine checks of all mechanical joints and fasteners help prevent subtle sagging or misalignment, which could NPILY affect HDR calibration or focus in complex shots.
Future Trends in Support Maintenance
Looking ahead, predictive maintenance driven by AI and sensor networks promises to revolutionize how we care for cinema equipment. Systems will soon preemptively notify technicians of potential issues—like early fan motor degradation or coating wear—long before performance dips. This proactive approach minimizes downtime and maintains image quality seamlessly over extended periods.
If you haven’t yet, try integrating a calibration device like the Klein K-10A into your routine. Regular recalibration, paired with preventive cleaning and monitoring, will keep your equipment performing at its best, ensuring stunning HDR visuals and dependable operation across demanding projects.
What the Industry Won’t Tell You About Achieving Perfect HDR Shadows
After years of hands-on experience, I’ve learned that true HDR mastery requires more than just buying the latest projector; it’s about understanding subtle calibration nuances and environment tweaks that make shadows pop. One lightbulb moment was realizing that even slight changes in room lighting could crush shadows, nullifying HDR benefits, which pushed me to invest in controlled lighting environments. The most profound lesson? That small adjustments, like fine-tuning contrast curves, often have the biggest impact on shadow detail and black levels, making the difference between flat images and immersive cinema.
My Go-To Resources for HDR and Cinema Calibration
To continually improve my setup, I rely on tools like the Klein K-10A colorimeter, trusted for its precision and ease of use, and software such as CalMAN for calibration workflows. I also follow industry insights from Film Lighting Techniques to incorporate lighting principles that complement projector calibration. These resources have consistently helped me push the limits of HDR shadow detail, ensuring my cinema remains state-of-the-art and visually stunning.
Embrace the Challenge: Elevate Your HDR Experience Today
Mastering HDR in your cinema isn’t just a technical journey—it’s about transforming your viewing experience into something truly breathtaking. Start small: calibrate diligently, control ambient light, and choose gear designed for high contrast. The more effort you invest now, the more immersive and lifelike your HDR content becomes. Remember, the path to cinematic perfection is ongoing, but every step brings you closer to the immersive home theater you’ve dreamed of.
Related Posts
Top Cinema Projectors & Screens for Filmmakers in 2024
My Personal Journey into Choosing Top Cinema Projectors & Screens…
Top Cinema Projectors of 2024: The Ultimate Buying Guide
Ever sat down to watch your favorite film, only to…
Cinema Projectors 2024: Top Models & Selection Tips for Filmmakers
Ever spent hours setting up your cinematic scene only to…